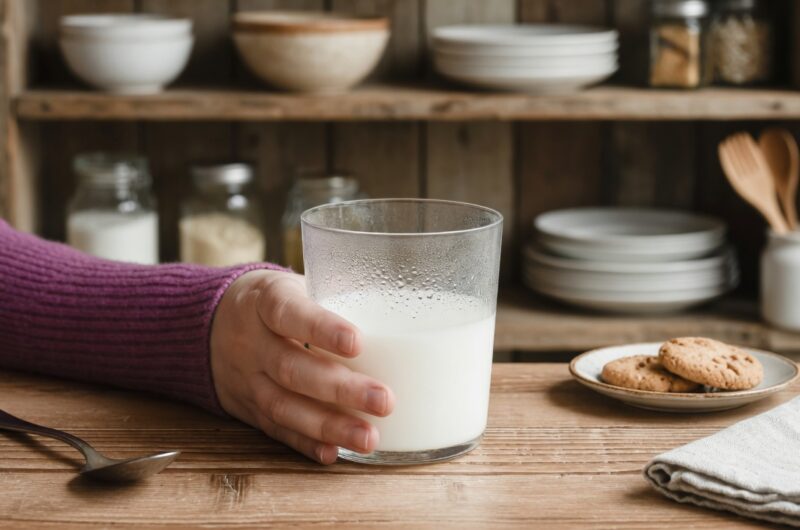
Homemade kefir is a fermented milk drink that tastes similar to drinkable yogurt but with a tangier flavor. This probiotic-rich beverage has been enjoyed for centuries and is surprisingly simple to make at home. With just two basic ingredients, you can create your own batch of creamy, tangy kefir right in your kitchen. The process requires minimal hands-on time, though you’ll need patience for the fermentation period.
Why Make Kefir at Home
Making kefir at home gives you complete control over the fermentation time and the final taste. Store-bought versions often contain added sugars, artificial flavors, or stabilizers that you might want to avoid. When you make it yourself, you know exactly what goes into your drink. Plus, homemade kefir is significantly cheaper than buying it from the store, especially if you drink it regularly. The live kefir grains can be reused indefinitely, making this an economical choice for health-conscious households.
Understanding Kefir Grains
Kefir grains are not actual grains like wheat or rice. They are small, gelatinous clusters of bacteria and yeast that look like tiny cauliflower florets. These living cultures contain beneficial microorganisms that transform regular milk into probiotic-rich kefir. You’ll need to purchase or obtain kefir grains from someone who already makes kefir, as they cannot be created from scratch. Once you have them, they multiply over time, so you’ll never need to buy more.
The Difference Between Kefir and Yogurt
While both are fermented dairy products, kefir and yogurt have distinct differences. Kefir contains a wider variety of probiotic strains compared to yogurt, often including beneficial yeasts. The texture of kefir is thinner and more drinkable than yogurt, making it perfect for smoothies or drinking straight. Kefir also tends to be more tangy and slightly effervescent due to the fermentation process. The making process differs too, with yogurt requiring heat and kefir fermenting at room temperature.
Choosing the Right Milk for Kefir
The type of milk you use affects the taste and texture of your kefir. Whole milk creates the creamiest, most satisfying kefir with a smooth mouthfeel. You should look for pasteurized milk rather than ultra-pasteurized versions, as the high heat used in ultra-pasteurization can affect how well the kefir ferments. Organic, grass-fed milk will give you the highest quality kefir with better nutritional value. Avoid milk with additives or shelf-stable milk, as these don’t ferment as reliably as regular pasteurized milk.
How Fermentation Works
Fermentation happens when the bacteria and yeast in kefir grains consume the lactose in milk. This process creates lactic acid, which gives kefir its characteristic tangy taste and thick texture. During fermentation, beneficial probiotics multiply, creating a drink packed with good bacteria. The grains also produce small amounts of carbon dioxide, which can make your kefir slightly fizzy. Room temperature is ideal for this process, as temperatures that are too cold slow down fermentation while excessive heat can harm the grains.
Setting Up Your Fermentation Station
You don’t need fancy equipment to make kefir at home. A clean quart-size glass jar works perfectly for a standard batch. Make sure your jar is thoroughly washed and completely dry before starting. Choose a spot in your kitchen that maintains a steady room temperature, away from direct sunlight. The counter near your stove or refrigerator often gets too warm from appliance heat. A pantry shelf or a quiet corner of your counter usually provides the right environment.
Activating Your Kefir Grains
If you receive dehydrated kefir grains, you’ll need to activate them before making your first batch. Place the grains in a small amount of fresh milk and let them sit for a day. Strain and repeat this process for several days until the milk thickens and smells pleasantly sour. This activation period wakes up the dormant cultures and gets them ready for regular kefir production. Fresh grains from another kefir maker are already active and can be used immediately.
The First Fermentation Process
Starting your kefir is as simple as combining milk and grains in a jar. The ratio of grains to milk affects how quickly your kefir ferments. Using more grains speeds up the process, while fewer grains take longer. For beginners, one to two teaspoons of grains per quart of milk is the sweet spot. This ratio gives you enough time to notice when your kefir is ready without it happening too quickly. There’s no need to stir or shake the jar during fermentation.
Covering Your Kefir Jar
Kefir needs to breathe during fermentation, so don’t use an airtight lid. A breathable cover allows air flow while keeping dust and bugs out of your jar. A clean coffee filter, cheesecloth, or paper towel secured with a rubber band works perfectly. Some people use the metal ring from a canning jar to hold the cloth in place. The breathable cover also allows carbon dioxide to escape, preventing pressure buildup in the jar.
Recognizing When Kefir Is Ready
Your kefir is ready when it has thickened to a consistency similar to buttermilk. The smell should be pleasantly sour, like yogurt or sour cream, but not spoiled or rotten. You might notice the milk has separated slightly, with a clear yellowish liquid (whey) at the bottom. This is completely normal and just means your kefir is fully fermented. Giving the jar a gentle swirl helps you see if the texture has changed from liquid milk to slightly thickened kefir.
Adjusting Fermentation Time
The fermentation time for kefir can vary based on several factors. Warmer room temperatures speed up fermentation, while cooler temperatures slow it down. In summer, your kefir might be ready in 12 to 18 hours. During winter, it could take up to 48 hours. Taste preference also plays a role in timing. A shorter fermentation gives you milder, less tangy kefir, while longer fermentation creates a more sour, thicker product.
Straining Your Finished Kefir
Once your kefir reaches the desired tanginess, it’s time to separate the grains from the liquid. Use a plastic, silicone, or stainless steel fine-mesh strainer placed over a clean jar or bowl. Pour the kefir through the strainer, and the liquid will flow through while the grains remain behind. Gently stir with a plastic or wooden spoon to help the process along. Don’t press too hard on the grains, as this can damage them over time.
Understanding the Metal Concern
Traditional kefir makers often avoid metal utensils, but this advice needs context. Reactive metals like aluminum or copper can potentially affect the grains during prolonged contact. However, brief contact with stainless steel is generally safe and won’t harm your grains. Many experienced kefir makers use stainless steel strainers and spoons with no problems. If you make kefir daily and want to be extra cautious, plastic, silicone, wood, or nylon tools are gentle options.
Storing Your Finished Kefir
After straining, transfer your finished kefir to a clean jar with a tight lid. Store it in the refrigerator to slow down further fermentation and keep it fresh. Cold kefir tastes better than room temperature kefir, so chill it for at least a few hours before drinking. Properly stored kefir stays good in the refrigerator for one to two weeks. The flavor becomes more tangy over time, even in the fridge, though the fermentation slows considerably.
Reusing Your Kefir Grains
The beauty of kefir grains is that you can use them over and over again. After straining, you can immediately start a new batch by placing the grains in fresh milk. This continuous brewing method keeps your grains healthy and active. The grains will grow and multiply over time, eventually giving you more than you need. You can share extras with friends, eat them as a probiotic boost, or compost them.
Taking a Break from Kefir Making
If you need a break from making kefir, you can store your grains in the refrigerator. Place them in a small jar with enough milk to cover them completely. Change the milk once a week to keep the grains fed and healthy. Grains can survive in the fridge for several weeks or even months this way. When you’re ready to start making kefir again, let the grains come to room temperature and make a test batch or two to reactivate them fully.
Common Kefir Making Mistakes
Using ultra-pasteurized milk is one of the most common mistakes new kefir makers face. This type of milk doesn’t ferment as reliably as regular pasteurized milk. Another mistake is using too much or too little grains for the amount of milk. Finding the right ratio takes some experimentation based on your environment and preferences. Fermenting at extreme temperatures, either too hot or too cold, can also cause problems with consistency and taste.
Troubleshooting Thin Kefir
If your kefir stays too thin and doesn’t thicken properly, several factors could be at play. You might not be using enough grains for the amount of milk. The temperature in your kitchen might be too cold, slowing down fermentation significantly. Your milk choice could also be the issue if you’re using ultra-pasteurized or low-fat milk. Try adding more grains, moving the jar to a warmer spot, or switching to whole pasteurized milk.
Dealing with Over-Fermented Kefir
Kefir that ferments too long becomes very tangy, thick, and separates dramatically. While it’s still safe to drink, the taste might be too sour for most people. You can use over-fermented kefir in baking, smoothies, or as a substitute for buttermilk in recipes. To prevent over-fermentation, check your kefir more frequently, especially during warm weather. Reducing the number of grains or using more milk can also slow down the fermentation process.
The Nutritional Benefits of Kefir
Kefir is packed with protein, calcium, and B vitamins from the milk itself. The fermentation process makes these nutrients more digestible and bioavailable to your body. Probiotics in kefir support gut health, digestion, and immune function. Many people who are lactose intolerant can enjoy kefir because the fermentation process breaks down most of the lactose. Each cup provides a good balance of healthy fats, especially if you use whole milk.
Using Kefir in Your Daily Diet
Drinking kefir straight is the simplest way to enjoy it, but there are many other options. Blend it into smoothies with fruits and vegetables for a probiotic breakfast. Use it as a base for salad dressings or creamy sauces. Pour it over granola or cereal instead of regular milk. You can also use kefir in baking as a substitute for buttermilk, yogurt, or sour cream in recipes.
Making Flavored Kefir
Plain kefir is wonderfully tangy on its own, but you can customize the flavor after the first fermentation. Add fresh or frozen fruit, honey, vanilla extract, or cocoa powder to your finished kefir. Blend everything together until smooth for a delicious flavored drink. You can also do a second fermentation by adding fruit juice or fruit pieces to strained kefir and letting it sit at room temperature for a few more hours. This creates a fizzier, fruit-flavored kefir with even more probiotic benefits.
Kefir Consistency Variations
The thickness of your kefir can vary from batch to batch, and that’s completely normal. Temperature fluctuations, the ratio of grains to milk, and fermentation time all affect consistency. Some batches might be thin and pourable, while others turn out thick like yogurt. Both are perfectly fine to drink. If you prefer thicker kefir, try using more grains or letting it ferment a bit longer. For thinner kefir, reduce the grains or shorten the fermentation time.
Growing Your Kefir Grain Colony
Healthy kefir grains multiply and grow over time when they’re well-fed and happy. You’ll notice your grains increasing in size and quantity after several weeks of regular kefir making. This is a sign that your fermentation setup is working well. When your grains double in volume, you can divide them and start multiple batches. Extra grains can be given to friends who want to start making kefir, or you can increase your milk amount to make larger batches.
Safety and Hygiene Practices
While kefir is generally very safe to make at home, basic hygiene is important. Always wash your hands before handling kefir grains or equipment. Use clean jars and utensils for each batch to prevent contamination. If your kefir develops mold, has an off smell beyond normal sourness, or shows pink or orange discoloration, discard it immediately. Trust your senses – good kefir smells pleasantly sour like yogurt, while bad kefir smells rotten or putrid.
The Cost Savings of Homemade Kefir
Store-bought kefir can cost anywhere from four to seven dollars per quart. When you make it at home, your only ongoing cost is milk. A gallon of organic whole milk costs around six to eight dollars and makes four quarts of kefir. That’s roughly one-fifty to two dollars per quart compared to store prices. The initial investment in kefir grains pays for itself within weeks. Since the grains last indefinitely with proper care, the long-term savings are significant.
Environmental Benefits
Making kefir at home reduces packaging waste from store-bought products. You’ll use the same glass jar over and over instead of buying plastic bottles. If you buy milk in returnable glass bottles or larger containers, you further reduce your environmental impact. The sustainable nature of kefir grains means you’re not constantly purchasing new starter cultures. This simple homemade practice aligns well with a low-waste, environmentally conscious lifestyle.
Building a Kefir Making Routine
Incorporating kefir into your routine becomes second nature after a few batches. Many people strain their kefir first thing in the morning and start a new batch immediately. This creates a continuous supply of fresh kefir every day. Others prefer to make larger batches less frequently, which works well if you store the grains in the fridge between batches. Find a rhythm that matches your lifestyle and consumption habits for the best results.
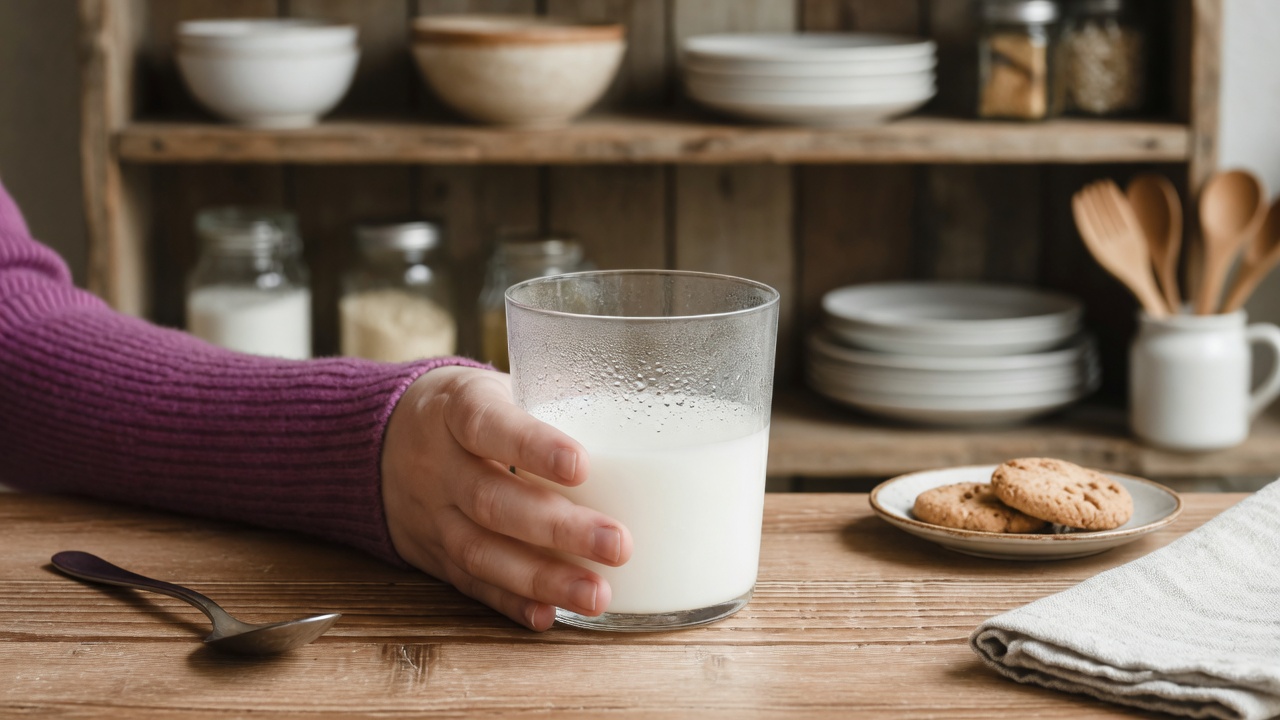
Homemade kefir
A smooth and tangy probiotic drink made with just two simple ingredients. This fermented milk beverage is easy to prepare at home and provides beneficial bacteria for gut health.
8
servings10
minutes24
hours75
kcal24
hours10
minutesIngredients
4 cups whole dairy milk (pasteurized, not ultra-pasteurized)
1 to 2 teaspoons activated milk kefir grains
Instructions
- Place 1 to 2 teaspoons of activated milk kefir grains into a clean, dry quart-size glass jar.
- Pour 4 cups of whole dairy milk over the grains and stir gently to combine.
- Cover the jar opening with a coffee filter, paper towel, or breathable cloth. Secure it with a rubber band or canning jar ring.
- Let the mixture sit undisturbed at room temperature (68 to 75°F) for 12 to 48 hours until it thickens slightly and develops a pleasantly sour aroma.
- Strain the fermented kefir through a plastic or stainless steel fine-mesh strainer to separate the grains from the liquid. Transfer the finished kefir to a storage container.
- Refrigerate the strained kefir and enjoy it chilled. Start a new batch immediately with the strained grains, or store them in the refrigerator in a small amount of milk.
Nutrition Facts (per 0.5 cup serving)
- Calories: 75kcal
- Carbohydrates: 6g
- Sugar: 6g
- Protein: 4g