
This Gluten-Free Sandwich Bread is a soft, homemade loaf designed specifically for baking in an air fryer. It combines gluten-free all-purpose flour with almond flour or oat flour, eggs, yeast, and a small amount of oil to create a practical everyday bread without traditional wheat flour. Unlike conventional sandwich bread, there is no kneading required. The dough has a thick, sticky, batter-like consistency, which makes preparation straightforward even for people who are new to gluten-free bread baking.
Making homemade gluten-free bread can sometimes feel difficult because gluten normally provides the elasticity and structure that allow traditional bread dough to stretch and rise. This recipe takes a different approach by relying on a gluten-free flour blend containing xanthan gum, along with eggs and additional flour, to provide structure. Instant yeast supplies lift and familiar bread flavor, while optional baking powder can provide additional rise. The result is an easy gluten-free loaf suitable for slicing, toasting, sandwiches, or serving with your favorite spreads.
Why You Love This Recipe
One of the biggest advantages of this recipe is that you do not need a conventional oven to bake a homemade loaf. A small loaf pan that fits inside the air fryer basket is all you need. The compact cooking environment makes this recipe especially convenient when you want fresh bread without heating a full-size oven. It is also useful for smaller kitchens or whenever you want to prepare a modest homemade loaf.
Another benefit is the simple preparation. There is no traditional kneading, stretching, or shaping. Once the yeast has been activated, the dry and wet ingredients are prepared separately and then combined into a thick, sticky dough. The mixture is transferred directly to the loaf pan, allowed to rise, and then air fried until completely cooked. The method is simple, but carefully following the rising, baking, and cooling stages is important for achieving the best texture.
How Gluten-Free Bread Is Different from Wheat Bread
Traditional bread gets much of its structure from gluten, a network of proteins that develops when wheat flour is hydrated and kneaded. Gluten allows bread dough to stretch and trap the gases produced by yeast. Because gluten-free flour does not naturally provide this structure, gluten-free bread dough behaves very differently.
In this recipe, the dough should resemble a thick, sticky batter rather than a smooth ball of traditional bread dough. This is expected and should not be treated as a problem. Trying to add large amounts of extra flour simply to make the dough kneadable could change the intended moisture balance and produce a heavier loaf. The original method specifically treats this as a batter-style gluten-free bread rather than a conventional kneaded dough.
Choosing the Right Gluten-Free Flour
The recipe uses 1½ cups of gluten-free all-purpose flour as its main dry ingredient. The flour blend should contain xanthan gum. If your chosen gluten-free blend does not contain xanthan gum, the supplied recipe instructs you to add one teaspoon separately.
Gluten-free flour blends can vary considerably because manufacturers use different combinations of rice flour, starches, and other ingredients. This means one brand may absorb slightly more water than another. Pay attention to the intended consistency of the dough rather than expecting every gluten-free flour blend to behave identically. The finished mixture should remain thick and sticky rather than dry enough to knead by hand.
Why Xanthan Gum Matters
Xanthan gum performs an important structural role in gluten-free bread. Without gluten, the dough needs another ingredient that helps hold the mixture together and supports the structure as gases form during rising and baking.
If your all-purpose gluten-free flour already contains xanthan gum, there is no need to add another teaspoon. Check the package ingredient list before measuring your flour. If xanthan gum is absent, add the specified one teaspoon separately. Following this distinction prevents accidentally leaving out an important structural ingredient or unnecessarily changing the original formula.
Almond Flour or Oat Flour
In addition to the gluten-free all-purpose flour, the recipe uses half a cup of either almond flour or oat flour. This secondary flour contributes moisture and helps improve the overall texture of the bread.
If using oat flour for a strictly gluten-free loaf, choose oat flour that is appropriately labeled gluten-free. Oats themselves do not contain wheat gluten, but conventional oat products can be exposed to gluten-containing grains during growing, transportation, or processing. Anyone who needs to follow a strict gluten-free diet should therefore verify the labeling of both the oat flour and the primary gluten-free flour blend before baking.
How Yeast Helps Gluten-Free Bread Rise
One teaspoon of instant yeast gives this air fryer bread some of the rise and familiar aroma associated with homemade bread. The yeast is first combined with warm water and the recipe’s sugar or honey, then allowed to stand for five to ten minutes.
The mixture should become foamy, which provides a useful indication that the yeast is active. Checking the yeast before mixing the entire loaf is particularly helpful because inactive yeast can result in poor rising. If there is no activity after the resting period, it is better to address the yeast before combining it with all the remaining ingredients.
Why Water Temperature Matters
The recipe calls for one cup of warm water at approximately 110°F or 43°C. This temperature creates a warm environment for activating the yeast without intentionally exposing it to excessive heat.
Use warm rather than boiling water. After adding the sugar or honey and instant yeast, stir lightly and leave the mixture undisturbed for approximately five to ten minutes. Look for visible foam before continuing. This small preparation step can make the bread-making process more predictable because it confirms that the yeast is functioning before it is incorporated into the flour.
Baking Powder for Additional Lift
One tablespoon of baking powder is listed as optional for extra rise. While yeast contributes to the bread-like flavor and rising process, baking powder provides an additional form of leavening.
When using the baking powder, whisk it thoroughly into the dry ingredients along with the gluten-free all-purpose flour, almond or oat flour, and salt. Even distribution matters because concentrated pockets of leavening can produce uneven texture. The supplied recipe specifically describes the combination of yeast and baking powder as a way of creating a lighter texture than gluten-free bread may otherwise have.
Why Eggs Are Important
Two large room-temperature eggs are used in this gluten-free sandwich bread. Eggs help bind the ingredients together and provide some of the structure that gluten would ordinarily supply in wheat-based bread.
Whisk the eggs with the oil and apple cider vinegar until the wet mixture is smooth. The activated yeast mixture is then added and thoroughly incorporated. Preparing the wet ingredients separately before introducing them to the flour helps distribute the eggs, yeast, oil, and vinegar evenly throughout the batter, resulting in a more consistent loaf from one end to the other.
Choosing the Oil
The original ingredients allow you to use one-quarter cup of olive oil, melted butter, or coconut oil. Each provides the necessary richness and moisture while allowing some flexibility according to what you have available or the flavor you prefer.
Olive oil provides a convenient liquid option, while melted butter can create a richer buttery character. Coconut oil offers another alternative. Whichever option you select, keep the quantity at one-quarter cup as specified. The oil works with the eggs and other ingredients to help prevent the gluten-free bread from becoming unnecessarily dry.
Apple Cider Vinegar in Gluten-Free Bread
One teaspoon of apple cider vinegar is included among the wet ingredients. It works as part of the overall formula and, according to the supplied recipe, assists with the rising process.
The amount is small compared with the total volume of bread dough, so it is not intended to create a strongly sour loaf. Whisk it thoroughly with the eggs and oil before adding the activated yeast mixture. This ensures that the vinegar is dispersed evenly rather than concentrated in one section of the dough.
How to Mix the Dry Ingredients
Place the gluten-free all-purpose flour, almond flour or oat flour, salt, and optional baking powder in a large mixing bowl. Whisk everything thoroughly until evenly distributed.
This initial mixing stage may appear simple, but it helps produce consistent results. Salt and baking powder represent relatively small quantities compared with the flour, so they should be distributed before the liquid ingredients are introduced. If your gluten-free flour does not contain xanthan gum, the required teaspoon of xanthan gum should also be incorporated appropriately according to the original recipe.
How to Prepare the Wet Ingredients
In a separate bowl, whisk the two room-temperature eggs with one-quarter cup of your selected oil and one teaspoon of apple cider vinegar. Continue until the mixture appears smooth.
Once the yeast mixture has become foamy, pour it into the wet ingredients and mix thoroughly. Combining these components before adding them to the flour makes it easier to distribute the yeast throughout the entire loaf. This approach also reduces the amount of stirring needed once the dry and wet mixtures come together.
Creating the Gluten-Free Bread Dough
Gradually add the wet ingredients to the dry mixture while stirring with a silicone spatula or spoon. Continue only until everything has been incorporated and a thick, sticky batter has formed.
Do not expect this mixture to behave like traditional wheat bread dough. It should not become a smooth, elastic dough that can be kneaded on the counter. The sticky, batter-like consistency is intentional. If you are using the optional seeds or herbs listed in the recipe, gently fold them into the dough at this point before transferring it to the loaf pan.
Optional Seeds for Extra Texture
The recipe allows one to two tablespoons of chia seeds, flax seeds, or sunflower seeds. These optional ingredients can provide extra texture and create a seeded variation of the basic gluten-free sandwich bread.
Fold the seeds into the completed dough gently rather than aggressively stirring them for an extended period. Since they are optional, they can simply be omitted when you want a plain sandwich loaf. Keeping the base recipe simple may also be preferable when the bread will be used with strongly flavored sandwich fillings or sweet spreads.
Optional Herbs for a Savory Loaf
For a more aromatic bread, the supplied ingredients allow one teaspoon of rosemary, thyme, or oregano. These herbs turn the basic sandwich loaf into a more savory version that can pair particularly well with soups, salads, cheese, or savory sandwich fillings.
Use the stated quantity rather than adding large amounts, since dried or concentrated herbs can easily dominate a small loaf. As with the optional seeds, fold the herbs into the dough after the wet and dry mixtures have been combined. This distributes the flavor throughout the loaf before the batter is transferred to the pan.
Choosing the Correct Loaf Pan
Since this bread is cooked in an air fryer, the loaf pan must fit comfortably inside the appliance’s basket. Check your air fryer’s dimensions before preparing the batter, particularly if you have never baked bread in it before.
Lightly grease the pan so the baked loaf releases more easily. Once the dough is transferred into the pan, use a spatula to smooth the surface gently. Because the dough is sticky and cannot be shaped like conventional bread dough, smoothing it before rising helps create a neater finished top.
How to Proof Gluten-Free Bread
After transferring the dough to the prepared pan, cover it loosely with a clean kitchen towel or plastic wrap. Place it somewhere warm and free from strong drafts for approximately 30 to 45 minutes.
The dough should become somewhat puffier during this time, but it may not double in size like conventional wheat bread. This is normal. Gluten-free bread lacks the stretchy gluten network that allows traditional dough to expand dramatically. Look for a noticeable increase in volume rather than expecting the exact appearance of standard yeasted sandwich bread.
Preheating the Air Fryer
Preheat the air fryer to 350°F (175°C) for approximately five minutes. Starting with a properly heated appliance provides a more consistent baking environment when the loaf pan is inserted.
Air fryers vary considerably in size, power, airflow, and heating behavior. Because of these differences, baking time should be treated as a range rather than an exact guarantee. The original recipe gives a cooking window of approximately 25 to 30 minutes and recommends checking the bread during baking, particularly for excessive browning on the top.
How to Tell When Gluten-Free Bread Is Done
Insert a toothpick or skewer into the center of the loaf. When the bread is completely baked, it should come out clean rather than coated in wet batter.
Avoid extending the cooking time much beyond what is necessary simply to make the crust darker. Gluten-free bread can dry out relatively quickly, and overbaking may reduce the soft texture you are trying to achieve. The goal is a fully cooked center with enough moisture remaining to make the loaf pleasant for sandwiches and toast.
Why Cooling Is Especially Important
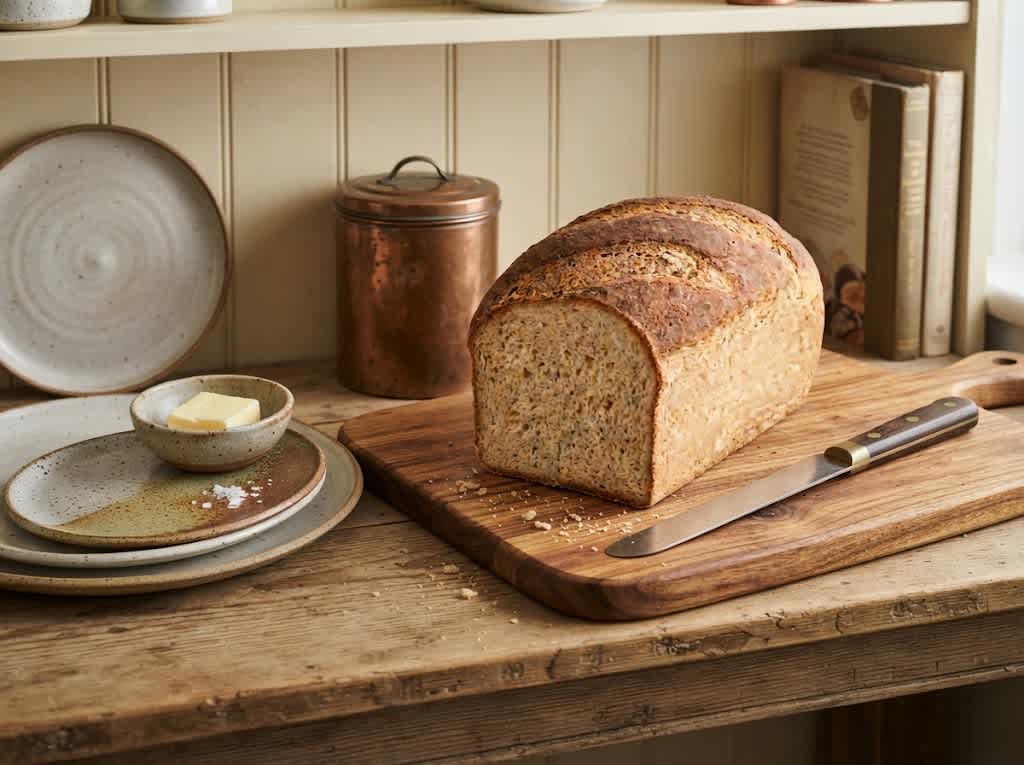
After removing the loaf from the air fryer, leave it in its pan for approximately five to ten minutes. Carefully remove it and transfer it to a wire rack.
Allow the bread to cool completely before slicing. This is especially important with gluten-free bread because cutting it while still hot can result in a gummy interior. Cooling gives the crumb time to finish setting as excess heat and steam gradually escape. Although freshly baked bread can be tempting to cut immediately, waiting will generally give you cleaner slices and a better final texture.
How to Slice Gluten-Free Sandwich Bread
Once completely cool, use a serrated bread knife to cut the loaf. A serrated blade moves through the crust and crumb with less pressure than a smooth knife, reducing the chance of compressing or tearing the slices.
For sandwiches, try to keep the slices reasonably even so they hold fillings consistently. Thicker pieces work particularly well for toast, while slightly thinner slices can be useful for everyday sandwiches. Always support the loaf gently rather than pressing heavily while cutting.
Best Ways to Serve Gluten-Free Bread
This bread can be eaten plain, toasted, or served with your preferred spreads. Its simple base makes it versatile enough for both savory and sweeter combinations.
Use the slices for breakfast toast, sandwiches, or alongside soups and salads. The optional herb version is particularly suitable with savory dishes, while the plain loaf provides a neutral base for nut butter, fruit spreads, eggs, cheese, or other toppings. Toasting leftover slices can also improve their texture after the loaf has been stored for a day or two.heat for significantly longer than necessary.
Common Mistakes to Avoid
One major mistake is expecting gluten-free bread dough to behave exactly like wheat dough and adding unnecessary flour until it can be kneaded. Another is skipping the yeast activation step, which removes your opportunity to confirm that the yeast is active before mixing the loaf. Cutting the bread while hot can also leave the interior gummy, while excessive air-frying can make the loaf unnecessarily dry.
It is equally important to check whether the gluten-free flour blend contains xanthan gum. The recipe depends on structural ingredients such as eggs and xanthan gum to help compensate for the absence of gluten. Finally, check the loaf during the last portion of cooking because air fryer heating patterns can differ significantly between models.
How to Store Gluten-Free Sandwich Bread
Once the bread has cooled completely, store leftovers in an airtight container at room temperature. The supplied storage guidance recommends keeping it this way for approximately two to three days.
For longer storage, the bread can be frozen. Slicing the loaf before freezing can be convenient because individual pieces can then be removed as needed rather than thawing the entire loaf. Whatever storage method you choose, make sure the bread has completely cooled before sealing it because trapped steam can introduce unnecessary moisture inside the container.

Gluten-Free Sandwich Bread
An easy homemade gluten-free sandwich bread baked in the air fryer using a small loaf pan.
1
servings15
minutes30
minutes45
minutesIngredients
- Dry Ingredients
1½ cups gluten-free all-purpose flour with xanthan gum
½ cup almond flour or oat flour
2 tbsp sugar or honey
1 tsp salt
1 tbsp baking powder, optional
1 tsp instant yeast
1 tsp xanthan gum, only if the flour blend does not contain it
- Wet Ingredients
1 cup warm water, about 110°F (43°C)
2 large eggs, room temperature
¼ cup olive oil, melted butter, or coconut oil
1 tsp apple cider vinegar
- Optional Add-Ins
1–2 tbsp chia, flax, or sunflower seeds
1 tsp rosemary, thyme, or oregano
Instructions
- Mix warm water, sugar or honey, and yeast. Rest for 5–10 minutes until foamy.
- Mix gluten-free flour, almond or oat flour, salt, and baking powder.
- In another bowl, whisk eggs, oil, and apple cider vinegar.
- Add the foamy yeast mixture to the wet ingredients.
- Pour the wet mixture into the dry ingredients. Stir until a thick, sticky dough forms.
- Fold in seeds or herbs, if using.
- Transfer the dough to a greased air fryer-safe loaf pan. Smooth the top.
- Cover and let rise in a warm place for 30–45 minutes.
- Preheat the air fryer to 350°F (175°C) for 5 minutes.
- Air fry for 25–30 minutes.
- Check after 20 minutes. Cover loosely with foil if the top is browning too quickly.
- Insert a toothpick into the center. It should come out clean.
- Cool in the pan for 5–10 minutes.
- Transfer to a wire rack and cool completely before slicing.