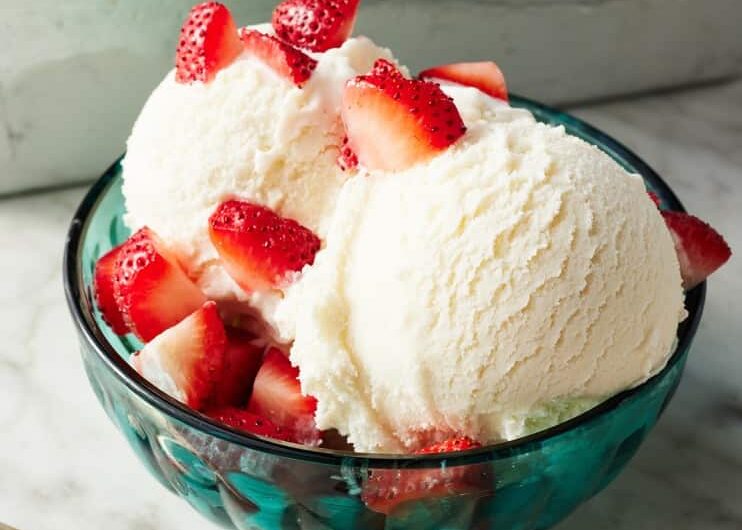
Homemade vanilla ice cream is one of the easiest classic desserts to make with an ice cream maker. This simple vanilla ice cream recipe uses only five ingredients and creates a creamy, smooth dessert with a rich vanilla flavor. It is a great choice for summer parties, family desserts, or whenever you want fresh ice cream at home.
The recipe starts with a simple dairy base made from heavy cream and whole milk. Cane sugar adds sweetness, while vanilla extract gives the ice cream its familiar flavor. A small amount of sea salt balances the sweetness and helps bring out the taste of the vanilla without making the dessert salty.
Why This Vanilla Ice Cream Works
The combination of heavy cream and whole milk gives homemade ice cream a pleasant balance of richness and lightness. Heavy cream provides the creamy texture, while whole milk keeps the mixture from becoming too heavy. Together, they create a smooth ice cream base that churns well in a home ice cream maker.
This easy ice cream recipe does not require eggs or a custard base. There is no need to separate egg yolks, cook a thick custard, or spend extra time straining the mixture. Instead, the ingredients are gently warmed until the sugar dissolves, then chilled before churning.
Preparing the Ice Cream Maker
Before making the ice cream base, check the instructions for your ice cream maker. If you are using a machine with a freezer bowl, the bowl usually needs to freeze for at least 12 hours before churning. A completely frozen bowl is important because it helps the ice cream mixture freeze properly during the churning process.
Planning this step ahead makes the recipe much easier. Place the bowl in the freezer the night before you want to make the ice cream. Keeping the bowl stored in the freezer can also make it convenient to prepare homemade ice cream whenever you have the ingredients ready.
Choosing the Right Ingredients
Heavy cream is the main ingredient responsible for the rich and creamy texture. Choose fresh heavy cream for the best result. Whole milk provides additional dairy flavor while keeping the mixture easier to churn than a base made entirely from cream.
Cane sugar dissolves into the warm dairy mixture and gives the ice cream its sweetness. Vanilla extract provides the main flavor, while sea salt adds balance. Because there are only five ingredients, using fresh ingredients makes a noticeable difference in the finished vanilla ice cream.
Warming the Ice Cream Base
Start by combining the heavy cream, whole milk, cane sugar, vanilla extract, and sea salt in a medium saucepan. Warm the mixture over medium-low heat and whisk often. The goal is not to bring the dairy mixture to a boil but simply to warm it enough for the sugar to dissolve.
After about five minutes, the mixture should be warmed through and the sugar should no longer feel gritty when stirred. Gentle heating helps keep the dairy smooth. Avoid using high heat because overheating the cream and milk is unnecessary for this simple ice cream base.
Why Chilling Is Important
Once the ice cream base is warm and the sugar has dissolved, transfer it to a heatproof bowl. Cover the bowl and place it in the refrigerator for at least two hours. You can also chill the mixture overnight if you prefer to prepare the base in advance.
A cold ice cream base churns more effectively than a warm one. Chilling also gives the ingredients time to settle together before freezing. For the best results, make sure the base is thoroughly cold before placing it into the ice cream maker.
How to Churn Homemade Ice Cream
Before churning, whisk the chilled mixture well. This ensures that the ingredients are evenly combined after refrigeration. Pour the cold base into your prepared ice cream maker and follow the manufacturer’s instructions for your specific machine.
Most home ice cream makers take around 20 to 30 minutes to churn this type of mixture. The exact time can vary depending on the machine and the temperature of the ingredients. During churning, the liquid base gradually thickens into soft, creamy vanilla ice cream.
Understanding Soft-Serve Texture
Freshly churned ice cream usually has a soft texture. This is normal and does not mean the recipe has failed. At this stage, the ice cream is ready to eat if you prefer a softer consistency similar to soft serve.
For firmer homemade ice cream, transfer the churned mixture to an airtight freezer-safe container. Place it in the freezer for two to four hours. This additional freezing time gives the ice cream a more scoopable texture while keeping it creamy.
How to Get Creamy Vanilla Ice Cream
Starting with a well-chilled base is one of the simplest ways to improve homemade ice cream. The freezer bowl should also be fully frozen before churning. If either the base or bowl is too warm, the mixture may take longer to freeze and may not reach the desired texture.
Do not overfill the ice cream maker. The mixture needs room to expand as it churns. Follow the capacity recommendations provided with your machine. Giving the ice cream enough space allows the churner to work properly and helps create an even texture.
The Importance of Vanilla
Vanilla is the main flavor in this recipe, so vanilla extract plays an important role. The extract blends into the dairy base as it warms and becomes evenly distributed throughout the mixture. Because there are no additional flavors competing with it, the vanilla remains the main taste in every spoonful.
For a stronger vanilla flavor, the mixture can be chilled overnight before churning. This allows the ingredients to rest together. However, the recipe uses a simple amount of vanilla extract that provides a clear vanilla taste without overpowering the cream and milk.
Serving Homemade Vanilla Ice Cream
Fresh vanilla ice cream can be served as soon as it reaches your preferred consistency. Soft ice cream is excellent for serving immediately after churning, especially when paired with warm desserts. For a firmer scoop, allow the ice cream to freeze for two to four hours before serving.
This classic vanilla ice cream also works well with simple toppings. Fresh berries, chopped nuts, chocolate sauce, caramel sauce, or a few chocolate chips can be added after scooping. It can also be served beside cakes, brownies, cookies, or fruit desserts.
Easy Ice Cream Mix-Ins
One benefit of making vanilla ice cream at home is that the plain base provides plenty of room for additions. Chopped chocolate, crushed cookies, toasted nuts, or small pieces of fruit can be mixed into the churned ice cream before the final freezing stage.
If adding mix-ins, choose small pieces so they are easy to scoop and eat. Large or very wet additions can affect the texture of the ice cream. Add them toward the end of churning or fold them in gently before transferring the ice cream to its storage container.
Topping Ideas
Classic vanilla ice cream does not need many toppings, but simple additions can change the dessert completely. Fresh strawberries, blueberries, raspberries, sliced bananas, toasted almonds, or chopped pecans all pair naturally with vanilla.
For a chocolate dessert, drizzle the ice cream with chocolate syrup and add a few chocolate chips. Caramel sauce and chopped nuts create another easy combination. For a simple summer dessert, serve a scoop with fresh seasonal fruit and a light drizzle of honey.
Storing Homemade Ice Cream
After churning, transfer the ice cream to an airtight container before placing it in the freezer. Keeping the container sealed helps protect the ice cream from freezer odors and reduces the chance of ice crystals forming on the surface.
This homemade vanilla ice cream can be stored in the freezer for up to one month. For the best texture, keep it tightly covered and avoid repeatedly leaving the container out at room temperature. Take out only the amount you plan to serve.
How to Scoop Frozen Ice Cream
Homemade ice cream can become quite firm after several hours in the freezer. This is normal, especially when the ice cream is stored at a low freezer temperature. If it is difficult to scoop straight from the freezer, leave the container at room temperature for a few minutes.
Allowing the ice cream to soften briefly makes scooping easier without requiring it to melt completely. Use a sturdy ice cream scoop and work from the surface downward. Return the remaining ice cream to the freezer promptly after serving.
Common Mistakes to Avoid
One mistake is trying to churn the mixture while it is still warm. A warm base can make the machine work harder and may produce a softer result. Always chill the mixture thoroughly before churning, especially if you have warmed it on the stove.
Another mistake is forgetting to freeze the ice cream maker bowl ahead of time. A partially frozen bowl may not be cold enough to churn the mixture properly. Check your machine instructions and allow the required freezing time before beginning the recipe.
Making the Recipe Ahead
This vanilla ice cream is convenient to prepare ahead because the base can be chilled overnight. Preparing the mixture the evening before allows it to become fully cold and ready for churning the next day. This is especially useful when serving homemade ice cream at a gathering.
You can also churn the ice cream earlier in the day and freeze it for several hours before dessert. This gives the ice cream time to develop a firmer texture. Keep it covered in an airtight container until you are ready to serve.
Notes for the Best Results
Use medium-low heat when warming the ingredients and whisk frequently to help the sugar dissolve evenly. Do not boil the mixture. Once it is warmed through, move it to a heatproof bowl and refrigerate it promptly.
Make sure the ice cream maker bowl is completely frozen before use. Churn according to your machine’s instructions, since different models can require slightly different times. If the finished ice cream is too firm, let it sit at room temperature for a few minutes before scooping.
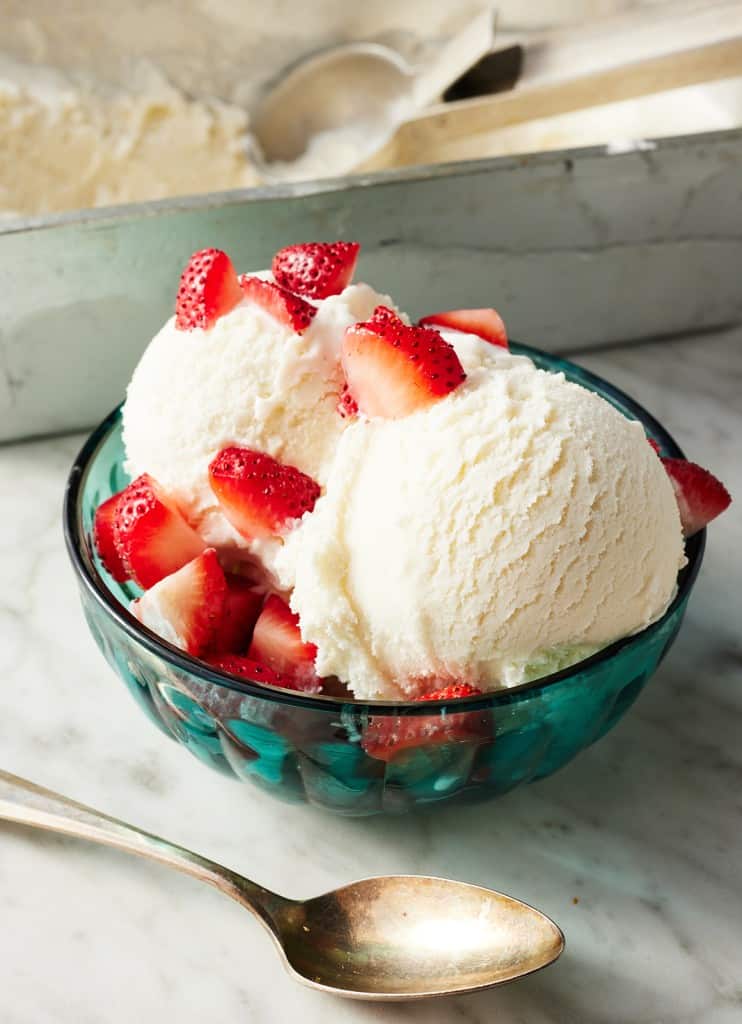
Simple Ice Cream Recipe
A simple homemade vanilla ice cream made with heavy cream, whole milk, cane sugar, vanilla extract, and sea salt. The chilled base is churned until creamy and can be served soft or frozen longer for a firmer texture.
4 to 8
servings30
minutes5
minutes2
hours2
hours35
minutesIngredients
1½ cups heavy cream
1½ cups whole milk
2 teaspoons vanilla extract
⅛ teaspoon sea salt
Instructions
- Combine the heavy cream, whole milk, cane sugar, vanilla extract, and sea salt in a medium saucepan. Warm over medium-low heat for about 5 minutes, whisking often, until the sugar dissolves and the mixture is warmed through.
- Pour the warm ice cream base into a heatproof bowl and cover it. Refrigerate for 120 minutes or overnight until completely chilled.
- Whisk the chilled mixture well, then pour it into a prepared ice cream maker. Churn according to the manufacturer’s instructions, usually for 20 to 30 minutes.
- The ice cream will have a soft texture immediately after churning. For firmer homemade ice cream, transfer it to an airtight container and freeze for 120 to 240 minutes.
- Scoop the ice cream once it reaches your preferred consistency. If it becomes too firm in the freezer, let it sit at room temperature for a few minutes before serving.
- Keep leftover ice cream in an airtight container in the freezer for up to one month.
Notes
- Freeze the ice cream maker bowl for at least 12 hours before churning if your machine requires a freezer bowl.
- Do not boil the cream and milk mixture; gentle heating is enough to dissolve the sugar.
- Chill the ice cream base completely before churning.
- Follow the instructions for your specific ice cream maker because churning times can vary.
- Freeze the churned ice cream for 2 to 4 hours if you prefer firm scoops.