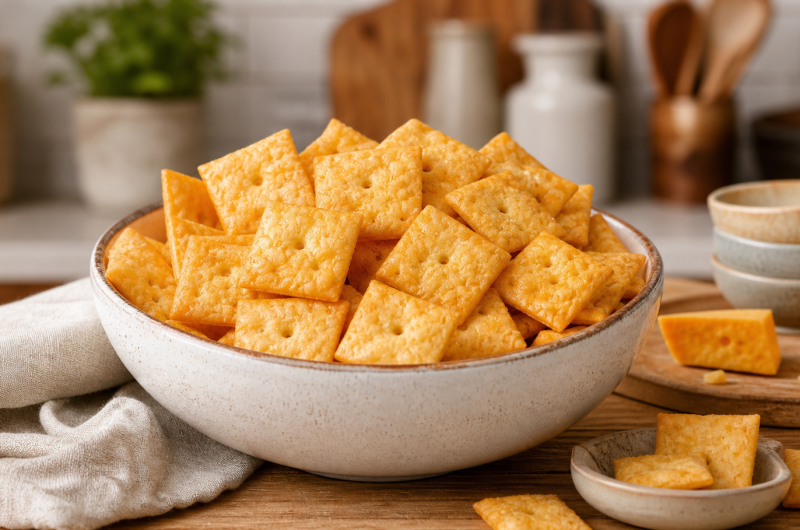
If you want a homemade gluten-free cheese cracker with a crisp bite and plenty of cheddar flavor, this recipe is a simple choice. The crackers are made with a short list of ingredients and bake quickly in the oven. They have thin, golden edges, a light crunch, and a savory cheese taste that makes them suitable for snacks, lunchboxes, or serving with soup and dips.
What Makes Them Gluten-Free
The main difference between these crackers and traditional cheese crackers is the flour. A gluten-free flour blend replaces regular wheat flour, making the recipe suitable for a gluten-free diet when all other ingredients are also certified gluten-free. If the flour blend does not contain xanthan gum, the supplied recipe calls for adding it to help bind the dough. Always check ingredient labels when preparing food for someone with celiac disease or a serious gluten sensitivity.
The Importance of Sharp Cheddar
Cheddar is the main source of flavor in these homemade cheese crackers, so choosing a flavorful variety makes a difference. Extra mature or extra sharp cheddar provides a stronger taste than mild cheese. Finely grate the cheddar before mixing it into the dough. Smaller pieces spread throughout the flour more evenly, allowing the cheese flavor to reach every cracker while also helping the dough remain smooth enough to roll.
Why Freshly Grated Cheese Helps
Freshly grated cheese is preferable when making these crackers because it mixes more easily with the flour and butter. Pre-shredded cheese can contain anti-caking ingredients that may affect how it combines with the other ingredients. A block of extra sharp cheddar grated finely at home gives you more control over the texture. It also allows the cheese to distribute evenly throughout the dough instead of forming larger clumps.
The Role of Gluten-Free Flour
The gluten-free flour blend creates the base of the cracker dough and provides the structure needed for rolling and baking. Different gluten-free blends can behave differently, so use a blend that works well for baking. If the blend already contains xanthan gum, follow its formulation rather than adding unnecessary extra gum. The goal is to create dough that holds together easily without becoming overly sticky or difficult to roll.
Why Xanthan Gum May Be Needed
Xanthan gum helps provide structure when wheat gluten is absent. It can help the dough hold together during rolling and cutting, reducing the chance of fragile pieces breaking apart before they reach the oven. If your gluten-free flour blend already contains xanthan gum, additional gum may not be necessary. Check the flour label before preparing the recipe so you do not accidentally use more than intended.
Cold Butter Creates Better Texture
Cold unsalted butter contributes both flavor and texture. When small pieces of cold butter remain distributed through the dough, they melt during baking and can help create a lighter, slightly flaky texture. Warm butter can blend too thoroughly into the flour before the crackers enter the oven. For this reason, keep the butter chilled and cut it into small cubes immediately before mixing.
The Purpose of Cold Water
Cold water brings the ingredients together without making the dough excessively soft. Add it gradually rather than pouring in all the water at once. The exact amount of water can depend on the flour blend and environmental conditions, so the important sign is that the dough just comes together. Avoid adding unnecessary water because excess moisture can make the crackers harder to roll thinly and may reduce their crispness.
Preparing the Dry Mixture
Start by combining the gluten-free flour blend, xanthan gum if required, and salt in a mixing bowl. Whisk the ingredients together so the salt and binding ingredient are distributed evenly. Add the finely grated cheddar and cold cubed butter. Use a pastry cutter or your fingertips to work the butter into the mixture until it resembles coarse breadcrumbs. This gives the dough an even foundation before water is introduced.
Bringing the Dough Together
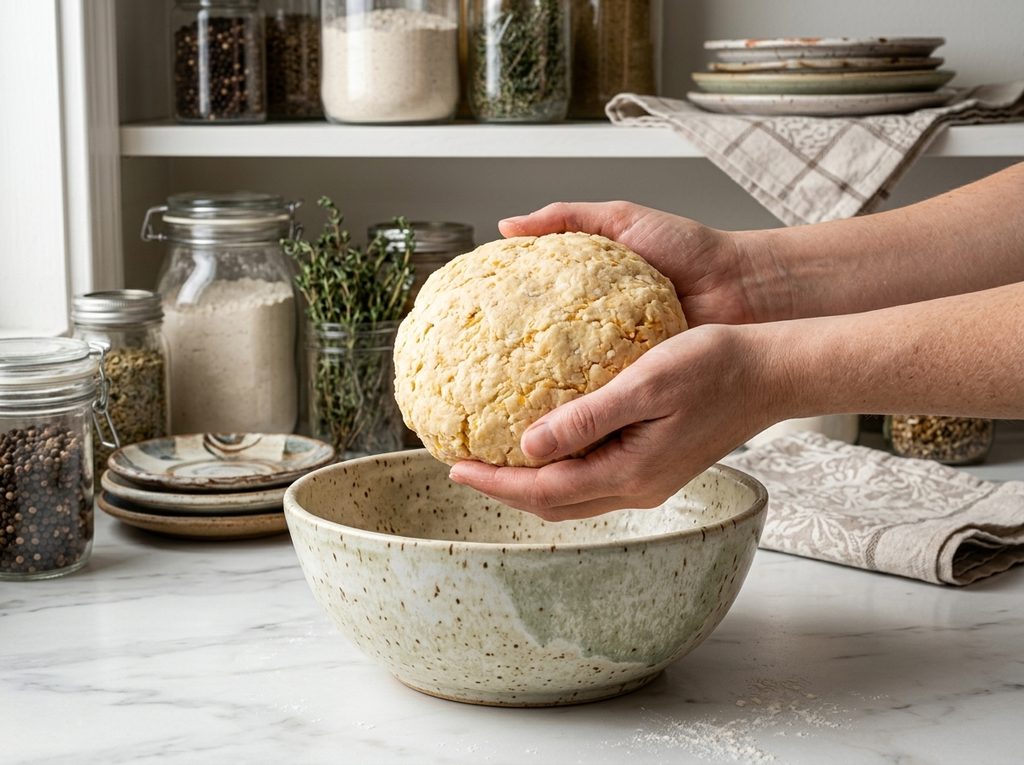
Once the flour, cheese, and butter resemble breadcrumbs, gradually add the cold water. Mix gently until the dough begins to hold together. Do not knead it for a long time. Gluten-free dough does not need the same development as traditional wheat dough, and excessive handling can make the mixture difficult to roll. Stop as soon as you have a cohesive dough that can be shaped without crumbling apart.
Rolling the Dough Thin
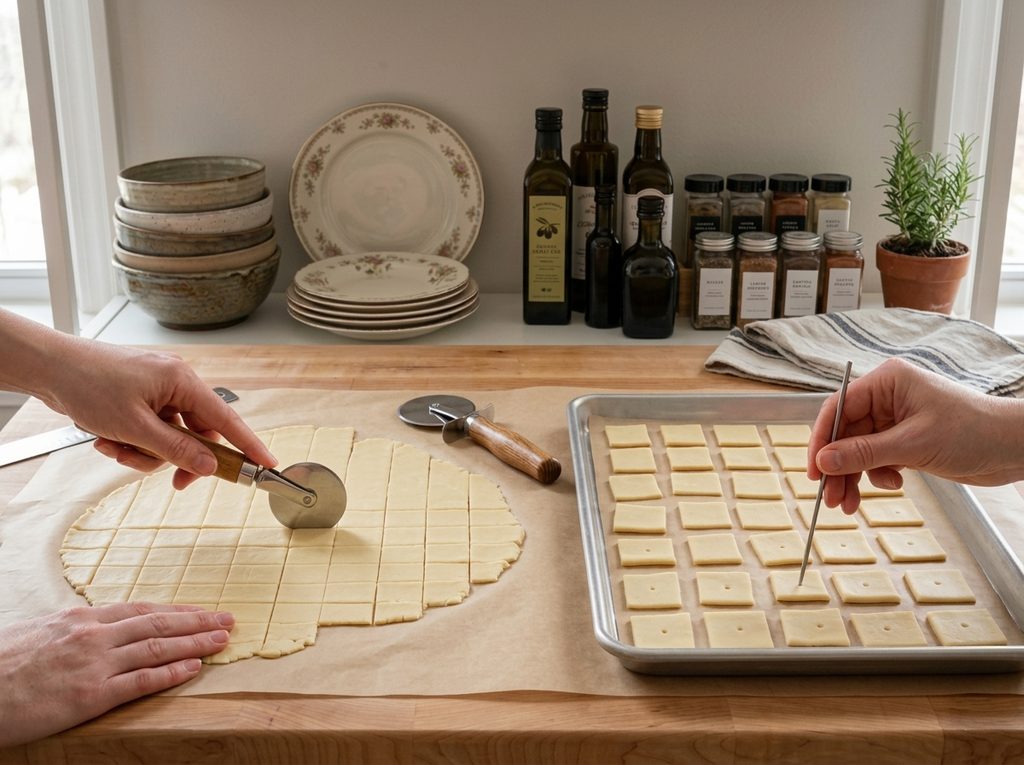
Thin dough is one of the most important factors in achieving crisp gluten-free crackers. Place the dough between two sheets of parchment paper and roll it to approximately 1/16 inch thick. Using parchment prevents the dough from sticking and reduces the need for extra flour. It also makes it easier to lift and transfer the thin sheet of dough to the baking surface without damaging its shape.
Why Even Thickness Matters
Try to keep the dough at a consistent thickness as you roll. Areas that are thicker may remain softer while thinner sections become brown and crisp. Uneven dough can therefore produce crackers that finish baking at different times. Rolling between parchment helps you apply steady pressure and gives you a clear view of the dough as it becomes thinner. Take a moment to check the edges and center before cutting.
Cutting the Crackers
Once the dough is rolled, cut it into small squares or rectangles using a sharp knife or pizza cutter. You can also use a small cookie cutter if you want decorative shapes. Keep the pieces similar in size so they bake at roughly the same rate. If there are scraps left after cutting, gather them gently and reroll them rather than discarding them. Avoid excessive handling while doing this to maintain the desired texture.
Why Crackers Need Small Holes
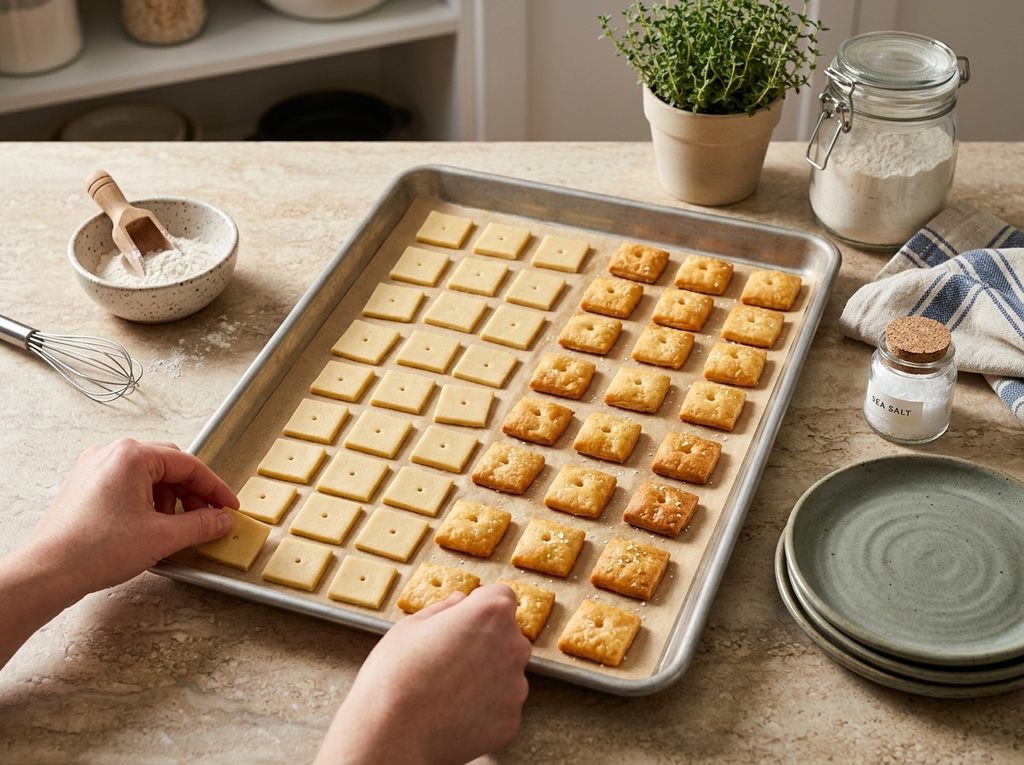
Poking a small hole in the center of each cracker is a simple step that helps control puffing. Use a fork or skewer to make the holes after cutting. The holes allow steam to escape more easily as the crackers bake. This helps the pieces stay relatively flat and gives them the familiar appearance of crisp snack crackers. Make sure the holes are small and do not tear the dough.
Preparing the Baking Sheet
Line the baking sheet with parchment paper before transferring the crackers. Arrange the cut pieces in a single layer so they have enough space to bake evenly. The parchment makes cleanup easier and reduces the chance of sticking. Since the crackers are thin, they do not require a complicated baking setup. A properly prepared baking sheet allows you to move quickly from cutting to baking.
Preheating the Oven
Preheat the oven to 350°F, or 180°C, before baking the crackers. A fully heated oven is important because the thin dough needs consistent heat as soon as it enters the oven. Starting in a cooler oven can change the baking time and may affect the final crispness. Have the baking sheet ready before the oven reaches temperature so the crackers can go straight into the heat.
Baking the Cheese Crackers
Bake the crackers for approximately 12 to 15 minutes, watching them closely near the end. The edges should become golden brown, and the crackers should feel firm rather than soft. Because the pieces are thin, they can move from perfectly browned to overly dark in a short time. Check the tray during the final minutes and remove the crackers when they reach a light golden color.
Cooling for Maximum Crispness
Allow the baked crackers to cool completely before placing them into a storage container. Freshly baked crackers may feel slightly softer while they are still hot, but they become firmer as they cool. Sealing warm crackers can trap steam inside the container, which may cause them to lose their crisp texture. Give them enough time to cool on the baking sheet or another suitable surface before storing.
How to Get Extra Crispy Crackers
The simplest way to make crisp crackers is to roll the dough very thin and bake it until lightly golden. Avoid adding too much water and keep the butter cold during preparation. Uniform pieces also help because they finish cooking at a similar rate. If your crackers are still soft after cooling, the dough may have been too thick or the crackers may need a little more baking time.
Preventing the Crackers from Spreading
Excessive spreading can happen when the butter becomes too warm before baking. Cold butter helps the dough maintain its structure until it reaches the oven. Work efficiently when combining the ingredients and avoid leaving the dough in a warm kitchen for an extended period. If the dough becomes noticeably soft while you work, keeping it cool before rolling can help preserve the shape of the finished crackers.
Flavor of Extra Sharp Cheddar
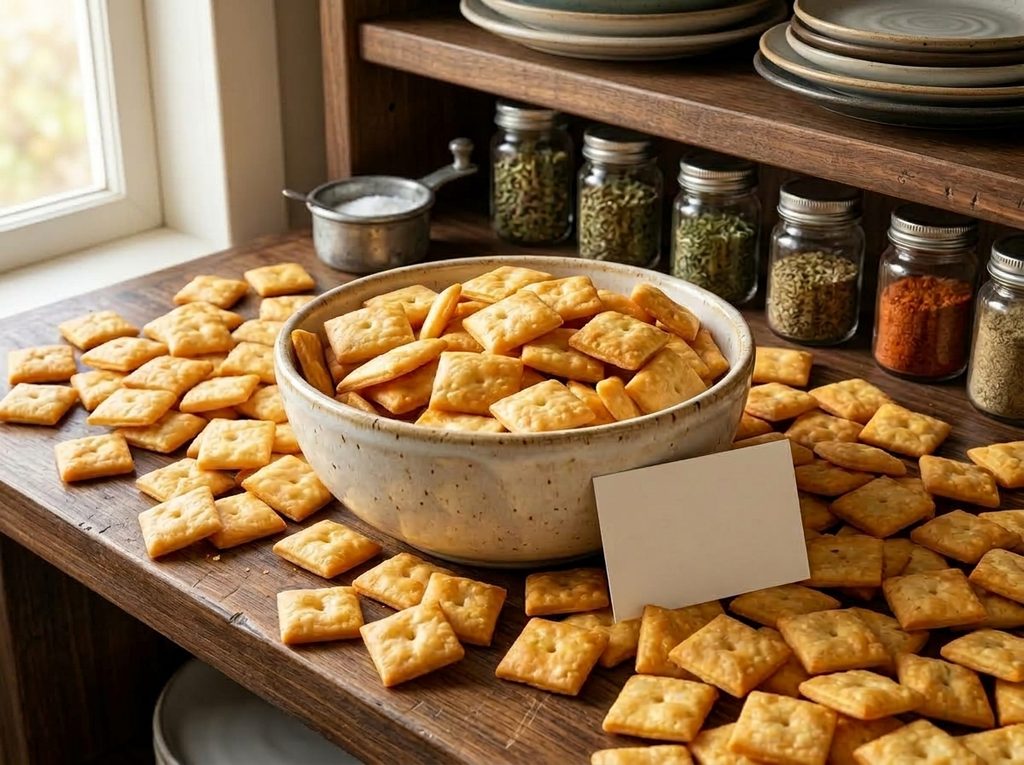
Extra sharp cheddar gives these crackers a strong savory flavor without requiring many additional seasonings. The cheese also contributes to the golden appearance as the crackers bake. If you enjoy a milder snack, a less mature cheddar can be used, although the flavor will be gentler. For the strongest cheese taste, finely grate a flavorful extra mature cheddar and distribute it evenly through the dough.
Simple Flavor Variations
The basic dough can be adapted with additional seasonings if desired. Smoked paprika can add a mild smoky character, while garlic powder or dried herbs can create a more savory flavor. A small amount of cayenne can provide gentle heat. You can also replace part of the cheddar with grated Parmesan for a deeper savory taste. These additions should complement the original dough rather than overwhelm the cheddar flavor.
Serving Homemade Cheese Crackers
These gluten-free cheese crackers are easy to serve on their own, but they can also become part of a larger snack plate. Pair them with dips, olives, fresh fruit, or sliced meats. Their crisp texture provides a nice contrast to softer foods. They can also be added to a lunchbox as a homemade alternative to packaged crackers. Because the flavor is savory and cheesy, they work well with many simple accompaniments.
Pairing Crackers With Soup
Crisp cheese crackers make a useful side for soup. Their cheddar flavor works particularly well with tomato soup, vegetable soup, and other warm dishes. Serve them separately so they remain crunchy, or add a few directly to the bowl when you want some texture. Since the crackers are thin and crisp, they can also be broken into smaller pieces and used as a simple topping.
Homemade Snack for Lunchboxes
These crackers can be portioned into small containers for school or work lunches. They are easy to carry and do not require complicated preparation after baking. Make sure the ingredients are suitable for the person eating them, especially when preparing food for someone with celiac disease or food allergies. Once completely cooled and stored properly, the crackers can provide a convenient homemade snack throughout the week.
Storing Gluten-Free Cheese Crackers
Store the cooled crackers in an airtight container at room temperature for up to one week. Keeping air and moisture away is important because humidity can soften the crackers. Never seal them while they are still warm. Allow the entire batch to cool first, then transfer it to a dry, airtight container. If the crackers lose their crunch, gently reheating them may help, although preventing moisture is the better approach.
Why Freezing Is Not Recommended
Freezing is not recommended for these crackers because it can change their crisp texture. The recipe is already quick to prepare, so making a fresh batch when needed is generally more practical. A properly sealed container allows the crackers to remain enjoyable for up to one week. If you are preparing them for a gathering, bake them ahead and allow them to cool completely before storing.
Troubleshooting Soft Crackers
Soft crackers usually have a simple cause. The dough may have been rolled too thick, the crackers may have needed additional baking time, or moisture may have entered the storage container. Check the thickness carefully when rolling and bake until the edges are lightly golden. Cooling is also important because the crackers continue to firm as they reach room temperature. Store them only after they are completely cool.
Fixing Crackers That Spread
If the crackers spread too much during baking, check the temperature of the butter. Butter that is too warm can lose the structure needed to keep the dough in place. Make sure the butter starts cold and avoid excessive handling. It is also useful to work efficiently when preparing the dough so it does not sit in a warm kitchen for too long before baking.
Improving Weak Cheese Flavor
If the finished crackers do not taste cheesy enough, the type of cheddar may be the reason. Extra mature or extra sharp cheddar provides more flavor than a mild variety. Freshly grated cheese can also give a better result than pre-shredded cheese. The crackers are intentionally simple, so using a flavorful cheddar has a noticeable effect on the final taste.
Avoiding Overbrowning
Thin crackers can brown quickly, particularly around the edges. Watch them closely during the final minutes of baking rather than leaving them unattended. The goal is a light golden color rather than a deep brown surface. If your oven runs hot, the crackers may finish sooner than expected. Remove them when they are firm and lightly golden, then allow them to cool before judging their final crispness.
Notes for Better Results
Use cold unsalted butter and cold water from the beginning of the preparation. Finely grate the cheddar and roll the dough very thin between parchment sheets. Keep the cracker pieces similar in size and poke a small hole in the center of each one. Bake until lightly golden and allow the crackers to cool completely before storage. These small details make a noticeable difference in the final crunch and appearance.
Gluten-Free Ingredients and Cross-Contact
When making these crackers for someone who must strictly avoid gluten, check the labels of every packaged ingredient. Gluten-free flour should be clearly identified as gluten-free, and other ingredients should be suitable for the intended dietary needs. Cross-contact can happen through shared cutting boards, utensils, baking trays, or work surfaces. Clean equipment and a separate preparation area can help reduce that risk when necessary.
Why This Recipe Is Practical
This recipe is useful because it keeps the process short without sacrificing the qualities people expect from a cheese cracker. The dough does not require yeast, a long rise, or chilling. Cold butter provides richness and texture, while cheddar supplies the main flavor. Rolling the dough thinly and baking it until golden creates the crisp finish associated with classic snack crackers.
Gluten-Free Cheese Crackers
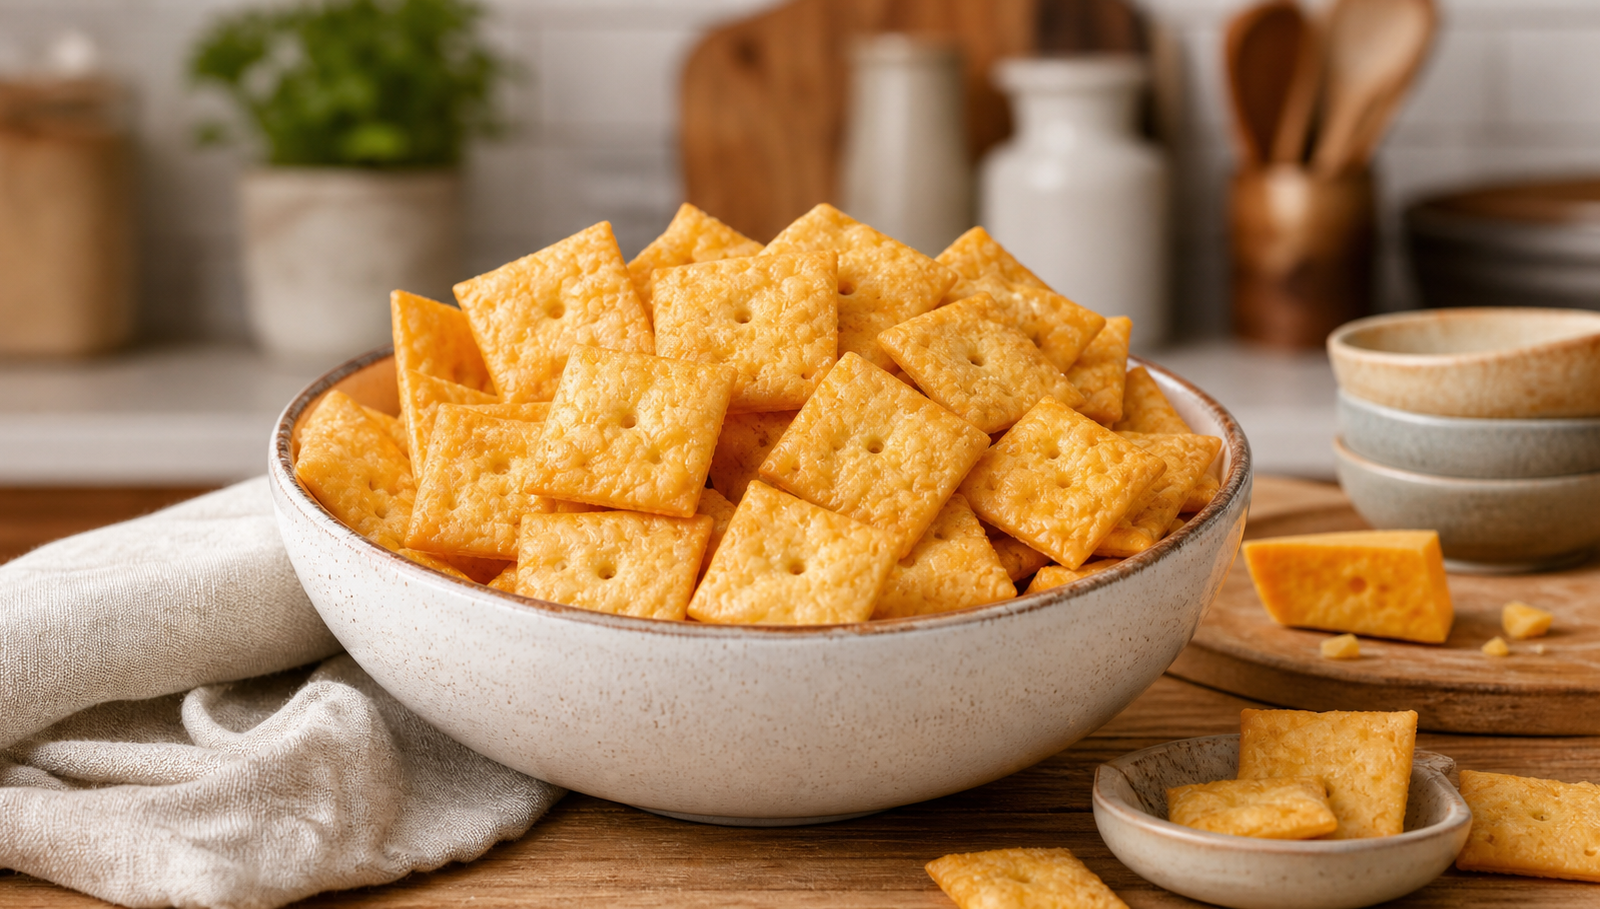
Homemade gluten-free cheese crackers. If you’re craving that salty, cheesy crunch reminiscent of classic Cheez-Its but need a gluten-free alternative, this recipe is perfect for you.
150
servings20
minutes15
minutes35
minutesIngredients
120g (1 cup) plain gluten-free flour blend (without xanthan gum)
1/4 tsp xanthan gum (omit if already in the flour blend)
1/4 tsp salt
225g (8 ounces) extra sharp cheddar cheese, finely grated
45g (3 tbsp) cold unsalted butter, cubed
30g (2 tbsp) cold water
Instructions
- Preparing the Dough:
- Preheat the oven to 350ºF (180ºC) and line two baking sheets with parchment paper.
- In a large mixing bowl, whisk together the gluten-free flour, xanthan gum, and salt.
- Add the grated cheese and cold butter. Use your fingers to blend everything until the mixture resembles coarse breadcrumbs. Alternative: A food processor can also be used—just pulse the flour, cheese, butter, and salt together until crumbly.
- Gradually add the cold water, mixing with a fork or spatula until a rough dough forms.
- Knead the dough until it becomes smooth and pliable. It should roll out easily without being too dry or sticky. If needed, add a teaspoon of water at a time to adjust consistency.
- Rolling & Cutting the Crackers:
- Divide the dough into two portions. Roll out each portion between two sheets of parchment paper until 1/16 inch (1-2mm) thick.
- Use a pizza cutter, sharp knife, or cookie cutter to slice into cracker-sized pieces.
- For a classic Cheez-It look, cut into 1-inch (2.5cm) squares. This recipe yields about 150-160 crackers.
- Transfer the cut crackers onto the prepared baking sheets, spacing them about 1/4 inch (0.5cm) apart.
- Use a skewer to poke a hole in the center of each cracker to prevent excessive puffing.
- Baking:
- Bake each tray separately for 12-15 minutes, or until the crackers are golden brown with slightly darker edges.
- Allow them to cool completely on the baking sheet before enjoying
Notes
- Keep your homemade gluten-free cheese crackers in an airtight container at room temperature for up to a week. Enjoy them as a snack or pair with your favorite dips