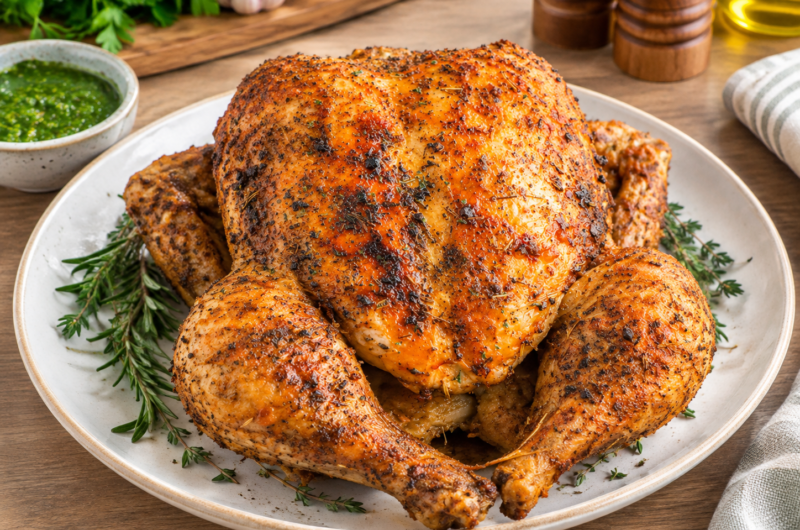
Air fryer whole chicken is an easy way to prepare a complete roast chicken at home. The skin becomes golden and crisp while the meat stays tender and juicy inside. With a few basic seasonings and a little olive oil, you can have a flavorful chicken ready for dinner without using a large oven.
Why Cook a Whole Chicken in the Air Fryer
Cooking a whole chicken in the air fryer is convenient because hot air moves around the bird as it cooks. This helps the skin brown while the chicken cooks evenly. It also saves oven space, which is useful when you are preparing vegetables or other dishes at the same time.
A Simple Dinner Recipe
This recipe uses a whole chicken, olive oil, salt, paprika, garlic powder, black pepper, and dried thyme. There is no complicated marinade or long preparation process. Once the chicken is seasoned, it goes directly into the air fryer for cooking.
Choosing the Right Chicken
The recipe calls for one whole chicken weighing 3 ½ to 4 pounds. Before cooking, check the size of your air fryer basket and make sure the chicken fits comfortably. The bird should have enough room for the air to circulate and should not press against the heating element.
Checking the Air Fryer Size
Air fryer baskets come in many different sizes, so capacity matters when cooking a whole chicken. A 5.8-quart air fryer can fit a chicken around the size used in this recipe, but individual models vary. Always check the actual basket space before starting the preparation.
Preparing the Chicken
Remove the Giblets
Before seasoning the chicken, check inside the cavity and remove all giblets or other pieces that may have been placed there. The cavity should be completely empty before the chicken goes into the air fryer. Any removed giblets can be saved and frozen if you plan to use them later for gravy.
Dry the Chicken Skin
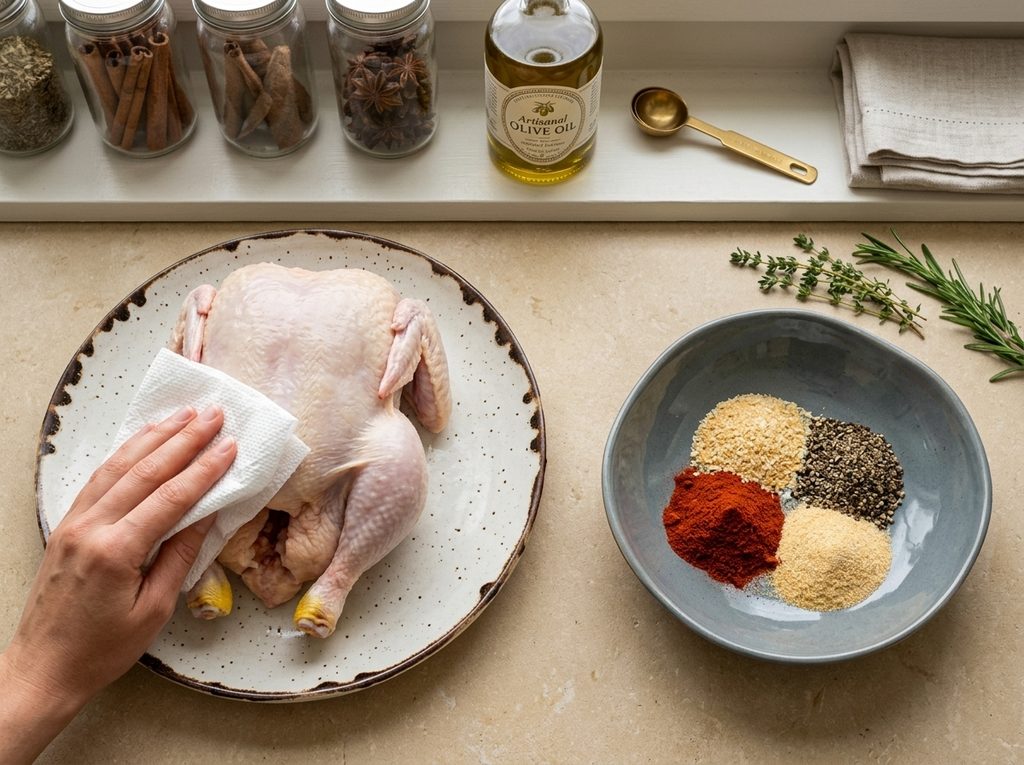
Use paper towels to gently dab the outside of the chicken until the skin is dry. Removing excess moisture helps the skin become crisp during air frying. Take your time with this step, especially around the legs, breast, and other areas where moisture may collect.
Add the Olive Oil
Rub the tablespoon of olive oil over the chicken skin. Try to coat the surface evenly so the seasoning can stick to the chicken. The oil also helps the skin brown as it cooks, giving the finished chicken a crisp outer layer.
Seasoning the Chicken
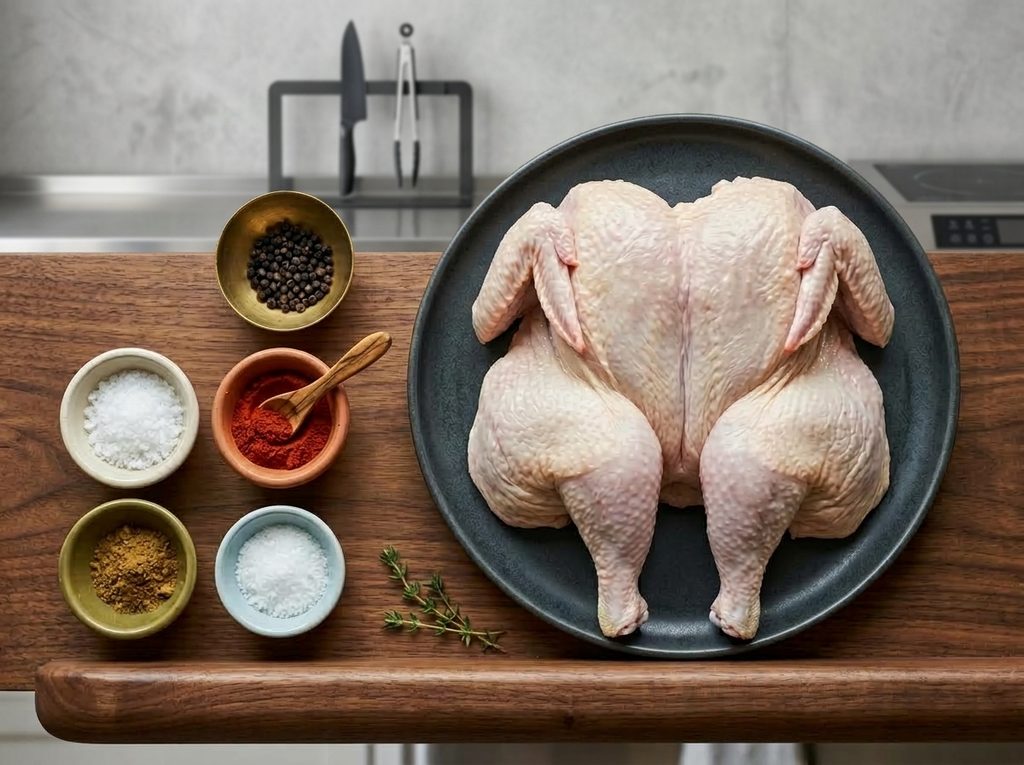
The seasoning mixture contains kosher salt, paprika, garlic powder, black pepper, and dried thyme leaves. Sprinkle it evenly over the oiled chicken skin. You can gently rub the seasoning into the surface so that the flavor is distributed across the whole bird.
Making the Chicken Seasoning
Kosher Salt
Kosher salt provides the main seasoning for the chicken. The recipe uses 1 teaspoon, or you can adjust it to taste. Since the chicken is whole, spreading the salt evenly over the skin helps the flavor reach the different portions as they cook.
Paprika
Paprika gives the chicken a warm color and mild flavor. It also helps the skin develop an attractive golden appearance in the air fryer. Only ½ teaspoon is needed, so it works as part of the seasoning blend rather than overpowering the chicken.
Garlic Powder
Garlic powder adds savory flavor without the moisture of fresh garlic. This is useful when cooking chicken in an air fryer because fresh garlic pieces can become overly dark or burn during cooking. The recipe uses ½ teaspoon of garlic powder.
Black Pepper
Black pepper adds a mild sharpness to the seasoning. The recipe uses ¼ teaspoon, which gives the chicken a balanced amount of pepper without covering up the natural flavor of the meat.
Dried Thyme
Only ⅙ teaspoon of dried thyme leaves is needed. Thyme gives the chicken a light herbal flavor that works well with garlic, paprika, and black pepper. Because dried herbs are concentrated, a small amount is enough for the seasoning mixture.
Air Fryer Cooking Method
Starting Breast-Side Down
Place the seasoned chicken breast-side down in the air fryer basket. Starting in this position allows the first side to cook before the chicken is turned over. Make sure the chicken is positioned securely and that it does not touch the heating element.
Setting the Temperature
Turn the air fryer on to 350°F. The chicken cooks at this temperature throughout the main cooking process. If your air fryer heats differently from other models, begin checking the chicken toward the earlier end of the suggested cooking time.
First Cooking Stage
Cook the chicken breast-side down for about 30 minutes. During this time, the hot air circulates around the chicken and begins cooking the meat while the skin starts to brown. Avoid opening the basket repeatedly because doing so can release heat and extend the cooking time.
Flipping the Chicken
After the first 30 minutes, carefully turn the chicken over so the breast side is facing upward. Continue cooking for another 20 to 30 minutes. Use kitchen tongs or another suitable tool to turn the chicken safely because the basket and chicken will both be hot.
Checking the Temperature
The most important way to know when the chicken is finished is to check its internal temperature. Insert an instant-read meat thermometer into the thickest part of the chicken and make sure it reaches 165°F. Check the temperature before the maximum suggested cooking time so the chicken does not become overcooked.
Getting Crispy Chicken Skin
Keep the Skin Dry
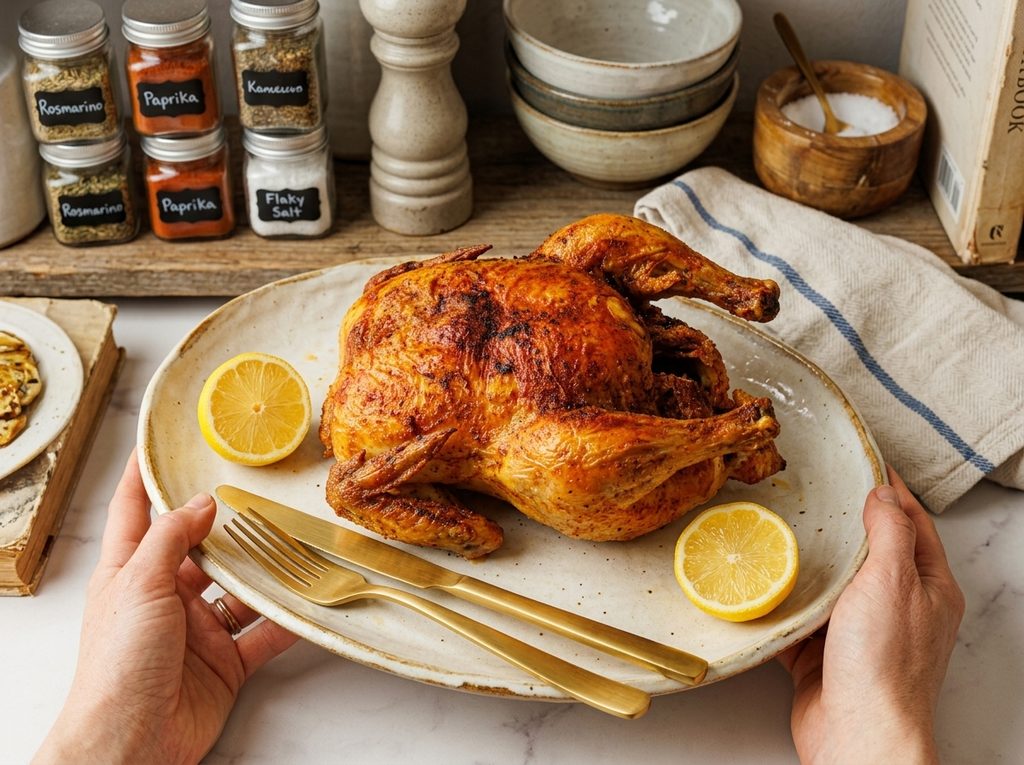
Dry chicken skin generally cooks better in an air fryer than wet skin. Before adding the olive oil and seasoning, remove as much surface moisture as possible with paper towels. This small preparation step can help the skin become firmer and more browned.
Use a Moderate Temperature
The chicken cooks at 350°F in this recipe. A steady temperature allows the inside to cook while the exterior develops color. Cooking time can vary based on the size of the chicken and the particular air fryer, so use the internal temperature as the final guide.
Avoid Overcooking
Chicken can become dry when it is left in the air fryer for longer than necessary. Start checking the internal temperature early during the second cooking stage. Once the thickest portion reaches 165°F, the chicken can be removed from the air fryer.
Resting the Chicken
Why Resting Matters
After cooking, remove the whole chicken from the air fryer and let it rest for 10 minutes before cutting. Resting gives the chicken time to settle after cooking. It also makes carving easier because the meat is less likely to release as much juice immediately.
Keeping It Warm
The chicken can rest on a cutting board or serving plate for the 10-minute resting period. There is no need to cover it tightly if you want to preserve the crispness of the skin. A short rest is enough before carving and serving.
How to Serve Air Fryer Chicken
Carving the Chicken
Once the chicken has rested, use a sharp knife to separate the legs, thighs, wings, and breast meat. Cut the breast meat into slices if desired. Serving the chicken in pieces makes it easier for everyone to choose their preferred portion.
Simple Dinner Plate
Air fryer whole chicken works well with vegetables and other simple side dishes. Green beans, asparagus, and cauliflower are suitable choices when you want a lower-carb meal. You can also use the chicken meat in salads, wraps, or other meals after removing it from the bone.
Using the Chicken Drippings
The juices and drippings left in the air fryer basket can be useful rather than discarded. They can be poured over vegetables before cooking them in the air fryer while the chicken rests. Green beans, asparagus, and cauliflower are examples that work well with the savory drippings.
Adjusting the Chicken to Fit
When the Chicken Is Too Large
If the chicken is slightly too large and touches the top heating element, it should be adjusted before cooking. Depending on the bird and basket, you may be able to untie the legs or press the chicken down slightly so it fits safely.
Do Not Let It Touch the Element
The chicken should not be pressed against the top heating element during cooking. Contact with the element can interfere with cooking and may cause the skin to brown too quickly in one area. Check the fit carefully before turning on the air fryer.
Changing the Seasoning
Use Different Dry Seasonings
The recipe provides a simple chicken seasoning blend, but dry seasonings can be changed according to your preference. The supplied recipe specifically notes that you can use seasonings you like. Dry herbs and spices are particularly convenient for air frying because they do not add extra moisture to the skin.
Be Careful With Fresh Garlic
Fresh garlic can burn during air frying, especially when exposed directly to the hot circulating air. Garlic powder is used in this recipe instead, providing the desired savory flavor without pieces of fresh garlic sitting on the chicken skin.
Cooking Time Guide
Preparation Time
The preparation time for this recipe is 5 minutes. This includes getting the chicken ready, drying the skin, coating it with olive oil, and applying the seasoning. Having the ingredients measured before starting makes the preparation even easier.
Cooking Time
The listed cooking time is 55 minutes. The chicken is cooked for 30 minutes breast-side down and then another 20 to 30 minutes after turning. Since the second stage can vary, checking the internal temperature is more reliable than following the clock alone.
Resting Time
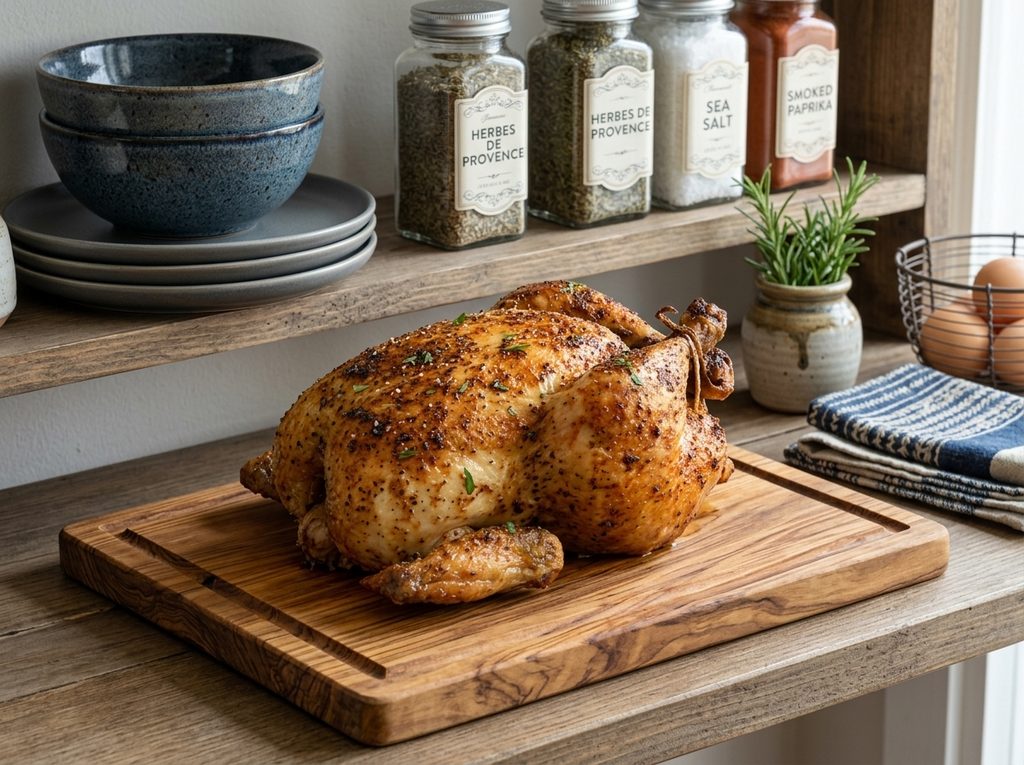
The chicken rests for 10 minutes after air frying. This time is separate from the cooking period and should be included when planning the meal. The total listed recipe time is 70 minutes, including preparation, cooking, and resting.
Understanding Doneness
Use a Meat Thermometer
An instant-read meat thermometer is the easiest way to check whether a whole chicken is cooked. Insert it into the thickest portion of the meat without touching the bone. The recipe calls for an internal temperature of 165°F before serving.
Check Early
Because air fryers differ in power and basket design, your chicken may cook faster or slower than expected. Check the temperature toward the earlier part of the second cooking stage. This helps prevent the chicken from staying in the air fryer longer than necessary.
Storage and Leftovers
Refrigerating Cooked Chicken
If you have leftover chicken, remove the meat from the bones and place it in a covered container in the refrigerator. The cooked meat can then be used for another meal. Keeping leftovers properly covered helps maintain their quality and prevents them from drying out too quickly.
Ways to Use Leftover Chicken
Leftover air fryer chicken can be added to salads, low-carb bowls, soups, or simple vegetable meals. The meat can also be sliced or shredded for quick lunches. Using the leftovers this way makes a whole chicken useful for more than one meal.
Keto-Friendly Serving
Why It Fits a Low Carb Menu
The supplied nutrition information lists 1 gram of carbohydrates and 1 gram of fiber per serving. This makes the chicken naturally low in carbohydrates. The main ingredients are chicken, olive oil, herbs, and spices, with no breading or sugary coating.
Pairing With Vegetables
For a keto-style dinner, serve the chicken with vegetables that fit your personal carbohydrate target. The original recipe suggests green beans, asparagus, or cauliflower as options for cooking with the chicken drippings. These vegetables can turn the roasted chicken into a complete meal.
Easy Homemade Whole Air Fryer Chicken
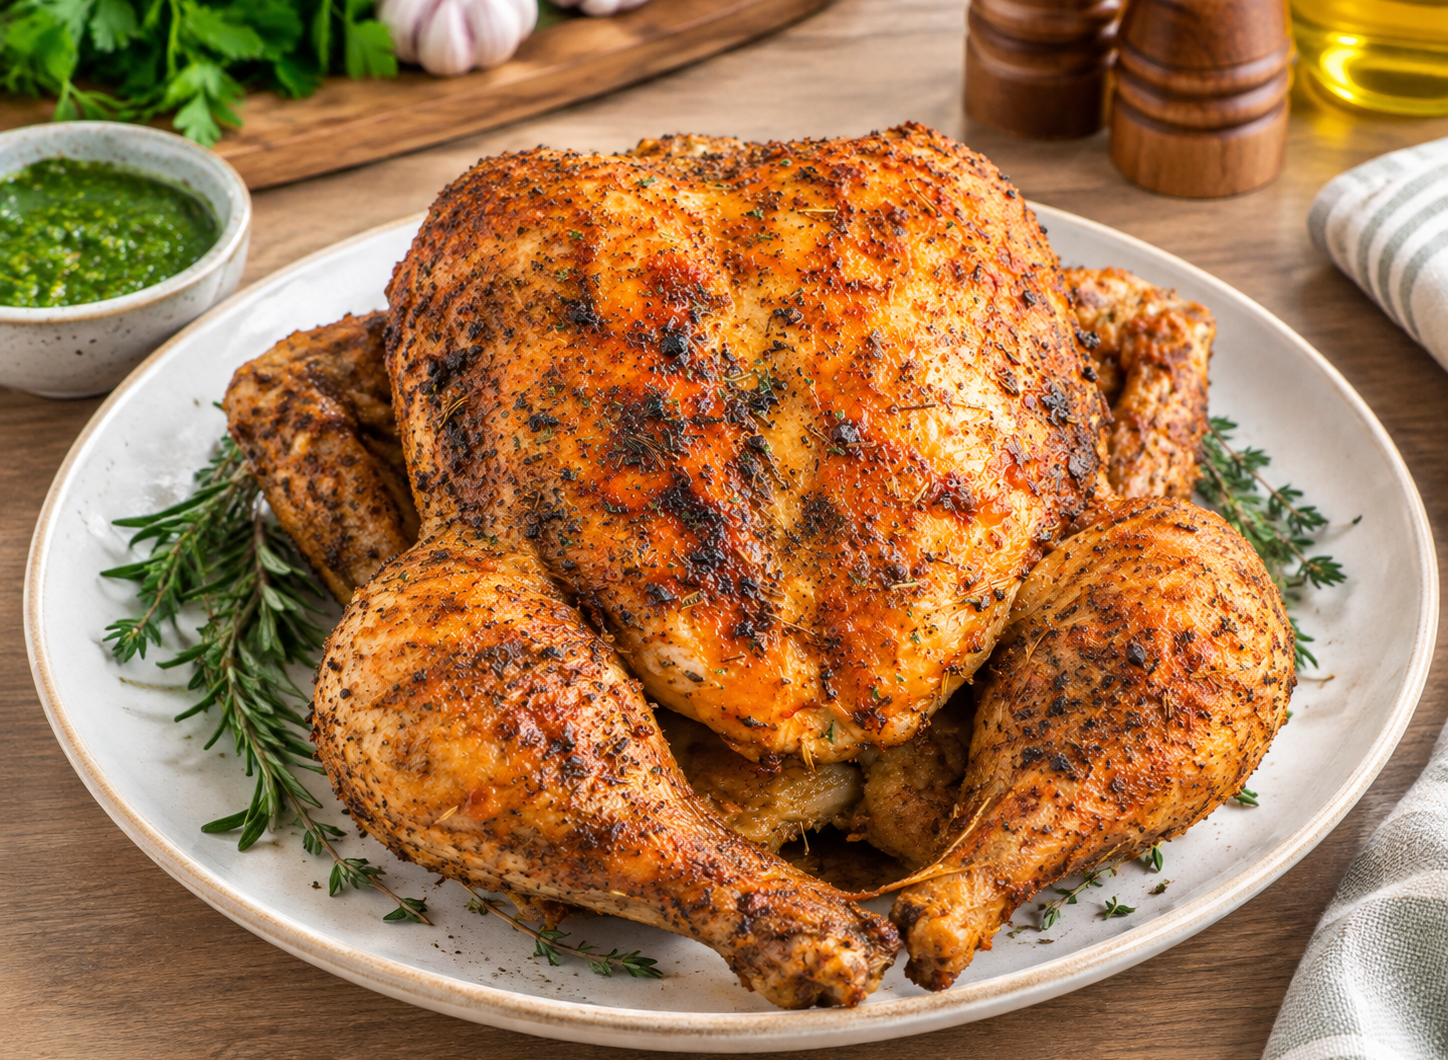
This air fryer whole chicken is seasoned with olive oil, paprika, garlic powder, black pepper, thyme, and kosher salt. The chicken cooks until the skin is crisp and golden while the meat remains tender and juicy. It is a simple low-carb main dish for an easy family dinner.
4
servings5
minutes55
minutes444
kcal10
minutes1
hour10
minutesIngredients
- Chicken
1 whole chicken 3 ½ to 4 pounds
1 tablespoon olive oil
- Chicken Seasoning
1 teaspoon kosher salt or to taste
½ teaspoon paprika
½ teaspoon garlic powder
¼ teaspoon black pepper
⅙ teaspoon dried thyme leaves
Instructions
- Check the chicken cavity and remove all giblets. Pat the outside of the chicken dry with paper towels, then rub the skin evenly with olive oil and sprinkle the kosher salt, paprika, garlic powder, black pepper, and dried thyme over the chicken.
- Place the chicken breast-side down in the air fryer basket. Set the air fryer to 350°F and cook for 30 minutes. Carefully turn the chicken over so it is breast-side up. Continue cooking for another 20–30 minutes, depending on the size of the chicken and your air fryer.
- Check the thickest part of the chicken with an instant-read meat thermometer. Continue cooking as needed until the internal temperature reaches 165°F. Remove the chicken from the air fryer and let it rest for 10 minutes before carving. This gives the meat time to settle and makes slicing easier.
- Slice and serve the chicken with your preferred side dishes. The drippings can also be used over vegetables such as green beans, asparagus, or cauliflower while the chicken rests.
Nutrition Facts
- Calories: 444kcal
- Fat: 32g
- Cholesterol: 143mg
- Carbohydrates: 1g
- Fiber: 1g
- Sugar: 1g
- Protein: 36g
- Iron: 2mg