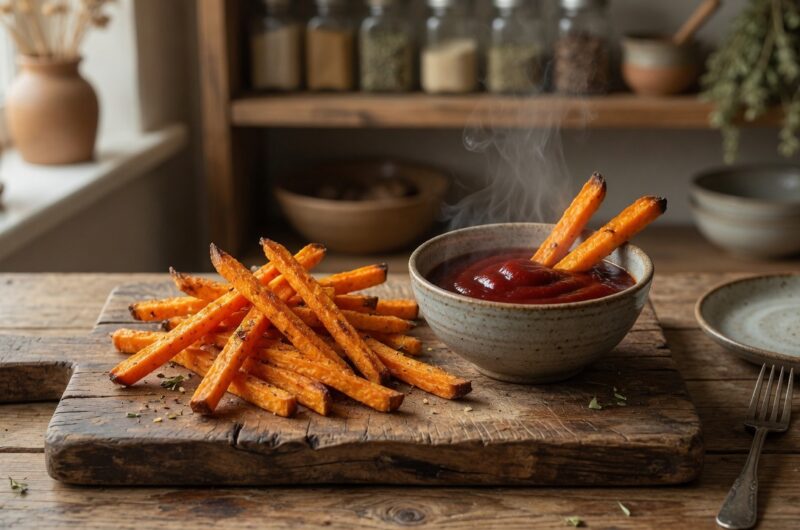
Sweet potato fries offer a healthier alternative to regular french fries while delivering great taste and nutrition. Baking them in the oven instead of deep frying cuts down on oil and calories. The natural sweetness of sweet potatoes pairs perfectly with a touch of salt and olive oil. You can make crispy, restaurant-quality fries right in your home kitchen with just a few simple ingredients.
Why Sweet Potatoes Beat Regular Potatoes
Sweet potatoes pack more nutrients than regular white potatoes. They contain high amounts of vitamin A, which supports eye health and immune function. The orange flesh provides beta-carotene, a powerful antioxidant. Sweet potatoes also offer more fiber, helping you feel full longer. Their natural sweetness means they taste great without needing heavy seasonings or sauces.
The Secret to Crispy Baked Fries
Getting crispy fries from the oven requires a few tricks. Cornstarch is the secret ingredient that creates that crispy exterior. It absorbs moisture from the potato surface and forms a crunchy coating when baked. High heat is essential for crisping rather than steaming the fries. Proper spacing on the baking sheet allows air to circulate around each fry. These techniques together produce fries that rival deep-fried versions.
Cornstarch Coating Explained
A light dusting of cornstarch changes the texture of baked sweet potato fries completely. The fine powder coats each fry and dries out the surface during baking. This creates that satisfying crunch you expect from good fries. Without cornstarch, baked sweet potatoes tend to stay soft and never get crispy. Just one tablespoon for two pounds of potatoes makes a noticeable difference.
Choosing the Right Sweet Potatoes
Look for firm sweet potatoes with smooth skin and no soft spots. Medium to large potatoes work best since they yield longer fries. Avoid potatoes with wrinkled skin or visible damage. The color can range from light tan to deep orange on the outside. All varieties work for fries, though darker orange flesh tends to be sweeter and moister.
Peeling and Cutting Techniques
Peeling sweet potatoes is easier than you might think with a good vegetable peeler. Cut off both ends first to create stable surfaces. Slice the potato lengthwise into planks about a quarter inch thick. Stack a few planks and cut them into strips a quarter inch wide. Uniform sizing ensures all fries cook at the same rate and finish together.
Size Matters for Even Cooking
Cutting fries to consistent dimensions prevents some from burning while others stay undercooked. Aim for pieces about a quarter inch wide and a quarter inch thick. Length can vary based on the potato size, but width and thickness matter most. Thicker fries stay soft inside while thinner ones get crispier. Find the balance that gives you crispy outside and tender inside.
Two Baking Sheets Work Best
Dividing the fries between two baking sheets prevents overcrowding. Crowded fries steam instead of roast, resulting in soggy fries that never crisp up. Spreading them in a single layer with space between each piece allows heat to reach all sides. Using two racks in the oven lets you bake a full batch at once. You will swap the pans halfway through for even browning.
Parchment Paper Benefits
Lining your baking sheets with parchment paper prevents sticking and makes cleanup easier. The paper creates a non-stick surface without adding extra oil. Fries release easily after baking, keeping their shape intact. You can reuse the same parchment for multiple batches. This simple step saves time on scrubbing stuck-on potato bits later.
Oven Temperature Importance
Baking at 425 degrees Fahrenheit provides the high heat needed for crispiness. Lower temperatures cook the fries but do not crisp them properly. Higher temperatures risk burning the outside before the inside cooks through. This temperature hits the sweet spot for golden, crispy exteriors and fluffy interiors. Always preheat your oven fully before adding the fries.
Rack Positioning Strategy
Placing racks in the upper and lower thirds of the oven allows you to bake two pans simultaneously. The top rack should sit about six inches from the heat source for proper browning. Positioning racks too close to the top or bottom can cause uneven cooking. The lower rack bakes more gently while the upper rack adds extra browning. Swapping positions halfway through ensures both pans cook evenly.
Coating Process Steps
Sprinkle cornstarch and salt over the raw fries before adding any oil. Toss the fries to distribute the dry ingredients evenly across all pieces. The cornstarch should lightly coat each fry without clumping. Drizzle olive oil over the cornstarch-coated fries and toss again. Use your hands to rub any visible powder spots until all fries look evenly coated.
Why Oil Goes On Last
Adding oil after the cornstarch helps the powder adhere to the potato surface. If you add oil first, the cornstarch slides off and clumps together. The oil activates the cornstarch and helps it form that crispy coating during baking. Two tablespoons of olive oil is enough to coat two pounds of fries without making them greasy. A light coating works better than drowning the fries in oil.
Olive Oil Choice
Extra-virgin olive oil adds flavor while keeping this recipe on the healthier side. Its smoke point is high enough for baking at 425 degrees Fahrenheit. The oil helps conduct heat to the fries and browns them nicely. You can substitute avocado oil or another neutral oil if preferred. Whatever oil you choose, measure carefully to avoid soggy, oil-soaked fries.
First Baking Period
The initial twenty-minute bake starts the cooking process and sets the cornstarch coating. During this time, the fries begin to soften inside while the exterior starts to firm up. Do not flip them during this first period or the coating might stick to the pan. Let them bake undisturbed so the bottom side can brown and release naturally. You will know they are ready to flip when they lift easily from the parchment.
Flipping Technique
A metal spatula works best for flipping sweet potato fries without breaking them. Work in small sections, scooping up about ten fries at a time. A quick flick of your wrist turns the group over in one motion. Do not try to flip individual fries or you will spend forever on this step. The fries should release easily if properly coated and sufficiently baked on the first side.
Rearranging for Even Browning
After flipping, check for any fries that are browning faster than others. Move these more-browned pieces toward the center of the pan where heat is less intense. Edges and corners of baking sheets receive more direct heat and brown faster. This rearranging step ensures all fries finish at the same level of doneness. Take an extra minute to spread them evenly across the pan again.
Swapping Pan Positions
Switching the top pan to the bottom rack and vice versa promotes even cooking between both batches. Ovens often have hot spots and temperature variations between racks. The top rack typically runs hotter and browns faster. Swapping positions at the halfway point gives both pans equal exposure to the different heat levels. This simple move prevents one pan from burning while the other stays pale.
Second Baking Time
The final ten to eighteen minutes of baking varies based on your oven and fry thickness. Watch the fries carefully during this period as they can burn quickly once crispy. The surface changes from shiny and orange to more matte and puffed when nearly done. Some ovens finish faster than others, so start checking at the ten-minute mark. Pull them when they look golden and crispy but not burnt.
Visual Doneness Cues
Sweet potato fries signal their doneness through visible texture changes. Raw or undercooked fries look wet and shiny on the surface. As they cook, the surface dries out and becomes more matte. Properly cooked fries puff up slightly and develop a dry, crispy appearance. Edges might brown a bit darker, which adds caramelized flavor rather than burnt taste.
Lower Pan Finishing First
The bottom pan sometimes finishes a few minutes before the top pan despite swapping positions. Check both pans independently rather than assuming they finish together. Remove the done pan and let the other continue baking as needed. Slightly browned edges are fine and add flavor. Deeply blackened edges mean the fries have gone too far.
Optional Seasoning Additions
Plain salt and olive oil taste great, but additional seasonings take these fries to another level. Black pepper adds a subtle kick and aromatic quality. Cayenne pepper brings heat for those who like spicy food. Garlic powder contributes savory depth without overwhelming the sweet potato flavor. Add seasonings after baking so they stick to the hot, slightly oily surface.
Balancing Spice Levels
A small amount of cayenne pepper goes a long way in adding heat. Start with just a quarter teaspoon or less for four servings. You can always add more but cannot take it away once mixed in. Garlic powder should be used sparingly to complement rather than dominate. Freshly ground black pepper can be added more generously based on personal preference.
Serving Temperature
Sweet potato fries taste best when served immediately while still hot and crispy. The texture starts to soften as they cool, though they still taste good. Serve them straight from the oven to the table for maximum crispiness. Pair them with burgers, sandwiches, or grilled proteins for a complete meal. They also work as a standalone snack with your favorite dipping sauce.
Dipping Sauce Pairings
Sweet potato fries pair well with many different dipping sauces. Classic ketchup works but seems ordinary compared to other options. Spicy mayo made with sriracha and mayonnaise complements the sweetness. Honey mustard adds tangy sweetness that enhances the potato flavor. Garlic aioli provides creamy richness. Chipotle mayo brings smoky heat. Choose based on whether you want sweet, spicy, tangy, or creamy flavors.
Storage and Reheating
Leftover fries keep in the refrigerator for up to four days in a covered container. They lose some crispiness during storage but still taste good. Reheat them in the oven or toaster oven to restore crunch. Microwaving makes them soggy and chewy rather than crispy. Spread leftover fries on a baking sheet and heat at 400 degrees for five to ten minutes. They will crisp up again almost like fresh.
Making Fries Ahead
You can prep sweet potatoes up to two days before baking them. Peel and cut them into fry shapes and store them in water. The water prevents the cut surfaces from browning or drying out. When ready to cook, drain the fries thoroughly and pat them completely dry with towels. Any water on the surface will steam instead of crisp, so drying is crucial.
Gluten Free Confirmation
This recipe naturally contains no gluten since it uses cornstarch instead of wheat flour. Sweet potatoes, olive oil, and salt are all naturally gluten free. Make sure your cornstarch brand is certified gluten free if you have celiac disease. Some brands process cornstarch in facilities that also handle wheat. Read labels carefully if gluten is a serious health concern for you.
Kid-Friendly Appeal
Children who resist vegetables often enjoy sweet potato fries. The finger-food format makes them fun to eat. The natural sweetness appeals to young taste buds. Making fries at home lets kids help with measuring and tossing ingredients. When children participate in cooking, they feel more invested in eating the result. This recipe can help introduce more vegetables into picky eaters’ diets.
Leftover Creative Uses
Day-old sweet potato fries make an excellent base for loaded nachos. Top them with cheese, beans, and your favorite nacho toppings. Chop leftover fries and add them to breakfast hash with eggs. Toss them in salads for added crunch and substance. Mix them into grain bowls for extra vegetables and texture. Leftover fries are more versatile than you might think.
Cost Effectiveness
Making sweet potato fries at home costs a fraction of restaurant or frozen store-bought versions. Two pounds of sweet potatoes usually costs just a few dollars. The other ingredients are pantry staples you likely already have. You get four generous servings for less than buying one serving at most restaurants. The savings add up quickly if you make these regularly.
Oven Variations
Different ovens heat differently, so you may need to adjust timing slightly. Convection ovens cook faster and more evenly than conventional ovens. If using convection, reduce temperature by 25 degrees or decrease cooking time. Gas ovens may have more hot spots than electric ovens. Get to know your oven’s quirks and adjust accordingly. The visual cues for doneness work regardless of oven type.
Common Problems and Solutions
Soggy fries usually result from overcrowding the pan or skipping the cornstarch. Make sure fries have space between them on the baking sheet. If fries burn before crisping, your oven runs hot and you should lower the temperature. Unevenly cooked fries mean you need to cut more uniformly or flip more carefully. Fries sticking to the pan means you need parchment paper or more oil.
Perfecting Your Technique
Your first batch might not be perfect, but you will improve with practice. Pay attention to what works in your specific oven with your preferred potato size. Take notes on timing and temperature adjustments that work for you. Experiment with different seasonings to find your favorite combinations. After making these a few times, you will develop your own perfect method.
Seasonal Availability
Sweet potatoes are available year-round in most grocery stores. Fall and winter bring peak season with the best prices and quality. Stock up when prices drop and store sweet potatoes in a cool, dark place. They keep for several weeks if stored properly. Having sweet potatoes on hand means you can make these fries any time a craving hits.
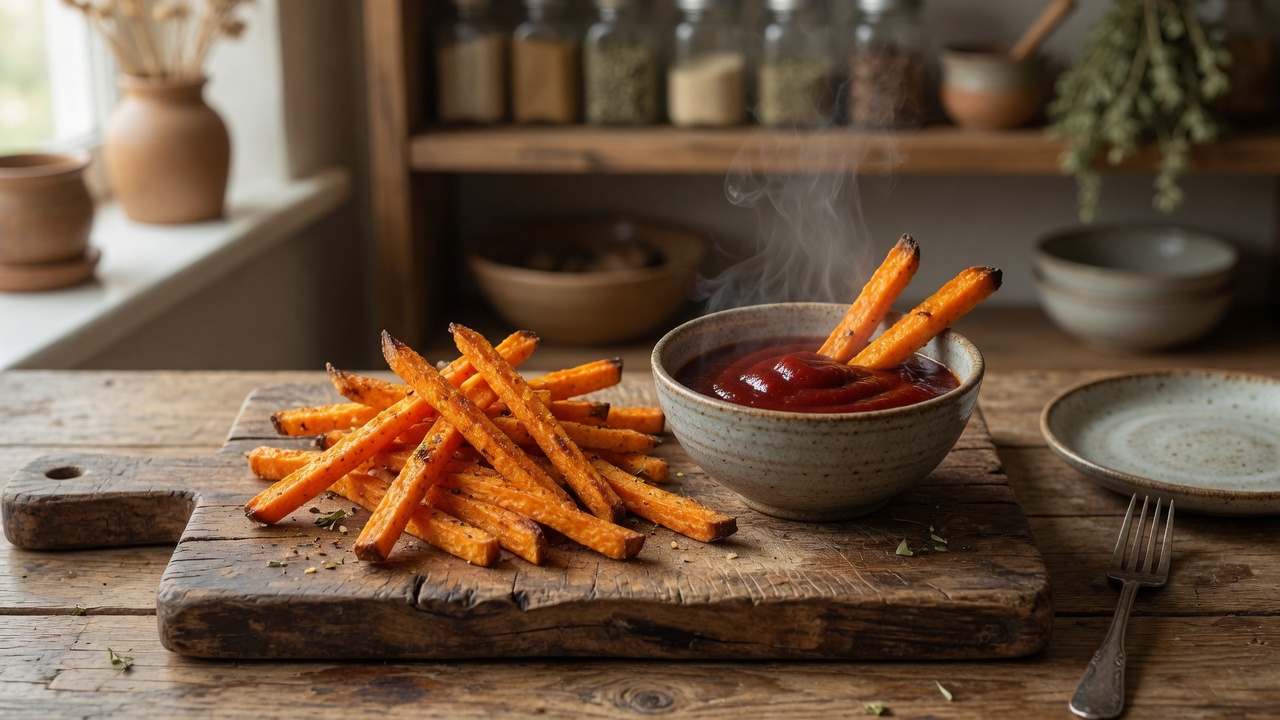
Crispy Baked Sweet Potato Fries
Crispy baked sweet potato fries made with just a few simple ingredients. Cornstarch creates a crunchy coating while olive oil and sea salt enhance the natural sweetness. These healthy fries bake in the oven with no deep frying required.
4
servings30
minutes40
minutes300
kcalIngredients
2 pounds sweet potatoes (approximately 2 medium-large or 3 medium)
1 tablespoon cornstarch
½ teaspoon fine sea salt
2 tablespoons extra-virgin olive oil
- Optional Seasonings:
Freshly ground black pepper
Cayenne pepper
Garlic powder
Instructions
- Preheat oven to 425 degrees Fahrenheit with racks positioned in the upper and lower thirds. Make sure the top rack sits about six inches from the heat source. Line two large rimmed baking sheets with parchment paper. Peel sweet potatoes and cut into fry-shaped pieces about a quarter inch wide and a quarter inch thick.
- Divide the cut fries evenly between the two prepared baking sheets. Sprinkle each pan with half the cornstarch and half the salt. Toss until fries are lightly coated with powder. Drizzle one tablespoon olive oil over each pan and toss until fries are evenly coated with no powdery spots remaining.
- Arrange fries in a single layer without overcrowding. Bake for twenty minutes without disturbing. Flip all the fries using a metal spatula, working in small sections for easier turning.
- Rearrange fries evenly across both pans, moving any heavily browned pieces toward the center. Swap the pan positions so the former top pan goes to the lower rack and the former bottom pan goes to the upper rack.
- Continue baking for ten to eighteen more minutes until fries are crispy and golden. Watch carefully as they can burn quickly once crisp. The surface will change from shiny to matte when nearly done.
- Remove from oven and toss with additional seasonings if desired. Serve immediately while hot and crispy.
Notes
- Crispy Coating: Cornstarch is essential for creating crispy fries. Do not skip this ingredient or the fries will stay soft.
- Even Sizing: Cut fries to uniform size for even cooking. Inconsistent pieces will result in some fries burning while others stay undercooked.
- Make Ahead: Peel and cut sweet potatoes up to two days ahead. Store cut fries submerged in water in the refrigerator to prevent browning. Drain and thoroughly pat dry before baking.
- Half Recipe: Use one pound sweet potatoes and halve all other ingredients. Bake on one pan on the upper rack. Flip after fifteen minutes and check for doneness five to fifteen minutes later.
- Spacing: Do not overcrowd the baking sheets or fries will steam instead of crisp. Leave space between each fry for air circulation.