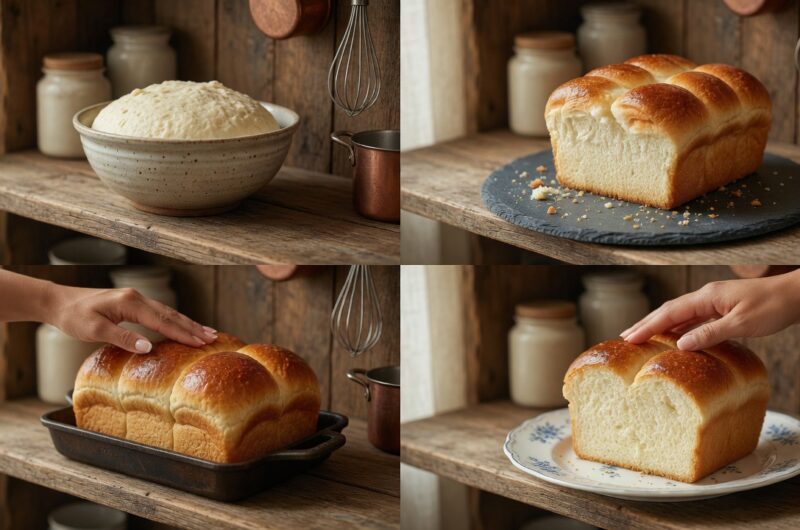
This homemade white bread recipe uses basic kitchen staples you probably have right now. No fancy ingredients or special equipment needed. Just flour, yeast, sugar, oil, salt, and water come together to make two full-sized loaves.
The recipe has been passed down through Amish communities for generations because it works every single time when you follow the steps correctly.
The bread comes out soft and slightly sweet with a golden crust. It stays fresh for days and works for everything from morning toast to dinner sandwiches. Making two loaves at once means you can enjoy one fresh and freeze the second for later. The texture is tender enough for kids but sturdy enough to hold sandwich fillings without falling apart.
Why This Recipe Works Every Time
Each ingredient has a specific purpose in creating the perfect loaf. The sugar feeds the yeast and adds mild sweetness. The oil keeps the inside moist and prevents the bread from going stale quickly.
Salt strengthens the dough and balances the sweet flavor. When combined in the right order and given proper rising time, these simple ingredients create bakery-quality bread at home.
The key difference between good homemade bread and great homemade bread is technique. This recipe guides you through yeast activation, gradual mixing, proper kneading, and two separate rises.
Each step builds on the last one. Skipping or rushing any stage usually leads to dense or dry results instead of the light, fluffy texture you want.
Getting Your Ingredients Ready
Start with all-purpose flour, measuring between six and seven cups total. You will add this gradually, not all at once. The exact amount depends on humidity and how your flour absorbs liquid. Warm your water to exactly 110-115 degrees Fahrenheit. This temperature range wakes up the yeast without killing it. Water that feels slightly warm on your wrist works perfectly.
Use standard granulated sugar and active dry yeast from the baking aisle. The yeast must be fresh and within its expiration date or your bread will not rise. Vegetable oil works best here because it has a neutral flavor. Avoid strongly flavored oils like olive oil unless you want that taste in your bread. Keep regular table salt on hand and optionally some melted butter for brushing the tops after baking.
How Yeast Activation Actually Works
Pour your warm water into a large mixing bowl first. Stir in the sugar until it dissolves completely. Sprinkle the yeast over the surface of the sweetened water. Do not stir it in yet. Let this mixture sit undisturbed for five to ten minutes. You will see bubbles and foam forming on top. This foam tells you the yeast is alive and actively eating the sugar.
If your mixture does not foam up after ten minutes, something went wrong. Either your yeast was too old, or your water temperature was incorrect. Do not continue with dead yeast. Start over with fresh yeast and properly warmed water. This extra five minutes now saves you from wasting two hours on bread that will never rise properly.
Mixing the Dough the Right Way
Once your yeast mixture is foamy and active, add the oil and salt. Stir these in until combined. Now start adding flour one cup at a time. Mix well after each cup before adding more. This gradual method lets you stop at exactly the right consistency. Your dough should pull away from the bowl sides and form a soft ball that is slightly sticky but manageable.
Many people add too much flour too quickly and end up with dry, heavy bread. Stop adding flour when the dough starts holding together even if you have not used all seven cups. Different flours and weather conditions affect how much you need. Trust what you see in the bowl more than the exact cup measurement.
Kneading Develops the Bread Structure
Turn your dough out onto a lightly floured counter or cutting board. Knead by pushing down and forward with your palms, then folding the dough back over itself. Rotate it a quarter turn and repeat. Keep doing this for six to eight minutes. Your arms might get tired but this work is what creates the stretchy gluten network that traps air bubbles and makes bread fluffy.
The dough transforms during kneading from shaggy and rough to smooth and elastic. When properly kneaded, it should stretch without tearing and spring back when you poke it. If using a stand mixer with a dough hook attachment, knead on medium speed for about five minutes. Do not add extra flour during kneading unless the dough is so sticky it will not come off your hands at all.
Why the First Rise Matters
Shape your kneaded dough into a smooth round ball. Put it into a bowl you have lightly greased with oil or cooking spray. Turn the dough ball once so the top is also greased. This prevents a dry skin from forming. Cover the bowl with plastic wrap or a clean kitchen towel. Place it somewhere warm and away from drafts. The ideal rising spot is around 75-80 degrees.
Let the dough rise for one to one and a half hours. It needs to double in size. The actual time depends on your room temperature. Warmer rooms speed this up while cooler rooms slow it down. Do not rush this step. The yeast needs time to produce gas bubbles and develop flavor. Bread that did not rise long enough turns out heavy and tight instead of light and airy.
Shaping Your Loaves Correctly
When the dough has doubled, press it down gently with your fist to release the gas. Do not punch it hard or knead it again. Just deflate it softly. Turn it out onto your counter and divide it into two equal pieces. Shape each piece by flattening it into a rectangle about as wide as your loaf pan is long. Roll it up tightly from the short end, pinching the seam closed as you go.
Place each rolled loaf seam-side down into a greased 9×5-inch loaf pan. The tight rolling creates an even shape with no air pockets. Loaves shaped loosely tend to have holes and uneven slices. Grease your pans well so the finished bread releases easily. Cover the pans loosely with a towel and get ready for the second rise.
The Second Rise Creates Final Volume
Let your shaped loaves rise for thirty to forty-five minutes. They should puff up until the dough reaches just above the rim of the pans. This second rise is shorter than the first but equally important. Under-risen loaves bake up dense. Over-risen loaves might collapse in the oven because the gluten structure gets too stretched out and weak.
Watch your dough rather than just watching the clock. When you gently press a finger into the dough, it should slowly spring back but leave a slight indent. If it springs back immediately, it needs more time. If your fingerprint stays completely, the dough has risen too much. The perfect second rise happens in that middle zone where the dough is puffy but still has strength.
Baking to Golden Perfection
Preheat your oven to 350 degrees Fahrenheit before the loaves finish rising. A properly preheated oven ensures even baking from the moment the pans go in. Bake for twenty-five to thirty minutes. The tops should turn golden brown. The classic test for doneness is tapping the bottom of the loaf. Remove it from the pan and tap the bottom with your knuckles. It should sound hollow like knocking on a door.
For a softer crust, brush melted butter over the tops immediately after removing the loaves from the oven. The butter soaks in while the bread is hot and creates a tender, glossy top. Let the bread cool in the pans for about five minutes, then turn the loaves out onto wire cooling racks. Cooling on a rack instead of a solid surface prevents moisture from collecting underneath and making the bottom soggy.
When Things Go Wrong
Most bread problems trace back to a few common mistakes. Bread that never rises usually means dead yeast or water that was too hot or too cold. Dense heavy loaves come from adding too much flour or not kneading long enough. Bread that rises beautifully then collapses in the oven almost always means the second rise went too long before baking.
Dry bread that goes stale quickly often happens when you slice it while still warm. Hot bread releases steam when cut, and that steam carries away moisture. Always let your loaves cool completely before slicing. If your bread consistently turns out wrong, check your yeast freshness first, then measure your water temperature with a thermometer, then watch your rising times more carefully.
Simple Ways to Customize This Bread
You can make small changes without affecting how the recipe works. Brush the tops with melted butter right after baking for an extra soft crust. Sprinkle rolled oats or sesame seeds on top before baking for added texture and visual appeal. Replace one cup of all-purpose flour with bread flour for a slightly chewier texture. Add a teaspoon of honey along with the sugar for deeper flavor.
These variations stay within the basic structure of the recipe. Do not try to add heavy ingredients like nuts or dried fruit to this dough. The recipe is designed for a simple white bread. For add-ins, you would need a different formula with more structure to support the extra weight.
How to Store and Use Your Bread
Let the loaves cool completely before storing. Slice one loaf for immediate use and wrap the other whole for the freezer. At room temperature, store bread in an airtight container or bread bag for up to four days. Do not refrigerate bread as cold temperatures actually make it go stale faster than room temperature storage.
For freezer storage, wrap each loaf tightly in plastic wrap, then add a layer of aluminum foil or use a freezer bag. Properly wrapped bread keeps for up to three months frozen. Thaw at room temperature for several hours before using. You can also freeze individual slices separated by parchment paper. This lets you pull out just one or two slices at a time for toast without thawing the whole loaf.
Best Ways to Serve Amish White Bread
This bread works for nearly every bread need in your kitchen. Toast it for breakfast with butter and jam. Use it for lunch sandwiches with deli meat and cheese. Make French toast by dipping slices in egg mixture and frying until golden. Turn it into garlic bread by spreading with butter, garlic, and herbs before toasting. The slightly sweet flavor works with both sweet and savory toppings.
Stale bread does not have to go to waste. Cut it into cubes and toast them for homemade croutons. Use day-old slices for bread pudding. Make breadcrumbs by processing dried bread in a food processor. The neutral flavor and sturdy texture make this bread incredibly versatile even when it is not perfectly fresh anymore.
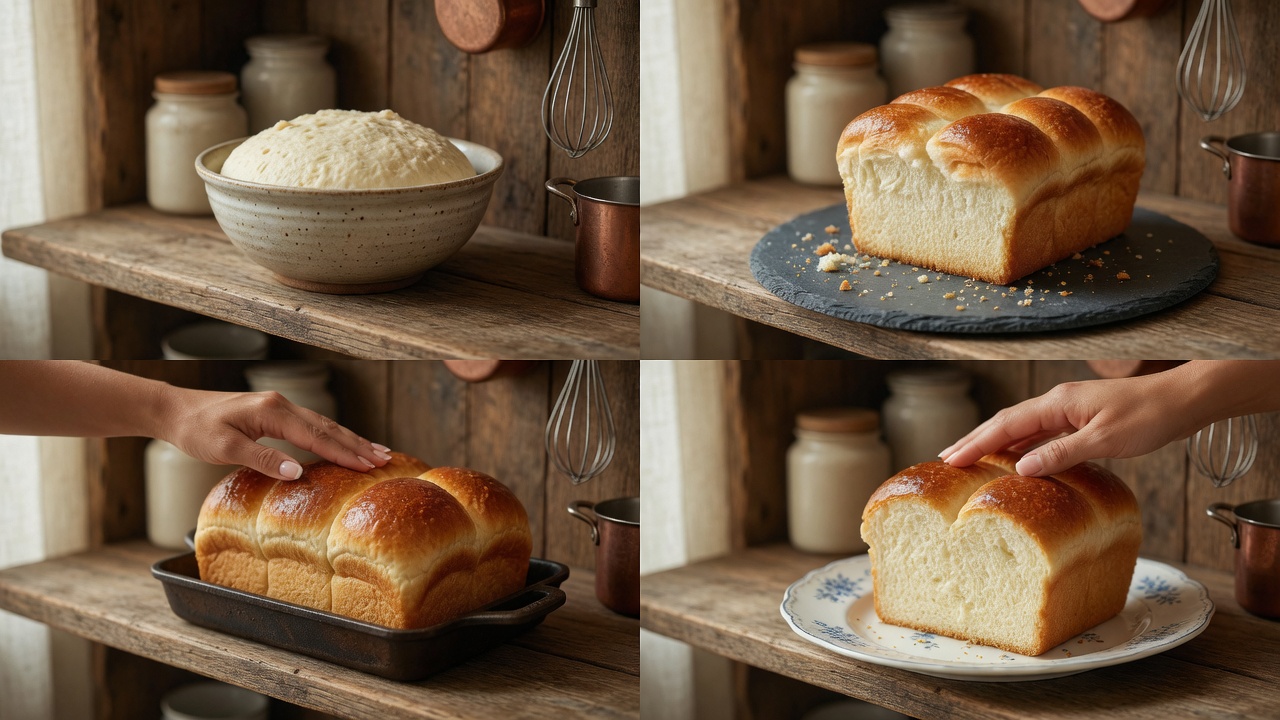
Amish White Bread
Two large loaves of soft, homemade white bread with a tender crumb and golden crust. This traditional Amish recipe uses everyday pantry ingredients to create versatile bread perfect for sandwiches, toast, or serving warm with butter.
20-24
servings20
minutes40
minutes60
minutes10
minutes30
minutes25
minutes2
hours55
minutesIngredients
Warm water: 2 cups (temperature 110-115°F / 43-46°C)
Granulated sugar: ½ cup
Active dry yeast: 1½ tablespoons
Vegetable oil: ¼ cup
Salt: 2 teaspoons
All-purpose flour: 6-7 cups (divided, add gradually)
Melted butter: for brushing (optional)
Instructions
- Activate Yeast: Combine warm water and sugar in large bowl, stirring until dissolved. Sprinkle yeast over top and let stand 5-10 minutes until mixture becomes foamy and bubbly.
- Make Dough: Add oil and salt to yeast mixture and stir. Gradually add flour one cup at a time, mixing after each addition, until soft dough forms that pulls away from bowl sides. Knead on floured surface for 6-8 minutes until smooth and elastic. Place in greased bowl, turn to coat, cover, and let rise in warm place for 60-90 minutes until doubled.
- Shape Loaves: Gently press down risen dough to release air. Divide into two equal portions. Shape each into a loaf and place in greased 9×5-inch loaf pans. Cover loosely and let rise 30-45 minutes until dough rises slightly above pan rims.
- Bake: Preheat oven to 350°F (175°C). Bake loaves 25-30 minutes until tops are golden brown and bottoms sound hollow when tapped. Brush with melted butter if desired.
- Cool: Remove bread from pans after 5 minutes and cool completely on wire racks before slicing. Store in airtight container at room temperature up to 4 days or freeze up to 3 months.
Notes
- Cooling Time: 30 minutes