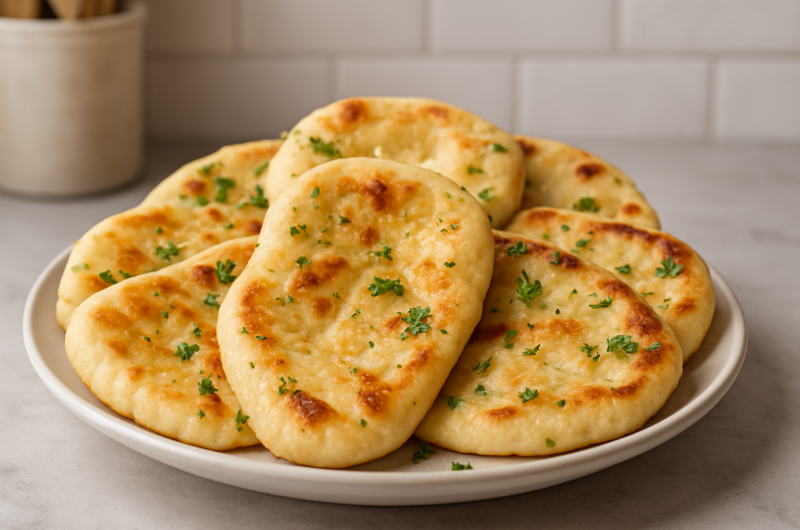
Finding a gluten-free naan recipe that stays soft, flexible, and slightly chewy can be difficult. Many gluten-free flatbreads become dry, brittle, or heavy after cooking. This homemade gluten-free naan takes a different approach by combining millet flour, tapioca starch, and psyllium husk to create a dough that is easy to shape. The finished naan develops golden brown spots and a soft center without using yeast.
Quick Yeast-Free Naan
One of the best features of this gluten-free naan recipe is that it does not require yeast or a rising period. Baking powder provides the lift, allowing you to prepare fresh naan in roughly 45 minutes. That makes it a practical choice for busy weeknight dinners, quick lunches, or last-minute meals. You can mix, shape, and cook the naan in one session without waiting for dough fermentation.
Why Gluten-Free Naan Needs Special Ingredients
Traditional naan depends on wheat flour and gluten to give the dough its stretch and structure. Gluten-free flour does not naturally provide the same elasticity, so other ingredients need to perform that job. Millet flour supplies structure and a mild flavor, while tapioca starch adds flexibility and chew. Psyllium husk helps bind the ingredients together, creating a dough that can be rolled without falling apart.
The Role of Psyllium Husk
Whole psyllium husk is one of the key ingredients in this gluten-free flatbread recipe. When combined with warm water, psyllium absorbs liquid and forms a thick gel. This gel gives the dough strength and flexibility, helping it behave more like traditional bread dough. It also helps the cooked naan remain soft instead of breaking apart when folded or used to scoop up food.
Whole or Powdered Psyllium
The recipe can use whole psyllium husk or powdered psyllium, depending on what is available. Psyllium products can absorb liquid differently, so it is important to pay attention to the dough rather than relying only on appearance. The finished mixture should become thick, cohesive, and slightly elastic. If the dough is extremely dry or difficult to shape, its hydration may need careful adjustment according to the flour being used.
Why Warm Water Matters
Warm water helps the psyllium husk hydrate properly and develop the gel needed for the dough. It also helps the flour and starch absorb moisture evenly. The water should be warm rather than boiling because extremely hot water can affect the consistency of the mixture. Once the psyllium and water are stirred together, allow enough time for the mixture to thicken before adding the remaining ingredients.
Millet Flour for Structure
Millet flour gives this naan a mild, slightly earthy flavor while providing the main flour component of the dough. It works particularly well with tapioca starch because the two ingredients provide different qualities. Millet contributes structure, while tapioca helps create a more flexible texture. If millet flour is unavailable, brown rice flour can be used as an alternative, although the dough may require a slightly different amount of moisture.
Tapioca Starch for Chewiness
Tapioca starch is responsible for much of the soft, springy texture in this gluten-free naan. It helps prevent the flatbread from becoming too firm and gives the cooked bread some chew. This makes tapioca particularly useful in gluten-free bread recipes where elasticity is normally supplied by wheat gluten. Potato starch or arrowroot may work as alternatives, but tapioca starch is the preferred choice for this recipe.
Yogurt Adds Tenderness
Plain or Greek-style yogurt adds moisture, richness, and a mild tang to the naan dough. It also contributes to the soft texture that makes the bread pleasant to eat. Yogurt works alongside the psyllium gel to create a dough that is moist without being overly loose. When combined with olive oil, it helps the naan remain tender after cooking and gives the flatbread a pleasant flavor.
Olive Oil Improves the Dough
Olive oil adds tenderness and makes the dough easier to handle during shaping. It also contributes a subtle savory flavor that works well with both Indian-inspired meals and simple vegetable dishes. The oil helps prevent the dough from feeling excessively dry while you roll it. Together, yogurt and olive oil create a softer dough that is easier to shape into thin, even pieces.
Baking Powder Provides Lift
Because this is a no-yeast naan recipe, baking powder provides the main leavening effect. It helps the dough expand as it cooks, contributing to the bubbles and puffing that make naan visually appealing. Baking powder also keeps the recipe quick because there is no need to wait for yeast to activate or for the dough to double in size. This makes the recipe useful when fresh bread is needed quickly.
Sugar and Salt Balance the Flavor
Sugar and salt are included in the dry mixture to create a balanced flavor. Sugar can contribute a slight sweetness and help with browning, while salt keeps the naan from tasting flat. These ingredients should be distributed evenly through the flour and starch before the wet ingredients are added. Mixing the dry ingredients thoroughly also helps ensure that the baking powder is spread throughout the dough.
Making the Psyllium Gel
Begin by combining the psyllium husk with warm water in a bowl. Stir quickly because psyllium begins absorbing liquid soon after it is added. Within roughly 30 to 45 seconds, the mixture should become noticeably thicker and develop a gel-like consistency. Allow the gel to form before continuing. This stage is important because the hydrated psyllium provides much of the structure needed for the gluten-free dough.
Mixing the Dry Ingredients
In a separate large bowl, combine the millet flour, tapioca starch, sugar, baking powder, and salt. Whisk the mixture thoroughly so the ingredients are evenly distributed. This prevents concentrated areas of salt or baking powder and creates a more consistent dough. Keeping the dry ingredients separate until the psyllium gel is ready also gives you better control over the final texture.
Combining Wet and Dry Ingredients
Add the yogurt and olive oil to the prepared psyllium gel and stir until the mixture is well combined. Pour the wet mixture into the bowl containing the dry ingredients. Use a spatula or wooden spoon to bring everything together. Once a dough begins to form, gently knead it by hand until it becomes smooth and supple. Avoid aggressive kneading because gluten-free dough does not need the same treatment as wheat dough.
Checking the Dough Texture
The finished naan dough should feel soft, flexible, and manageable. It should not be so wet that it sticks heavily to your hands, but it also should not feel dry or crumbly. Different brands of gluten-free flour can absorb moisture differently, so the dough may not look identical every time. If you use brown rice flour instead of millet flour, you may need a small hydration adjustment to achieve the same pliable texture.
Dividing the Dough
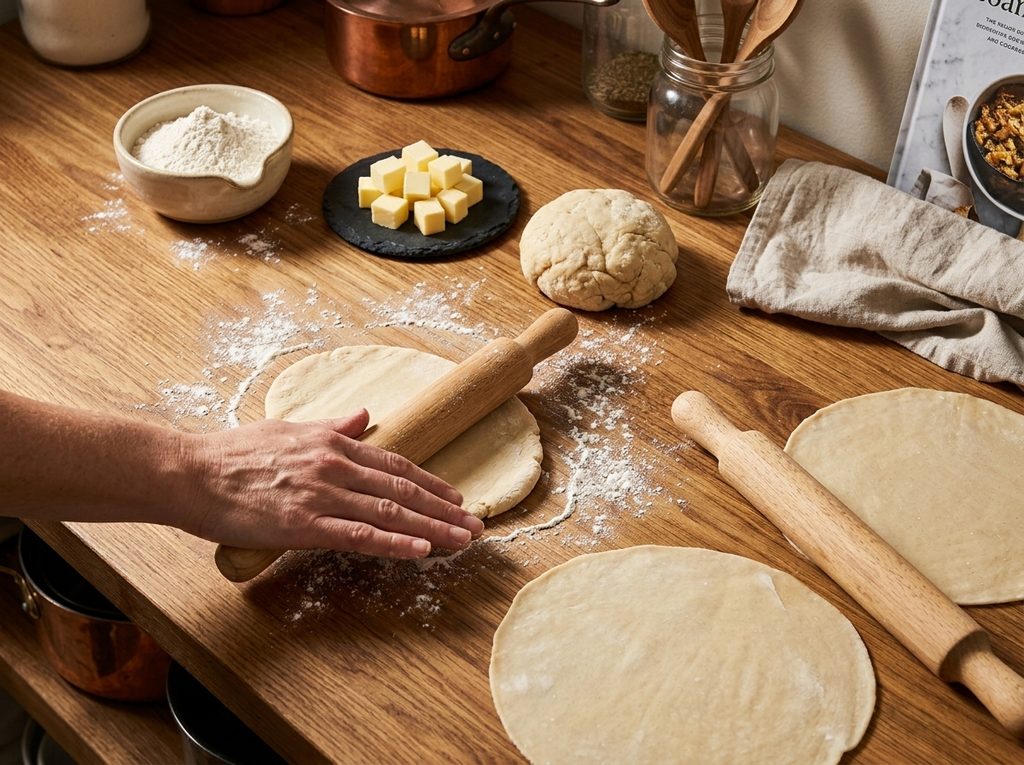
Turn the dough onto a lightly floured work surface and divide it into eight equal portions. Roll each portion gently between your hands to form a ball. Keep the dough portions that you are not currently shaping covered so they do not dry out. Working with smaller portions makes it easier to create evenly sized naan and helps each piece cook at approximately the same rate.
Rolling the Naan
Roll each dough ball into a round or oval shape measuring approximately 7 to 8 inches across and about 4 to 6 millimeters thick. Try to maintain an even thickness from the center to the edges. Dough that is extremely thin may become dry or difficult to handle, while dough that is too thick may not cook evenly. A consistent thickness also gives the naan a better chance of developing attractive bubbles during cooking.
Cooking Gluten-Free Naan in a Skillet
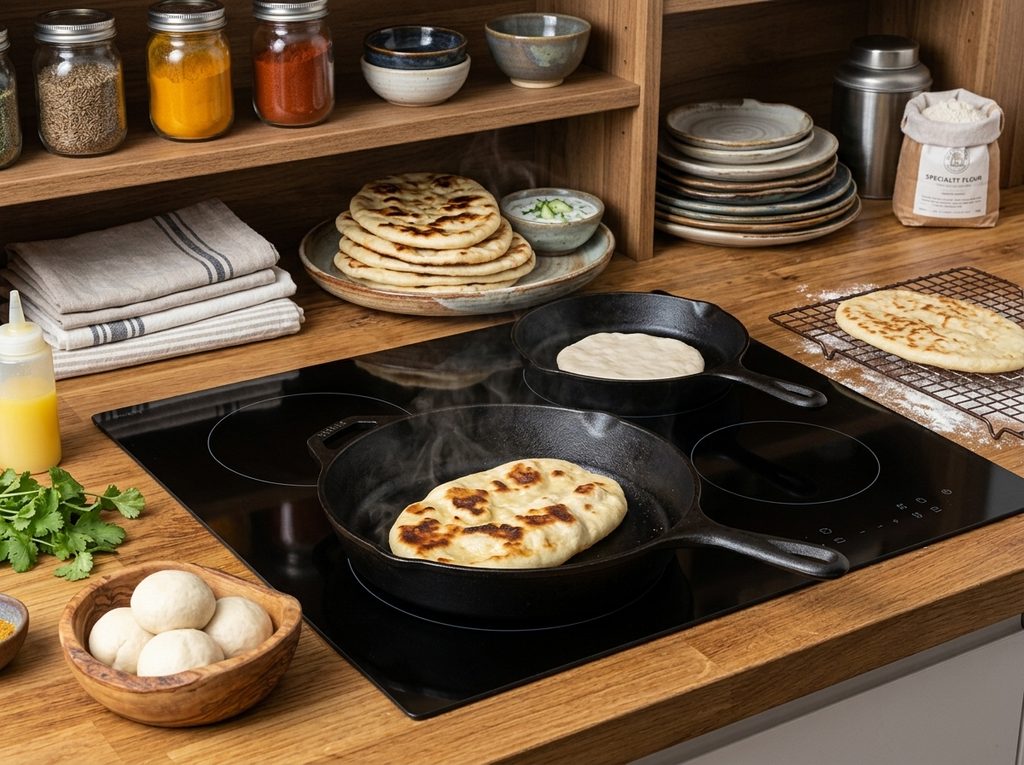
Heat a cast-iron or non-stick skillet over medium-high heat before adding the first naan. The surface should be properly hot so the dough begins cooking immediately. Place one rolled naan onto the skillet and cook for about 1 to 2 minutes. Look for bubbles on the upper surface and golden brown spots underneath. These signs indicate that the first side is ready to turn.
Flipping the Naan
Flip the naan carefully and cook the second side for approximately 1 minute. The naan may puff as it cooks, creating small airy pockets throughout the bread. If the surface begins browning too quickly, lower the heat slightly. If the naan remains pale and does not develop bubbles, the skillet may not be hot enough. Adjusting the heat as you cook helps maintain an even balance between browning and thorough cooking.
Getting Golden Charred Spots
Golden brown spots are one of the characteristics that make freshly cooked naan so appealing. They develop when the dough comes into direct contact with the hot skillet. A properly heated pan is therefore important for both flavor and appearance. Avoid constantly moving the naan while it cooks. Let it remain in contact with the surface long enough to develop color before turning it over.
Adding Butter or Ghee
As soon as each naan comes off the skillet, brush it with melted ghee or butter. This adds richness and helps keep the surface tender. The warm bread absorbs some of the fat, giving it a pleasant buttery finish. If you prefer a lighter option, you can simply serve the naan without this finishing step. Chopped parsley or cilantro can also be added for a fresh touch.
Keeping Naan Soft
Place the cooked naan inside a clean kitchen towel as you finish each piece. Covering the bread traps some of the natural steam and helps keep the surface soft. This is particularly useful when cooking all eight pieces one after another. Without covering, the naan can lose moisture while you finish the remaining batches. Serve the bread warm whenever possible for the best texture.
Gluten-Free Naan Serving Ideas
This naan works well with many meals because its flavor is mild and its texture is flexible. Serve it with curries, lentil dishes, vegetable recipes, soups, or stews. It can also be paired with grilled meats or used as a simple wrap. Tear the naan into pieces and use it to scoop up sauces and flavorful dishes. The soft texture makes it practical as well as satisfying.
Naan for Quick Lunches
Because this is a yeast-free flatbread, it is especially useful for quick lunches. You can prepare fresh naan without planning several hours ahead for fermentation. Use it as a wrap for cooked vegetables, grilled meat, or other fillings. It can also be served alongside a simple soup or salad. Having a quick gluten-free bread option makes it easier to build a complete meal when time is limited.
Storage and Reheating
Store leftover naan in an airtight container for approximately 2 to 3 days. The bread is best kept protected from air because gluten-free flatbreads can lose moisture quickly. To reheat, use a skillet or microwave. A light sprinkle of water before reheating can help restore softness. Avoid overheating the naan because excessive heat can make it dry or firm.
Why Refrigeration Can Affect Texture
Refrigeration can cause this type of flatbread to become firmer and drier. If you need to store it for only a few days, an airtight container at room temperature is generally preferable according to the supplied recipe. When reheating, gentle heat is more useful than prolonged cooking. The goal is to warm the bread while adding back a little moisture rather than drying it further.
Flour Substitutions
Brown rice flour can replace millet flour when needed, but the dough may behave differently because gluten-free flours have different absorption rates. Potato starch or arrowroot may also be considered in place of tapioca starch, although tapioca provides the preferred texture for this recipe. When making substitutions, focus on the consistency of the dough. It should remain soft and flexible rather than dry, crumbly, or excessively sticky.
Keeping the Dough from Drying
Gluten-free dough can dry out while waiting to be shaped, particularly in a warm or dry kitchen. Cover the portions that are not being rolled so they retain their moisture. Prepare each piece efficiently and avoid leaving exposed dough on the counter for long periods. If the dough becomes difficult to roll, check whether it has dried on the surface. Keeping the portions covered is a simple way to prevent unnecessary texture problems.
Handling the Dough in Warm Weather
A warm kitchen can affect the dough and make it softer during preparation. The supplied recipe recommends keeping the dough cold during preparation if your kitchen is warm. Work with manageable portions and avoid unnecessary handling. If the dough becomes too soft, a short period of chilling can make it easier to roll. Keeping the dough at a comfortable temperature also helps maintain its structure during cooking.
Rolling Evenly for Better Cooking
Even rolling is important because naan cooks quickly on a hot skillet. If one section is much thicker than another, the thin area may brown before the thicker section is fully cooked. Aim for a consistent thickness across the entire piece. The recommended size of approximately 7 to 8 inches gives the naan enough surface area for serving while keeping it manageable to roll and transfer to the skillet.
Common Gluten-Free Naan Problems
A naan that cracks while rolling may need better hydration or more complete psyllium gel formation. A naan that sticks heavily can indicate that the dough is too wet or the work surface needs more flour. If the bread becomes hard, it may have been rolled too thin or cooked for too long. Flat naan can also result from insufficient skillet heat. Paying attention to dough consistency and cooking temperature can prevent many common problems.
Notes for Better Results
Keep the skillet properly heated, roll the naan evenly, and avoid making the pieces excessively thin or thick. Psyllium should be fully hydrated before the remaining ingredients are added. Keep unused dough covered while shaping the other portions. Brush the cooked naan with melted ghee or butter immediately after cooking if desired. Finally, wrap finished pieces in a clean towel to help retain their warmth and softness until the meal is ready.
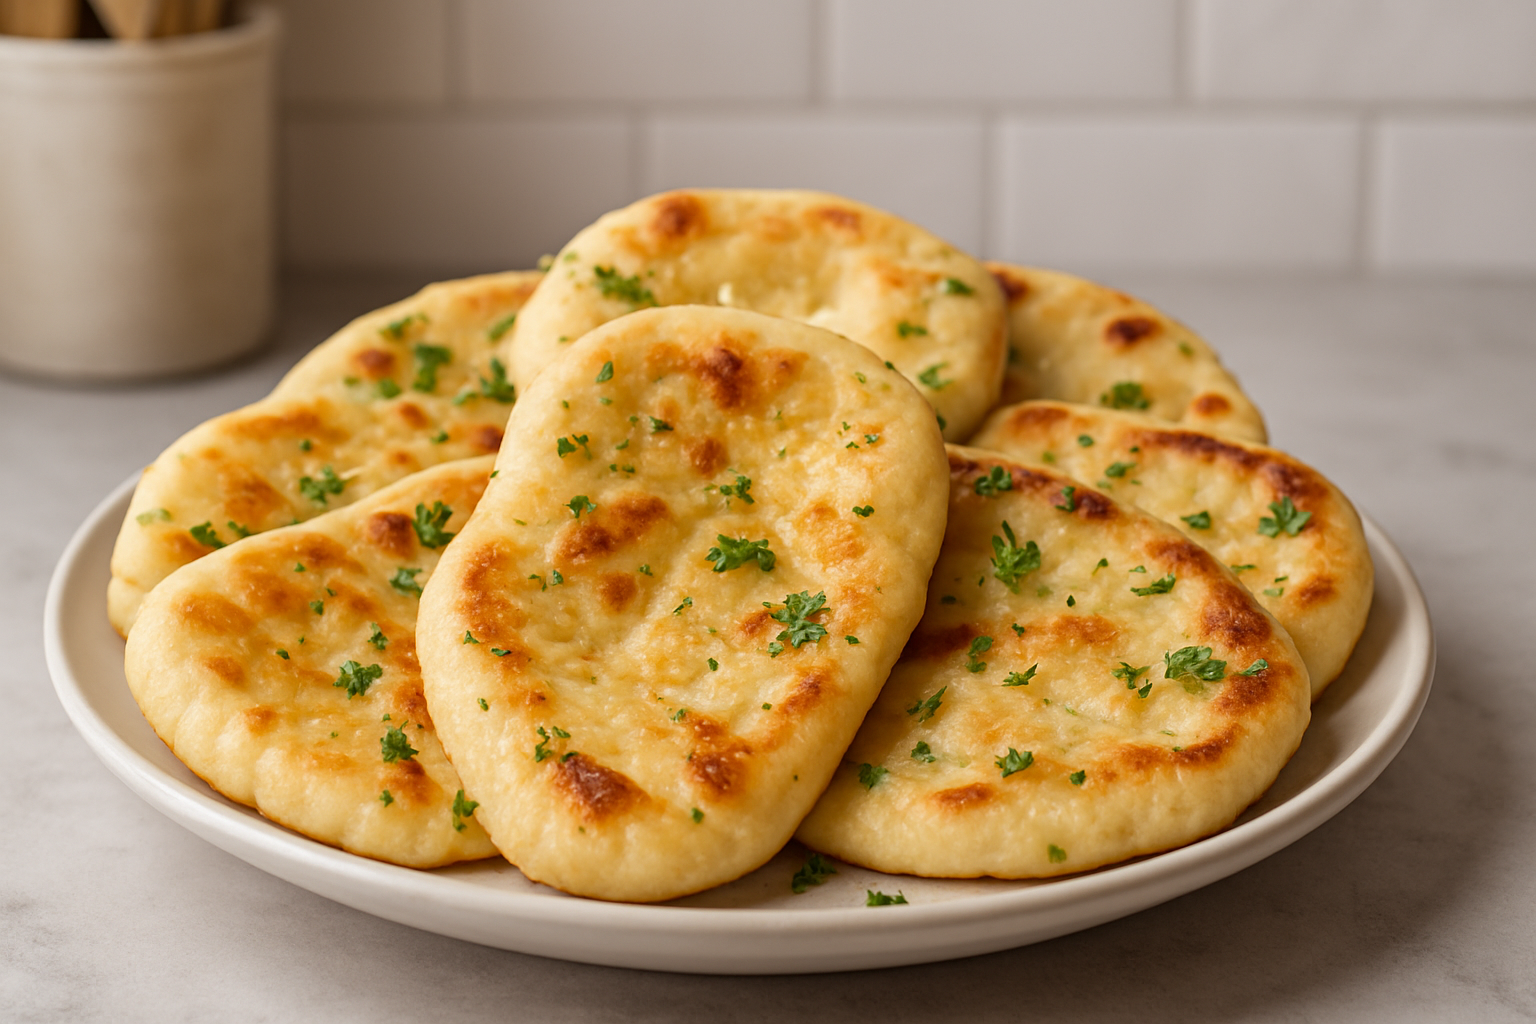
Softest Gluten-Free Naan
This is perfect for weeknight dinners, or anytime you want a comforting bread without gluten or kneading drama. The dough is surprisingly easy to handle.
8
servings25
minutes20
minutes45
minutesIngredients
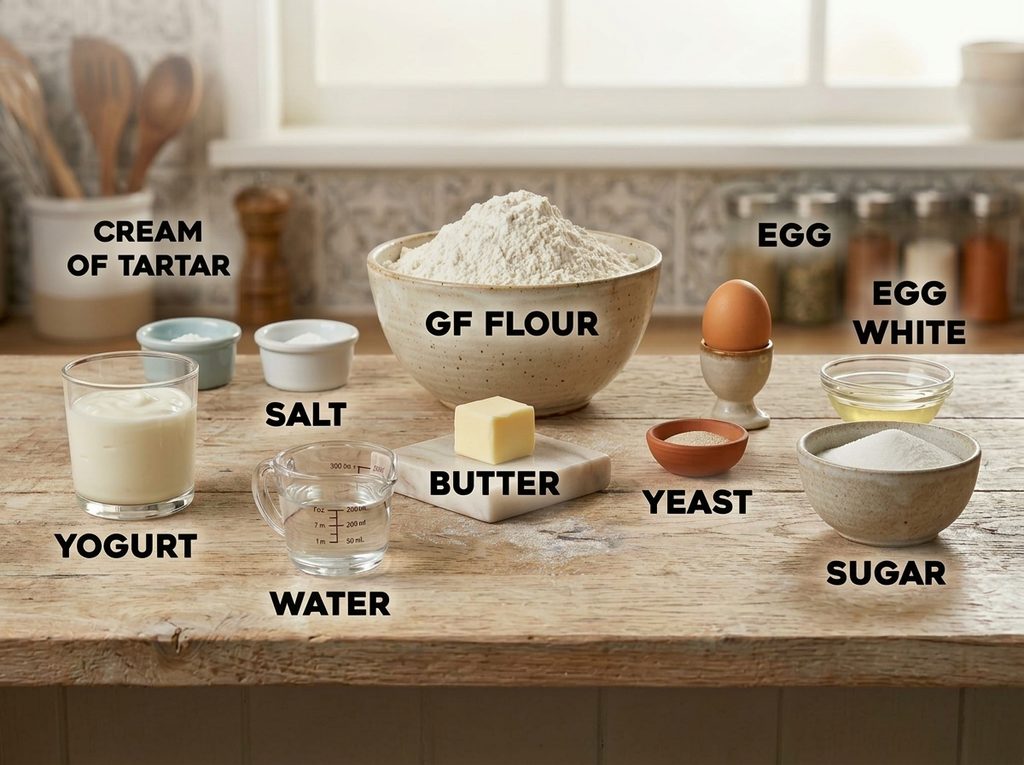
20 g (4 tbsp) whole psyllium husk (or 17 g if using psyllium husk powder)
360 g warm water
235 g (1¾ cups) millet flour (or equal weight brown rice flour)
130 g (1 cup + 2½ tbsp) tapioca starch (or substitute cornstarch/potato-starch/arrowroot)
1 tbsp caster/superfine or granulated sugar
1½ tsp baking powder
1 tsp salt
75 g (⅓ cup) unsweetened plain or Greek-style yoghurt (room temperature)
25 g (2 tbsp) olive oil (or sunflower/vegetable oil)
45 g (3 tbsp) ghee or butter, melted (for brushing)
Finely chopped parsley or cilantro (for garnish)
Instructions
- In a bowl, mix together the psyllium husk with the warm water. After ~30-45 seconds a gel will form.
- In a separate large bowl, whisk together millet flour, tapioca starch, sugar, baking powder and salt.
- Add the yoghurt and olive oil to the psyllium gel, then pour this mixture into the dry ingredients. Mix with a spoon until the dough starts to come together.
- Knead the dough (by hand or using a mixer with dough hook) until all flour pockets are gone and the dough pulls away from the bowl, with a springy, slightly tacky feel.
- Turn the dough onto a lightly floured surface and shape into a ball. Divide into 8 equal portions (~110 g each). Shape into individual dough balls, cover with a dish towel as you work through them.
- Roll each dough ball on a lightly floured surface into a round or oval shape about 7-8 inches (18-20 cm) in diameter and ⅛-¼ inch (4-6 mm) thick. Dust as needed to avoid sticking.
- Pre-heat a large skillet or cast-iron pan over medium-high heat (water drop should sizzle). Place one rolled naan into the hot pan. Cook ~1-2 minutes until bubbles form and underside is deep golden or slightly charred. Flip and cook for ~1 minute until golden brown. Adjust heat as necessary.
- Immediately brush the cooked naan with melted ghee or butter, sprinkle with chopped parsley or cilantro. Cover with a dish towel to keep warm while you cook the remaining breads.
- Serve warm. Store leftovers in an airtight container for 2–3 days. To re-heat: microwave 30-45 seconds, or heat in a skillet with a splash of water and lid on ~45-60 seconds each side, or warm in a 350°F (180°C) oven for ~3-5 minutes with a little water sprayed to prevent drying.
Notes
- Notes & Substitutions:
If substituting millet flour with sorghum, corn (maize) flour, light buckwheat flour or white teff flour, add ~45-60 g extra warm water to compensate for higher absorption.
If naan isn’t puffing: check dough thickness (shouldn’t be too thin or too thick), check dough moisture (should be soft not dry), check pan heat (too low = no puff, too high = underside burns).
Enjoy your homemade gluten-free naan — soft, pillowy, flavourful, and no yeast required!