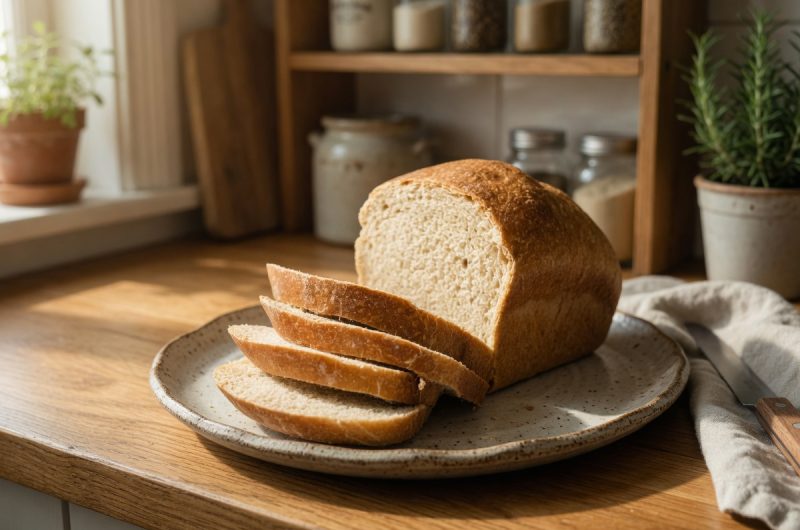
Gluten-free bread needs a different approach from traditional wheat bread because it does not contain gluten, the protein network that normally gives bread elasticity and structure. Instead, this recipe uses a balanced gluten-free flour blend, xanthan gum, yeast, egg whites, and careful mixing to build a loaf that can rise and hold its shape. The dough will also look different from ordinary bread dough. It is thick, sticky, and more like a soft batter than something you knead by hand.
Choosing the Right Flour Blend
The flour blend is one of the most important parts of an easy gluten-free bread recipe. A quality all-purpose gluten-free flour blend gives the loaf a useful combination of starches and other ingredients needed for structure. Better Batter is one example mentioned with this recipe, although a suitable blend can also be used. If the flour already contains xanthan gum, follow the blend’s instructions before adding more. Using a blend designed for yeast bread can make the results more predictable.
Why Xanthan Gum Matters
Xanthan gum helps provide the binding that gluten normally supplies in wheat bread. It helps the dough hold together, retain moisture, and support the air created during rising. If your gluten-free flour blend does not contain xanthan gum, the specified amount should be added. Too little can leave the loaf crumbly, while too much can create a heavy or gummy texture. Always check the flour package first so you do not accidentally add more than needed.
Measuring the Ingredients
Accurate measuring is especially useful when making gluten-free bread because small changes in flour and liquid can affect the dough. A digital kitchen scale can provide more consistent results than measuring cups alone. The recipe uses 3 cups, or 420 grams, of all-purpose gluten-free flour blend, along with the other measured ingredients. Measuring carefully helps maintain the balance between the flour, milk, butter, yeast, and egg whites, which is important for a loaf that rises evenly and develops a soft crumb.
Preparing the Dry Ingredients
Begin by combining the gluten-free flour blend, xanthan gum if required, instant yeast, cream of tartar, granulated sugar, and kosher salt. Whisk the ingredients thoroughly before adding anything wet. This distributes the yeast, salt, sugar, and binding ingredients throughout the flour. Even distribution matters because concentrated salt or yeast can affect individual areas of the loaf. Taking a minute to mix the dry ingredients properly gives the dough a more consistent texture and helps the loaf rise evenly.
Adding the Wet Ingredients
The wet ingredients include warm milk, melted and cooled unsalted butter, apple cider vinegar, and room-temperature egg whites. Add these ingredients to the dry mixture and begin mixing on low speed. The warm milk provides moisture and helps the yeast work, while butter adds tenderness and flavor. Apple cider vinegar contributes acidity, and egg whites help provide structure. Once everything is combined, the mixture will look much wetter than traditional bread dough, which is completely normal for this style of gluten-free bread.
Understanding the Dough Texture
Do not expect gluten-free bread dough to form a smooth, elastic ball. This recipe produces a thick, sticky mixture that is closer to a heavy batter. Because there is no gluten to develop through kneading, traditional kneading is not necessary. Instead, the dough is beaten with a paddle attachment to create aeration and distribute the ingredients. If the mixture looks thick, smooth, and wet after mixing, you are generally on the right track. Trying to add large amounts of extra flour can make the finished bread dry.
Beating the Dough Properly
After the wet and dry ingredients have been combined, increase the mixer speed to medium-high and beat the mixture for about 3 minutes. This step is important because it helps incorporate air into the dough. The trapped air contributes to the loaf’s lighter texture as the yeast works and the bread bakes. Scrape the sides of the bowl when necessary so no dry ingredients remain. Properly mixed dough should look smooth, thick, and slightly aerated rather than lumpy or separated.
Preparing the Loaf Pan
A 9-by-5-inch loaf pan works well for this recipe. Grease the pan thoroughly or line it with parchment paper before adding the dough. Gluten-free bread can be more delicate than wheat bread, so preparing the pan properly helps prevent sticking when the loaf is removed. A Pullman-style loaf pan can also be useful because its tall, narrow shape encourages a sandwich-friendly loaf. Whatever pan you use, make sure it is large enough to allow the dough to rise without spilling over.
Transferring the Dough
Once the dough has been thoroughly beaten, scrape it into the prepared loaf pan. Gluten-free dough is sticky, so a silicone spatula works well for transferring and shaping it. Wet the spatula slightly and smooth the top into an even layer. You do not need to knead or stretch the mixture. The surface should be reasonably level so the loaf rises and bakes evenly. Taking a little time to smooth the top also gives the finished bread a more attractive shape.
Creating the Right Rising Environment
The dough should rise in a warm, draft-free place. Yeast works best in a comfortably warm environment, but excessive heat can damage or kill it. A naturally warm kitchen area is often enough. You can also use a turned-off microwave or oven with only the light on, provided the space is not hot. Avoid placing the pan directly beside a strong heat source. The goal is steady warmth rather than intense heat. A stable environment makes the rising process easier to monitor.
Knowing When the Dough Has Risen
Gluten-free bread dough does not always double in size like traditional wheat dough. Instead, this recipe looks for an increase of roughly 50 percent. The surface should appear fuller and slightly puffy. Depending on room temperature, yeast activity, and humidity, the rising time can vary. The recipe’s supplied directions describe a warm rise of about 1 hour, while the broader guide emphasizes watching the dough rather than relying only on a clock. Visual changes are more useful than expecting an exact rise time.
Avoiding Overproofing
Overproofing can cause gluten-free bread to lose structure and collapse during baking or cooling. Once the dough has risen sufficiently, it is better to move on to baking rather than waiting for it to double. A very swollen or pock-marked surface can be a sign that the dough has gone too far. Gluten-free dough has less structural support than wheat dough, so it can be less forgiving. Watch the dough carefully and use its appearance as your main guide.
Preheating the Oven
Preheat the oven to 375°F, which is approximately 190°C, before baking the loaf. A fully heated oven helps the bread begin baking immediately and allows the structure to set at the proper rate. Home ovens can vary, so an oven thermometer can be useful if you regularly bake bread. If the oven runs significantly hotter than the displayed temperature, the crust may brown before the center is fully cooked. Proper preheating is therefore an important part of reliable gluten-free bread baking.
Baking the Gluten-Free Loaf
Place the risen loaf in the center of the preheated oven and bake for about 50 minutes. The exact baking time can vary slightly with the pan, oven, and dough. The outside should develop a golden-brown crust while the center becomes fully set. An instant-read thermometer is the most reliable way to check the bread. The supplied recipe recommends an internal temperature of about 200°F, or 93°C. Checking the center is especially helpful because gluten-free bread can look finished outside before the middle is completely baked.
Checking for Doneness
A golden crust is a useful visual sign, but it should not be the only test. Insert an instant-read thermometer into the center of the loaf without touching the pan. When the internal temperature reaches around 200°F, the bread should be properly baked according to the supplied method. If the top becomes dark before the center reaches the correct temperature, loosely cover it with foil. This protects the crust while allowing the inside to continue cooking. Avoid cutting the bread immediately because the crumb needs time to set.
Cooling the Bread
Let the baked loaf rest in the pan for about 10 minutes after removing it from the oven. Then carefully transfer it to a wire rack and allow it to cool completely. Gluten-free bread is particularly delicate when hot, and slicing too soon can compress the soft interior. Cooling allows the crumb to firm and the structure to stabilize. A serrated bread knife is helpful for creating clean slices without pressing down heavily on the loaf. Patience during cooling can make a noticeable difference in the final texture.
Getting a Soft Crumb
A soft gluten-free sandwich bread depends on the right balance of liquid, flour, fat, and structure. Warm milk provides moisture and tenderness, while butter adds richness. Egg whites help the loaf hold its shape without adding the heaviness of extra yolks. Xanthan gum supports the crumb, while yeast provides lift. Baking the loaf thoroughly and allowing it to cool completely also matter. When these elements are balanced, the bread can be soft enough for sandwiches while still holding together when sliced.
Preventing Gummy Bread
A gummy center can happen when gluten-free bread has not baked long enough or when the dough contains too much moisture. Make sure your measurements are accurate and bake until the internal temperature reaches the recommended level. Avoid slicing while the loaf is hot because the center can seem gummy before it has cooled. If your bread repeatedly remains wet in the middle, check your oven temperature and measurements. Small differences in flour blends can also change how much moisture the dough absorbs.
Preventing Dry Bread
Dry gluten-free bread can result from using too much flour, baking too long, or storing the loaf incorrectly. Measuring the flour by weight helps prevent accidental over-measuring. Follow the stated liquid quantities rather than adding extra flour simply because the dough looks wet. Remember that gluten-free dough is supposed to be thick and sticky. Once baked, store the cooled bread in an airtight container at room temperature for short-term use. Refrigeration can make gluten-free bread dry more quickly.
Keeping the Dough Covered
Covering the dough during its rise helps prevent the surface from drying. Plastic wrap works well because it creates a barrier against dry kitchen air. A damp cloth can also help in particularly dry conditions. A dry surface can become difficult to smooth and may affect the appearance of the finished crust. Keep the cover loose enough that the rising dough has room to expand. Check the dough occasionally without disturbing it too much, especially as it approaches the desired rise.
Choosing a Baking Pan
A standard 9-by-5-inch loaf pan is suitable for this gluten-free bread recipe. A Pullman pan can also be useful if you want a taller, more uniform sandwich loaf. The shape of the pan affects how the dough rises and how the final slices look. Whichever pan you choose, grease or line it carefully. Gluten-free bread can stick more readily than some wheat loaves, so proper preparation makes removal easier. A parchment-lined pan also provides extra security when handling a delicate loaf.
Why Egg Whites Are Used
Egg whites help provide structure and lift in this gluten-free bread. Since the recipe does not rely on gluten, the proteins in the egg whites contribute to the loaf’s ability to hold its shape. They also help create a lighter crumb without adding the richness and color associated with egg yolks. Use the egg whites at room temperature as specified. Combining them evenly with the other wet ingredients helps distribute their structural contribution throughout the dough.
Role of Apple Cider Vinegar
Apple cider vinegar is used in a small amount, but it has a useful role in the recipe. Its acidity works with the other ingredients and can support the bread’s rise and crumb structure. The amount is small enough that the finished loaf should not have a strong vinegar flavor. Add it with the wet ingredients rather than pouring it directly onto the yeast. Keeping the ingredient ratio unchanged helps maintain the balance established by the recipe.
Role of Cream of Tartar
Cream of tartar is another small ingredient that contributes to the structure of this gluten-free loaf. It provides acidity and works alongside the other ingredients during baking. Although only one-quarter teaspoon is used, it is included as part of the recipe’s carefully balanced formula. Do not assume that a larger amount will improve the bread. Gluten-free baking depends on precise proportions, so follow the stated measurement rather than adjusting individual ingredients without a tested reason.
Storage at Room Temperature
Once the bread has cooled completely, store it in an airtight container at room temperature for up to 2 days. Keeping the loaf sealed helps protect it from drying and prevents it from absorbing odors from the kitchen. Avoid storing warm bread in a sealed container because trapped heat can create unwanted moisture. Allow it to cool fully before wrapping or sealing. For longer storage, freezing is a better option than refrigeration because the refrigerator can make gluten-free bread lose moisture and become stale faster.
Freezing Gluten-Free Bread
Freezing is a practical way to preserve homemade gluten-free bread. Once the loaf has cooled completely, slice it into individual portions and wrap the slices securely in freezer-safe material. Place parchment paper between slices if you want to remove them individually. Frozen slices can be toasted directly when needed, which makes them convenient for breakfast or sandwiches. Proper wrapping helps protect the bread from freezer burn and preserves its texture better than leaving the loaf exposed.
Troubleshooting Poor Rise
If your gluten-free loaf does not rise, first check the yeast. Old or inactive yeast may not provide enough lift. Excessive heat can also damage yeast, so make sure the milk is warm rather than extremely hot and the rising area is comfortably warm. Incorrect flour or liquid measurements can affect the dough as well. Give the dough enough time to rise while watching its size. If it increases by about half rather than doubling, that can be normal for gluten-free bread.
Adjusting for Different Kitchens
Kitchen temperature and humidity can change the way gluten-free bread behaves. A cool room can slow yeast activity, while a warm room can shorten the rising period. Dry air may cause the surface of the dough to dry, so covering it well is helpful. Instead of following the clock rigidly, watch the dough’s appearance and adjust the rising period as needed. This approach is especially useful when baking in a new kitchen or during seasonal changes.
Make-Ahead Storage
For short-term use, cool the loaf completely and keep it sealed at room temperature for up to 2 days. For longer storage, slicing and freezing the bread is more practical. Place parchment between individual slices before wrapping them so you can remove only what you need. Frozen slices can go directly into a toaster, making them convenient for quick meals. Avoid relying on refrigerator storage for long periods because the colder, dry environment can reduce the soft texture that makes homemade gluten-free bread enjoyable.
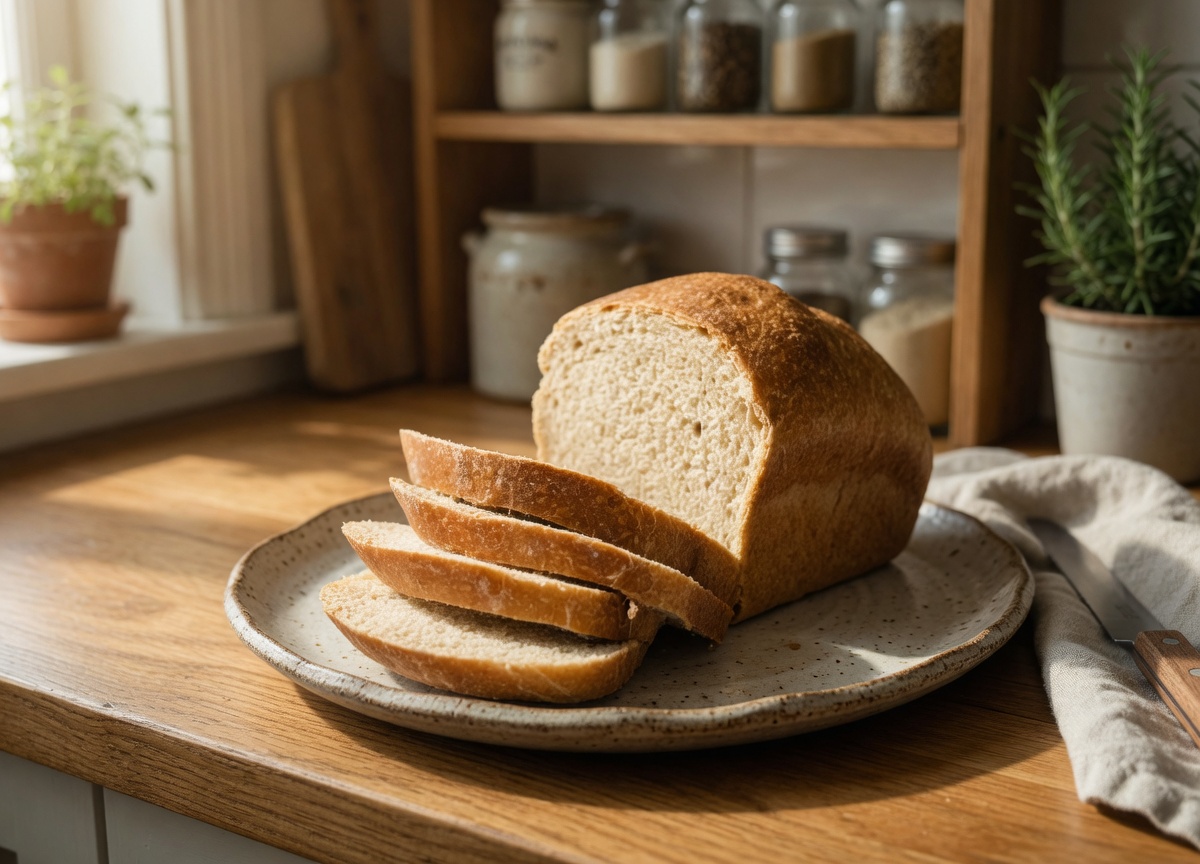
Fluffy and Soft Gluten-Free Bread Recipe
This is the best and original gluten free bread recipe for moist and tender white sandwich bread with a chewy crumb and a crisp, brown crust.
10
servings15
minutes1
hour237
kcal1
hour15
minutesIngredients
3 cups (420 g) all-purpose gluten-free flour blend (like Better Batter or a mock blend)
3 tsp xanthan gum (if not already in the flour blend)
2 1/2 tsp (8 g) instant yeast
1/4 tsp cream of tartar
2 tbsp (25 g) granulated sugar
2 tsp (12 g) kosher salt
1 1/2 cups (12 oz) warm milk (around 95°F)
4 tbsp (56 g) unsalted butter, melted and cooled
1 tsp apple cider vinegar
2 egg whites (50 g), room temperature
Optional: toasted sesame seeds for topping
Instructions
- Grease or line a 9×5-inch loaf pan and set aside.
- In a stand mixer bowl, combine the flour, xanthan gum, yeast, cream of tartar, sugar, and salt. Whisk thoroughly.
- Add the milk, butter, vinegar, and egg whites. Mix on low speed, gradually increasing to medium-high, for about 3 minutes.
- Scrape the dough into the prepared loaf pan and smooth the top with a wet spatula.
- Cover and let rise in a warm, draft-free spot until 50% larger, about 1 hour.
- Preheat the oven to 375°F (190°C). Bake the loaf for about 50 minutes or until the internal temperature reaches 200°F (93°C).
- Let cool for 10 minutes in the pan, then transfer to a wire rack to cool completely.
Nutrition Facts
- Serving Size: 1 g
- Total number of serves: 1
- Calories: 237kcal
- Fat: 6g
- Saturated Fat: 4g
- Trans Fat: 0.2g
- Polyunsaturated Fat: 0.2g
- Monounsaturated Fat: 2g
- Cholesterol: 16mg
- Sodium: 533mg
- Potassium: 110mg
- Carbohydrates: 39g
- Fiber: 3g
- Sugar: 4g
- Protein: 5g
- Vitamin A: 199mcg
- Vitamin C: 0.01mg
- Calcium: 48mg
- Iron: 0.1mg