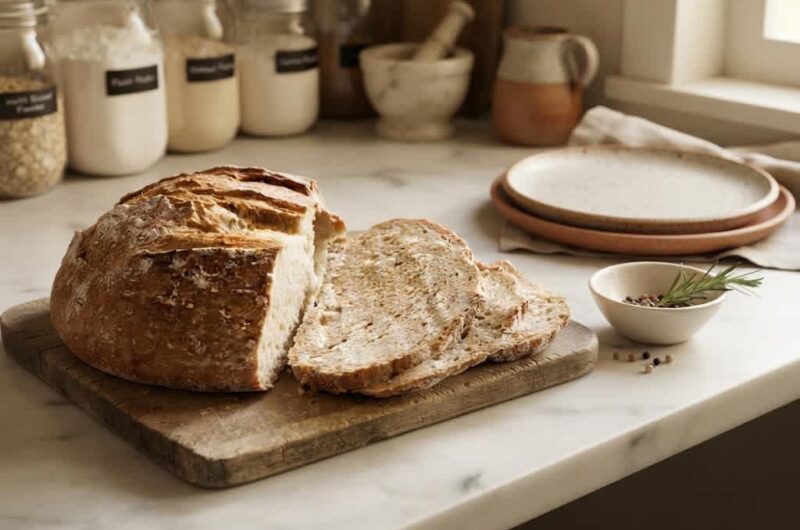
This No-Knead Gluten-Free Bread is a soft, tender homemade loaf with a beautifully golden crust and a mild flavor that works well for everyday meals. Unlike traditional bread recipes, there is no kneading, punching down, or complicated shaping involved. The dough is simply mixed with a spoon or sturdy spatula, allowed to rise, transferred to a loaf pan, and baked. The result is an easy gluten-free bread that can be sliced for sandwiches, toasted for breakfast, or served alongside soups and other meals.
One of the most useful features of this homemade gluten-free bread is its hands-off preparation. Although the complete process takes several hours, most of that time is devoted to rising, baking, and cooling rather than active work. The first rise gives the gluten-free flours time to hydrate while the yeast develops flavor and structure. A shorter second rise prepares the loaf for baking, while a full cooling period allows the interior to set properly before slicing. This patient approach produces a better crumb without requiring traditional bread-making skills.
Why You Prefer This Recipe
This easy gluten-free bread recipe is designed for anyone who wants a practical everyday loaf rather than a complicated specialty bread. Its mild flavor makes it suitable for both sweet and savory toppings, and the loaf can be used in much the same way as traditional sandwich bread. Toast slices for breakfast, use them for lunch sandwiches, or serve the bread with soup, salads, eggs, and other everyday dishes. Because the recipe requires no kneading, it is also approachable for beginners who may be unfamiliar with gluten-free yeast bread.
Another advantage is the straightforward mixing process. Gluten-free bread dough often behaves very differently from wheat dough, and this recipe embraces that difference instead of trying to imitate conventional kneading. The dough remains wet, thick, and somewhat batter-like after mixing. That appearance is intentional. There is no need to add large amounts of extra flour or handle the dough with your hands. Once properly mixed, time, yeast, and psyllium husk perform much of the work needed to create the finished loaf.
What Makes No-Knead Gluten-Free Bread Different?
Traditional wheat bread develops structure through gluten. When wheat flour is mixed with water and kneaded, gluten proteins form an elastic network that can stretch around the gas produced by yeast. Gluten-free flour does not create this same network, which means gluten-free bread requires a different approach to structure, hydration, and rising. Trying to make gluten-free dough behave exactly like wheat dough can actually make bread preparation more confusing.
This recipe solves that problem by using psyllium husk powder together with a carefully balanced combination of gluten-free bread flour, brown rice flour, tapioca starch, and potato starch. Rather than kneading the dough, you simply stir it thoroughly for several minutes. The psyllium absorbs water and develops a gel-like structure, while the yeast creates the air needed for rising. The finished dough remains much wetter than conventional bread dough, but that moisture is important for producing a tender gluten-free crumb.
Why Psyllium Husk Powder Is Important
Psyllium husk powder is one of the most important ingredients in this no-knead gluten-free bread. The recipe uses three tablespoons, and the supplied instructions specifically advise against substituting it without reformulating the bread. Psyllium absorbs a considerable amount of water and forms a gel-like consistency. In gluten-free bread, this helps provide some of the elasticity and structural support normally supplied by gluten.
This structural role becomes especially important during rising and baking. As yeast produces gas, the bread needs enough strength to hold those small air pockets rather than allowing them to escape or causing the loaf to collapse. Psyllium also helps retain moisture, contributing to a more flexible crumb that slices more cleanly. For this reason, it should be measured carefully and distributed thoroughly through the dry ingredients before water is added.
The Gluten-Free Flour Combination
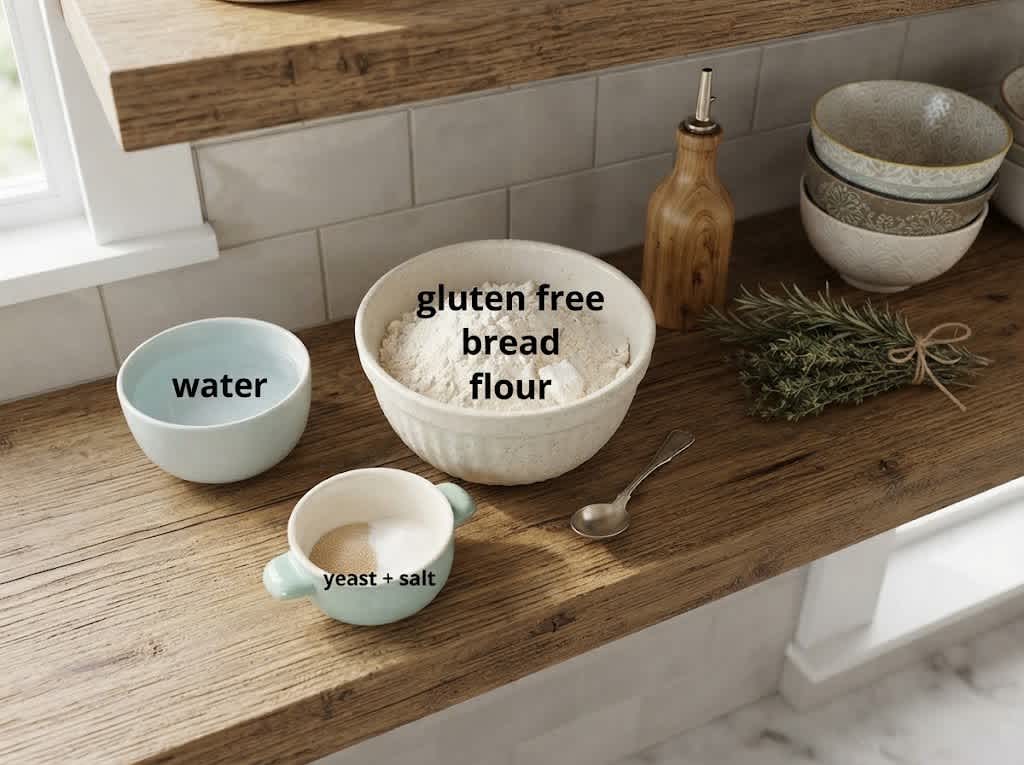
Instead of depending on one flour, this recipe combines two cups of gluten-free bread flour blend, one cup of brown rice flour, one cup of tapioca starch, and one-quarter cup of potato starch. Each ingredient contributes differently to the overall bread structure and texture. Using the combination exactly as supplied helps create a more balanced loaf than relying on a single flour alone.
Brown rice flour contributes body, while tapioca and potato starches support a lighter, more flexible texture. The gluten-free bread flour blend forms the main foundation of the recipe. Because different commercial flour blends can absorb water differently, the dough may occasionally require a small consistency adjustment. However, the original ingredient proportions should always be your starting point, and any adjustment should remain small rather than substantially changing the recipe.
Instant Yeast Creates the Rise
Two teaspoons of instant yeast provide the leavening for this homemade gluten-free bread. Yeast gradually produces gas as the dough rests, helping it become lighter and puffier during the first and second rises. It also contributes the familiar aroma and flavor associated with homemade yeast bread.
The first rise is intentionally long, lasting approximately one and a half to two hours. This gives the yeast enough time to work while the gluten-free flours and psyllium continue absorbing water. The second rise is shorter, approximately 30 to 45 minutes, and takes place after the dough has been transferred to the loaf pan. Together, these two rising periods help build the texture of the finished bread without any kneading.
Sugar or Honey in Gluten-Free Bread
The recipe calls for one tablespoon of sugar or honey. Either option is permitted in the original recipe, so you can select whichever you prefer without changing the basic method. The amount is relatively small compared with the total quantity of flour and starch, meaning the bread is intended to have a mild, versatile flavor rather than a noticeably sweet taste.
This makes the loaf suitable for a wide range of uses. It can accompany savory foods without tasting like sweet bread, while its neutral character also works with breakfast spreads and other sweeter toppings. Whichever sweetener you choose, maintain the original one-tablespoon quantity to preserve the intended balance of the dough.
Olive Oil Keeps the Bread Tender
Two tablespoons of olive oil provide richness and help support a softer crumb. Gluten-free bread can sometimes become dry if the dough does not contain enough moisture or if the loaf is overbaked, so a small amount of oil contributes to a more pleasant texture.
The olive oil is mixed with the warm water and apple cider vinegar before the liquid ingredients are poured into the flour mixture. This helps distribute the oil throughout the dough instead of leaving it concentrated in certain areas. Because the recipe already specifies the quantity needed, there is no reason to add additional oil to the dough. A little extra olive oil is used only for lightly greasing the parchment-lined loaf pan.
Getting the Water Temperature and Consistency Right
The recipe uses two cups of warm water. Warm water provides a suitable environment for the yeast while also hydrating the gluten-free flours, starches, and psyllium husk. Once the liquid is incorporated, expect the mixture to look much wetter than ordinary wheat bread dough.
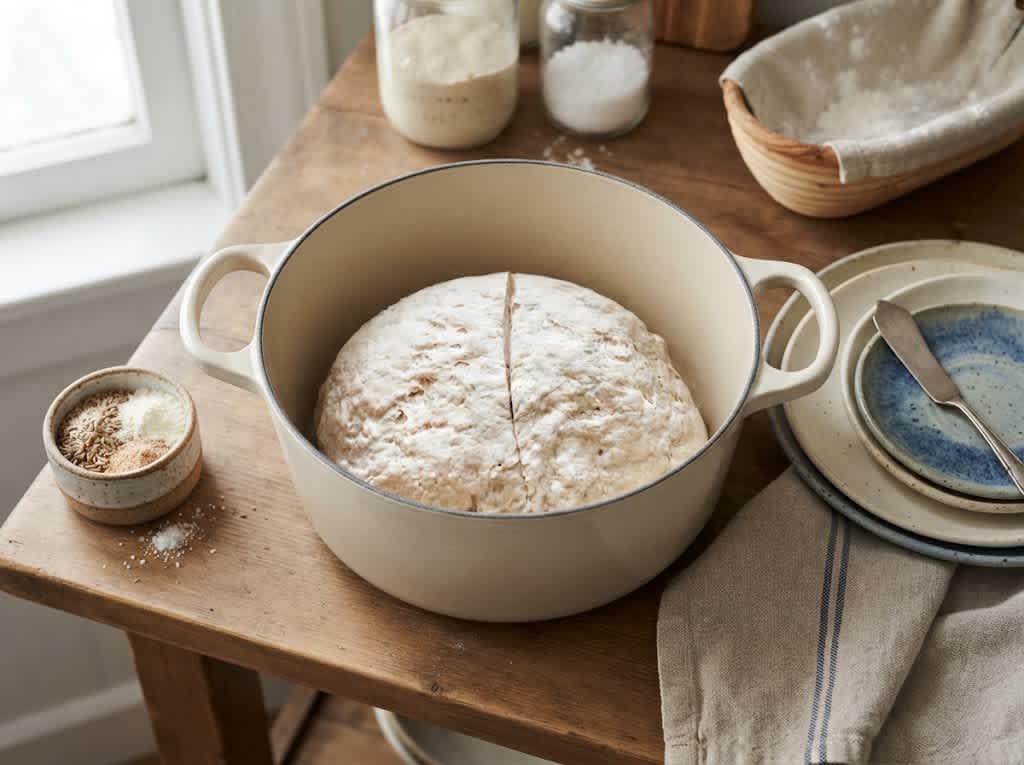
The correct dough resembles a very thick batter rather than a firm ball that can be kneaded. Resist the temptation to keep adding flour simply because the mixture feels sticky. The recipe allows small adjustments because gluten-free flour blends vary in absorbency. If the mixture appears unusually thick, a few tablespoons of water can be added. If it appears excessively thin, a small amount of the gluten-free flour blend can be incorporated.
Apple Cider Vinegar in the Dough
One teaspoon of apple cider vinegar is combined with the warm water and olive oil. Although this is a small ingredient, it forms part of the carefully balanced liquid mixture used in the recipe.
Because only one teaspoon is used in a relatively large loaf, it does not turn the finished bread into a strongly vinegar-flavored loaf. Simply measure it accurately and stir it into the wet ingredients before adding them to the dry mixture. Keeping the wet and dry ingredients separate initially also makes it easier to distribute every ingredient evenly once the two mixtures are combined.
How to Mix No-Knead Gluten-Free Bread
Begin by adding the gluten-free bread flour blend, brown rice flour, tapioca starch, potato starch, psyllium husk powder, instant yeast, sugar or honey, and fine sea salt to a large mixing bowl. Stir thoroughly so the yeast, salt, psyllium, and starches are evenly distributed. This is particularly important because concentrated pockets of psyllium can hydrate unevenly once the water is introduced.
In another container, combine the warm water, olive oil, and apple cider vinegar. Pour this liquid mixture into the dry ingredients and stir firmly for approximately three to four minutes. Continue until there are no visible pockets of dry flour and the mixture has a uniform consistency. Do not knead the dough or add flour simply to make it easier to handle. Its wet, sticky texture is intentional.
Optional Seeds and Herbs
The basic loaf can be prepared without any additional flavorings, but the original recipe also provides several optional additions. These include one tablespoon of mixed seeds, one teaspoon of dried rosemary, one teaspoon of dried thyme, one tablespoon of flaxseeds, and one tablespoon of sunflower seeds. These additions can introduce extra flavor, texture, and visual appeal without changing the basic bread-making method.
If you choose to use any of these optional ingredients, fold them into the dough after the wet and dry mixtures have been completely combined. Seeds can also be sprinkled over the top of the loaf before the second rise for a decorative finish and extra texture. Keep these additions within the quantities specified in the recipe rather than adding excessive amounts that could change the dough’s structure.
The First Rise
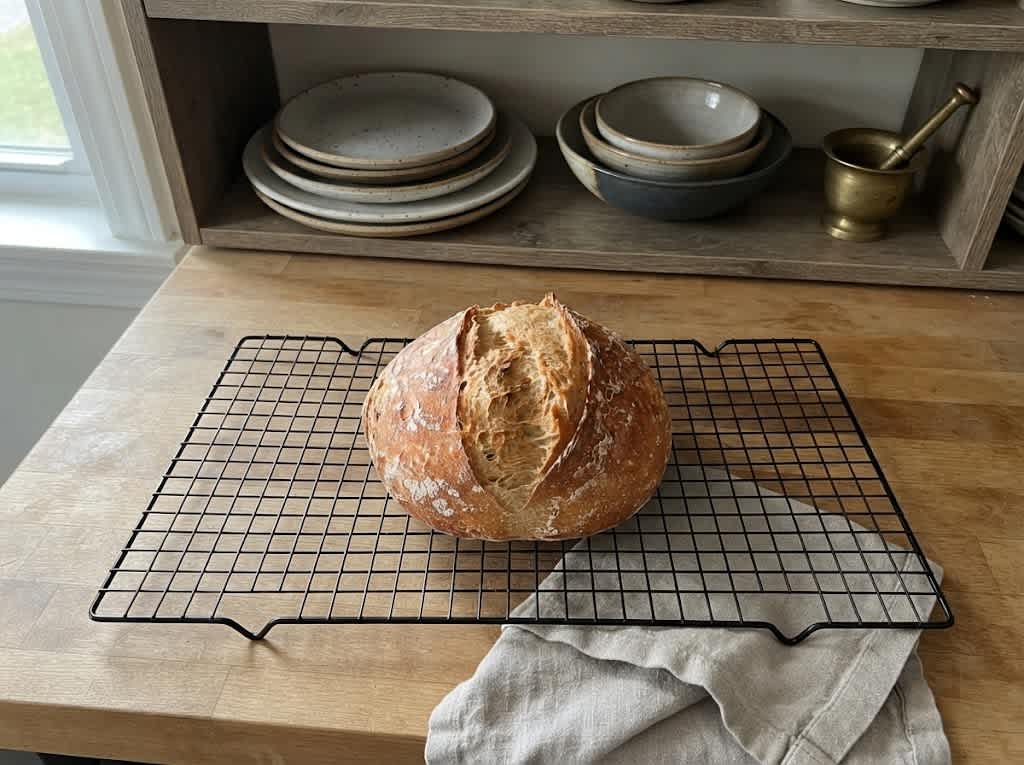
Once the dough is thoroughly mixed, cover the bowl with a clean kitchen towel or plastic wrap. Place it in a warm location away from cold drafts and leave it undisturbed for approximately one and a half to two hours. During this period, the yeast begins creating air pockets while the psyllium and gluten-free flours continue absorbing moisture.
Do not expect this dough to behave exactly like conventional wheat bread. Instead of looking stretchy and elastic, it should become noticeably puffier and increase in volume. The long first rise is an important part of the no-knead process because it gives the dough time to develop without physical kneading. Avoid rushing this stage simply to reduce the overall preparation time.
Transferring the Dough to the Loaf Pan
Prepare a 9 x 5-inch loaf pan by lining it with parchment paper and lightly greasing the paper and any exposed areas with olive oil. Preparing the pan before the dough has finished rising makes the transfer faster and prevents the risen mixture from sitting unnecessarily while you search for equipment.
Use a sturdy spatula to gently scrape the risen dough into the prepared loaf pan. There is no need to punch it down or knead it first. Once transferred, smooth the surface using a wet spatula or slightly damp hands. If you are using extra seeds as a topping, sprinkle them over the surface at this stage before beginning the second rise.
The Second Rise
Cover the loaf pan loosely with a clean towel and allow the dough to rise again for approximately 30 to 45 minutes. During this stage, the loaf should become slightly larger and develop a gently rounded surface.
Unlike the first rise, longer is not necessarily better during this stage. The supplied recipe warns that over-proofing can weaken the structure of gluten-free dough. Begin checking the loaf around the lower end of the recommended time. Once it looks visibly larger and nicely rounded, it is ready for baking. About 20 minutes before the second rise is complete, begin preheating the oven so it reaches the correct temperature in time.
How to Tell When Gluten-Free Bread Is Baked
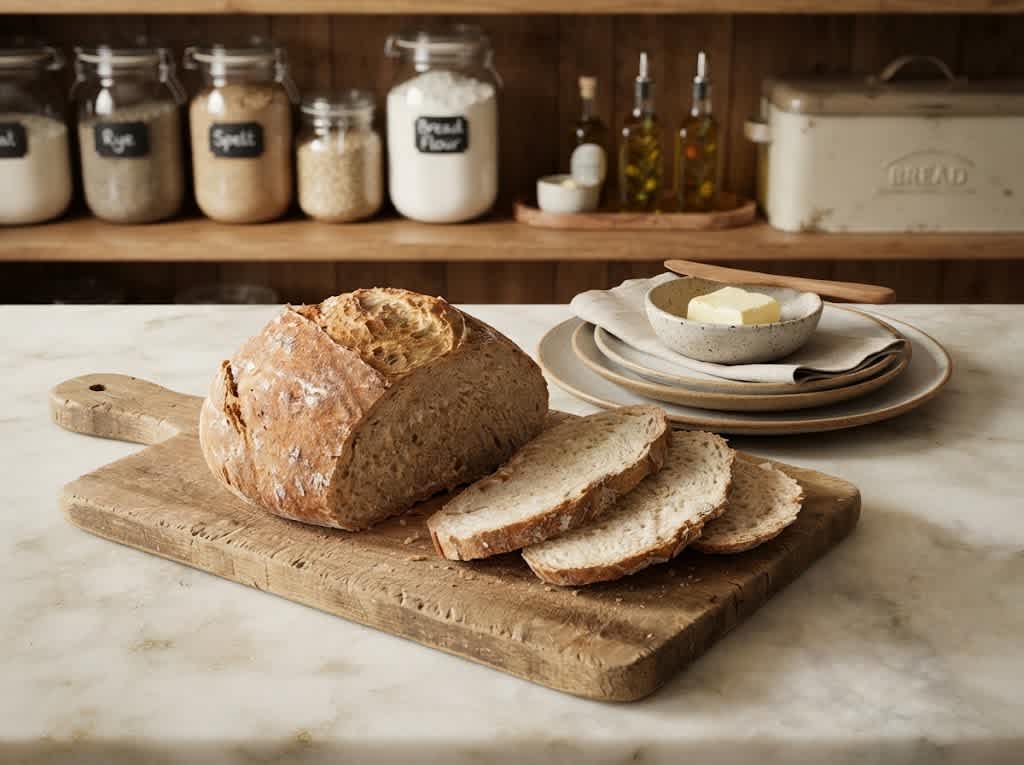
The loaf should have a deep golden-brown crust when fully baked. Tapping the bread should produce a hollow sound, which is a traditional indication that the interior has cooked. For greater accuracy, the recipe recommends checking the center with an instant-read thermometer.
The internal temperature should reach approximately 96°C (205°F). This is particularly useful with gluten-free bread because the exterior can sometimes look completely baked before the moist center has fully set. If the loaf needs additional baking, return it to the oven briefly and check again rather than relying exclusively on crust color.
How to Create a Crisp Bakery-Style Crust
For a more pronounced bakery-style crust, the recipe allows placing a small oven-safe dish containing hot water on the bottom oven rack during baking. The steam created inside the oven can help improve the crust and support the loaf during its initial baking stage.
If you prefer an even darker and crispier exterior, another approved option is to remove the loaf from its pan for the final 10 minutes of baking. Place it directly on the oven rack and allow the exposed sides to brown further. These techniques are optional, so you can skip them when you prefer a softer everyday sandwich-style crust.
Why Gluten-Free Bread Must Cool Completely
Cooling is one of the most important stages of this no-knead gluten-free bread recipe. Once the loaf leaves the oven, immediately transfer it to a wire cooling rack and allow it to cool for at least two full hours before slicing.
Freshly baked gluten-free bread continues setting internally as it cools. Cutting into it too early can release steam and leave the crumb gummy, sticky, or compressed. Waiting two hours may seem long when the bread smells fresh from the oven, but the cooling period is part of the recipe rather than simply a serving suggestion. A fully cooled loaf will slice more cleanly and have a better texture.
Common Mistakes to Avoid
The most important mistake to avoid is adding excessive flour because the dough appears too wet. This recipe is intentionally designed around a thick, batter-like gluten-free dough. Making it firm enough to knead could disrupt the hydration balance and result in a heavier loaf. Similarly, do not substitute the psyllium husk powder casually, since it provides important structural support.
How to Store No-Knead Gluten-Free Bread
For longer storage, slice the loaf first and freeze the individual pieces for up to three months. Freezing individual slices is convenient because you can remove only the amount needed at one time. The frozen slices can be toasted directly from the freezer or warmed in the oven, making this homemade gluten-free bread practical for meal preparation and everyday breakfasts.
No-Knead Gluten-Free Bread
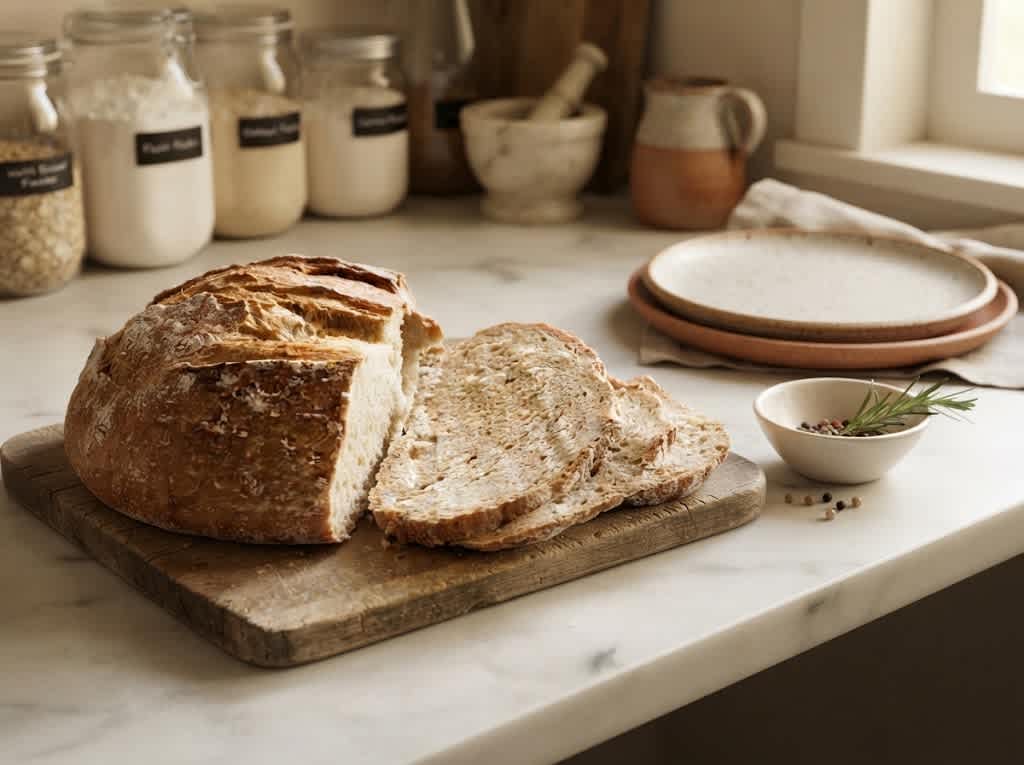
An easy no-knead gluten-free bread with a tender crumb and golden crust. Made with gluten-free bread flour, brown rice flour, tapioca starch, potato starch, psyllium husk, and yeast, this homemade loaf requires no kneading or complicated shaping and works well for toast, sandwiches, and everyday meals.
1
servings20
minutes50
minutes90
minutes30
minutes3
hours10
minutesIngredients
- Bread Dough
2 cups gluten-free bread flour blend
1 cup brown rice flour
1 cup tapioca starch
¼ cup potato starch
3 tbsp psyllium husk powder
2 tsp instant yeast
1 tbsp sugar or honey
2 tsp fine sea salt
2 tbsp olive oil
2 cups warm water
1 tsp apple cider vinegar
- Optional Add-Ins
1 tbsp mixed seeds
1 tsp dried rosemary
1 tsp dried thyme
1 tbsp flaxseeds
1 tbsp sunflower seeds
Instructions
- Mix all flours, starches, psyllium, yeast, sugar, and salt.
- In another bowl, combine warm water, olive oil, and vinegar.
- Pour wet ingredients into dry ingredients.
- Stir for 3–4 minutes until thick and evenly mixed.
- Fold in optional seeds or herbs.
- Cover and rise for 1½–2 hours.
- Line and lightly grease a 9 x 5-inch loaf pan.
- Transfer dough to the pan and smooth the top.
- Cover and rise again for 30–45 minutes.
- Preheat oven to 425°F (220°C).
- Bake for 20 minutes.
- Reduce heat to 375°F (190°C).
- Bake another 30–40 minutes.
- Check for a deep golden crust and 205°F (96°C) internal temperature.
- Transfer to a wire rack.
- Cool for at least 2 hours before slicing.