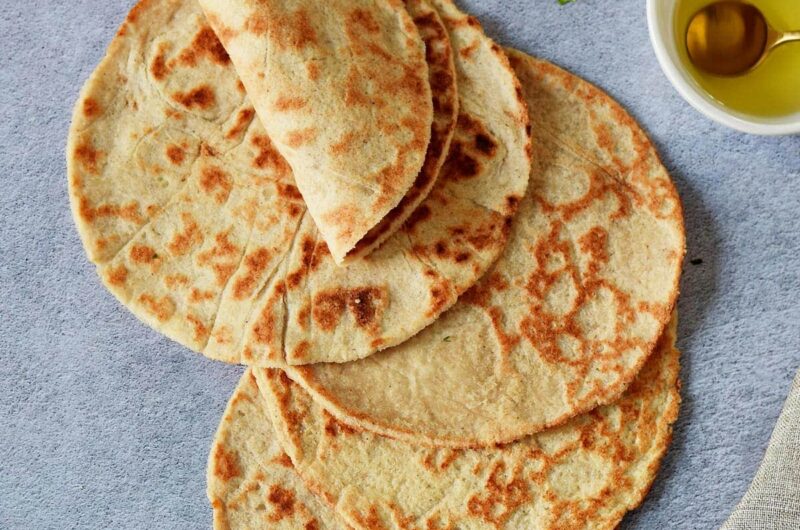
These almond flour tortillas are soft, flexible, and easy to make with a short list of everyday ingredients. They are a useful choice when you want a low-carb tortilla for wraps, tacos, snacks, or quick lunches. Each tortilla contains just 2g of carbohydrates and 4g of fiber, making them suitable for many low-carb meal plans.
Why These Almond Flour Tortillas Work
Making tortillas at home gives you control over the ingredients and texture. This recipe combines almond flour and coconut flour to create a tender dough without using regular wheat flour. Psyllium husk powder helps the mixture hold together, while olive oil adds a little moisture and richness.
A Low-Carb Tortilla Option
Traditional flour tortillas can contain a significant amount of carbohydrates, but these almond flour tortillas are made without wheat flour. The recipe uses almond flour, coconut flour, and psyllium husk powder as the main dry ingredients. With only 2g of carbohydrates per serving, they fit naturally into a low-carb and keto-style menu.
Gluten-Free and Egg-Free
These homemade keto tortillas are also gluten-free and egg-free. No wheat flour or eggs are needed to prepare the dough. That makes the recipe useful for people looking for a simple tortilla alternative that works with different dietary preferences while still providing a soft wrap for everyday meals.
Vegan Tortilla Recipe
The ingredients in this recipe are plant-based, making these tortillas suitable for a vegan diet. Olive oil provides the added fat, while almond flour and coconut flour form the base. There are no dairy ingredients or eggs, so you can use these wraps with vegetables, beans, salads, or other fillings that suit your meal.
What Makes the Dough Different
Almond flour behaves differently from regular wheat flour because it does not contain gluten. The dough needs a little help to become flexible enough for rolling. Psyllium husk powder absorbs water and gives the mixture structure, helping the tortillas stay together while they are shaped and cooked.
Almond Flour
Almond flour provides the main base for these tortillas and gives them a mild nutty flavor. It also contributes fat, fiber, and protein to the recipe. For the most consistent result, measure the almond flour using the written gram measurement on a kitchen scale whenever possible.
Coconut Flour
Coconut flour is used in a smaller amount, but it has an important role in the dough. It absorbs moisture more strongly than almond flour, helping balance the water in the mixture. Because coconut flour can vary in how much liquid it absorbs, the final dough should be checked for softness and consistency before rolling.
Psyllium Husk Powder
Psyllium husk powder helps give these keto tortillas their flexible texture. It absorbs water and helps bind the ingredients without eggs or gluten. If you only have whole psyllium husk, the original recipe allows you to grind it into powder or use 2 tablespoons of whole psyllium husk instead.
Baking Powder and Salt
A small amount of baking powder is included in the dry mixture, along with salt for flavor. These ingredients are mixed with the almond flour, coconut flour, and psyllium husk powder before the wet ingredients are added. Mixing the dry ingredients first helps distribute everything evenly through the dough.
Olive Oil and Warm Water
Olive oil and warm water bring the dough together. The water should be warm rather than very hot, and it is added along with the olive oil to the dry mixture. The dough should become slightly moist and smooth instead of wet or sticky.
How to Make the Tortilla Dough
Start by placing the almond flour, coconut flour, psyllium husk powder, baking powder, and salt in a medium bowl. Stir everything together with a spoon or whisk. Add the warm water and olive oil, then mix until the ingredients form a dough that can be handled easily.
Kneading the Dough
Once the mixture comes together, knead it gently with your hands for about 30 to 45 seconds. The goal is a soft and smooth dough rather than a heavily worked mixture. If you prefer, the dough can also be prepared in a food processor, although hand mixing works well for this small batch.
Checking the Texture
The dough should feel slightly moist but should not stick heavily to your hands. If your almond flour is very dry and fine, you may need a little more water to reach the right consistency. If the mixture becomes too sticky, a small amount of coconut flour can help correct the texture.
Dividing the Dough
This recipe makes 6 servings, but the dough can be divided according to the size of tortillas you want. Six pieces will give you smaller tortillas, while dividing the dough into four pieces will create larger wraps. Roll each portion between your hands to form a smooth dough ball.
Preparing the Parchment Paper
Place two sheets of parchment paper or wax paper on your work surface. Lightly oil the middle of both sheets where the dough will sit. Put one dough ball between the sheets and press it gently with your hand before using a rolling pin to flatten it.
Rolling the Tortillas
Roll the dough carefully until it forms a thin, even tortilla. Avoid making it extremely thin because the dough may crack or become difficult to handle. Once rolled, carefully remove the upper sheet of parchment paper so the tortilla is ready to shape and transfer to the pan.
Making Round Tortillas
For neat, round tortillas, you can use a springform pan or a bowl as a guide. Press the guide gently into the rolled dough and remove any excess around the edges. This step is optional, but it can make the tortillas look more uniform, especially when preparing them for wraps or tacos.
Cooking the Tortillas
Lightly oil a non-stick frying pan or skillet and place it over medium heat. Transfer the tortilla to the hot pan with the parchment paper facing upward, then carefully peel away the paper. Cook the tortilla for about 2 to 3 minutes before turning it over.
Flipping the Tortilla
After the first side has cooked, flip the tortilla and continue cooking for another 1 to 2 minutes. Keep an eye on the heat because cooking times can vary between pans. Once cooked, transfer the tortilla to a plate and cover it with a clean kitchen towel to help maintain its softness.
Cooking the Remaining Tortillas
While one tortilla is cooking, you can roll out another dough ball. Continue this process until all the dough has been shaped and cooked. Keeping the finished tortillas covered with a kitchen towel helps prevent them from drying out while you prepare the rest of the batch.
Avoiding Brittle Tortillas
The cooking temperature is important for keeping these low-carb tortillas flexible. If the pan becomes too hot, the tortillas may cook too quickly and become brittle. Medium heat is a good starting point, but you may need to adjust it slightly depending on your particular skillet and stovetop.
Making the Dough Ahead
The tortilla dough can be prepared up to one day in advance. Place the prepared dough in the refrigerator and keep it covered with plastic wrap. When you are ready to make the tortillas, take out the dough and continue with the rolling and cooking steps.
Storing Homemade Tortillas
Cooked almond flour tortillas can be stored in the refrigerator for 3 to 4 days. Keep them covered so they do not dry out. When you need one, you can warm it gently before serving, especially if you want a softer texture for wraps or filled tortillas.
Serving Ideas for Keto Tortillas
These homemade tortillas can be used in many simple meals. Fill them with cooked vegetables, salad ingredients, or your favorite low-carb fillings for an easy lunch. They can also be served alongside a main dish when you want a bread alternative without using traditional flour tortillas.
Low-Carb Wraps
Use these tortillas as a base for quick low-carb wraps. Add your preferred filling, fold the sides inward, and roll the tortilla into a compact wrap. Because the tortillas are flexible when prepared correctly, they can hold a reasonable amount of filling without needing wheat flour.
Keto Lunch Ideas
For a quick keto lunch, fill one tortilla with ingredients that fit your daily carbohydrate target. You can prepare the filling ahead of time and assemble the wrap just before eating. These tortillas are also useful when you want to add variety to your usual salads or bowl-style meals.
Tortillas for Snacks
Smaller tortillas can work well for simple snacks. Cut or fold them around your preferred filling and serve them as a light bite between meals. Since the recipe makes six tortillas, you can prepare the whole batch and keep the extras refrigerated for later use.
Choosing the Right Tortilla Size
The number of dough portions affects the finished size. Dividing the dough into six pieces creates smaller tortillas, while four portions produce larger ones. Think about how you plan to use them before dividing the dough so the finished wraps are the right size for your meal.
Measuring Ingredients Accurately
Using a kitchen scale can make this recipe easier to repeat consistently. The recipe provides measurements in grams for the main ingredients, so weighing them can help you get the same dough texture each time. This is particularly helpful with coconut flour and psyllium husk powder because both can affect moisture balance.
What If the Dough Cracks?
Small cracks can happen when the dough is rolled too thin or does not contain enough moisture. Handle the dough gently and avoid pressing it thinner than needed. If the mixture feels unusually dry, adding a little more water can help bring it back to a softer consistency.
What If the Dough Is Sticky?
A sticky dough can usually be adjusted with a little coconut flour. Add only a small amount at a time because coconut flour absorbs moisture quickly. The finished dough should feel soft and slightly moist, but it should still be easy to handle and roll between the parchment sheets.
Why Parchment Helps
Parchment paper makes these gluten-free tortillas much easier to roll and transfer. Since the dough does not contain wheat gluten, it does not have the same elasticity as traditional tortilla dough. Rolling between two sheets reduces sticking and makes it easier to move the thin dough into the skillet.
Keeping the Tortillas Soft
Cover the cooked tortillas with a kitchen towel as you work. This simple step helps prevent the exposed surface from drying while the remaining tortillas cook. Proper moisture in the dough and moderate cooking heat are also important for keeping the finished tortillas pliable.
A Simple Homemade Alternative
These almond flour tortillas are a practical option when you want to make your own low-carb wraps at home. The recipe does not require complicated equipment or a long ingredient list. Once the dough is mixed, the main work involves rolling each portion and cooking it briefly in a skillet.
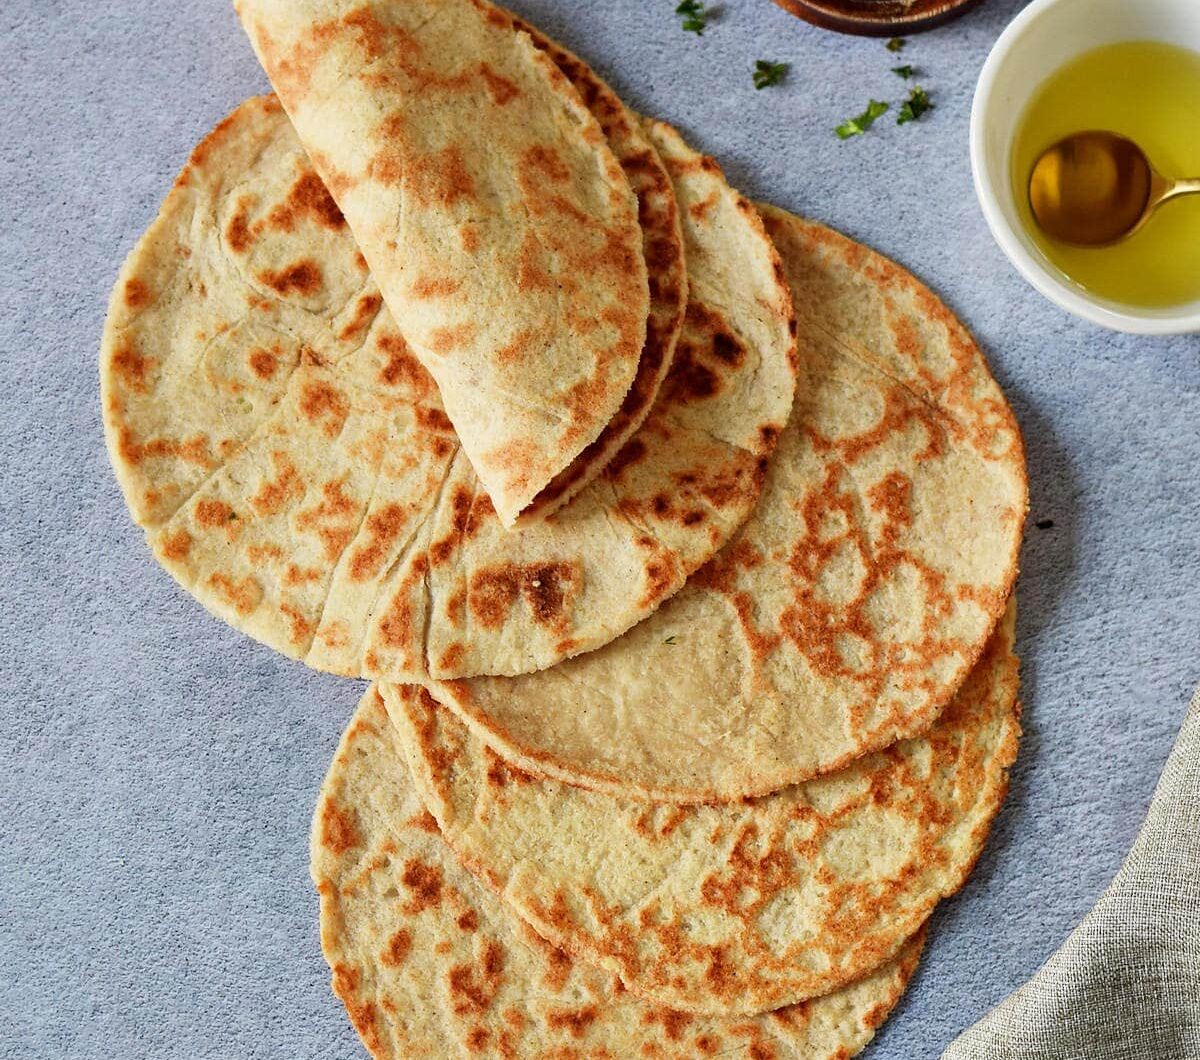
Low Carb, Vegan Keto Almond Flour Tortillas
Soft homemade almond flour tortillas made with almond flour, coconut flour, psyllium husk powder, olive oil, and warm water. These low-carb tortillas are gluten-free, egg-free, vegan, and suitable for keto-style meals. They are useful for wraps, lunches, snacks, and other meals where you want a wheat-free tortilla option.
6
servings10
minutes20
minutes129
kcal30
minutesIngredients
¾ cup + 1 Tbsp (96 g) almond flour
2 Tbsp (18 g) coconut flour
1 Tbsp (10 g) psyllium husk powder
½ tsp baking powder
1/4-1/2 tsp salt
1 Tbsp olive oil
½ cup (120 g) warm water
Instructions
- Add the almond flour, coconut flour, psyllium husk powder, baking powder, and salt to a medium bowl. Stir well with a spoon or whisk, then add the warm water and olive oil and mix until a dough forms.
- Knead the dough gently with your hands for about 30–45 seconds until it becomes soft and smooth. If it feels too dry, add a little more water; if it is too sticky, add a little coconut flour.
- Divide the dough into 4, 5, or 6 portions depending on the tortilla size you want. Roll each portion into a ball, keeping the unused dough covered while you work.
- Lightly oil the centers of two sheets of parchment paper. Place one dough ball between them, flatten it with your hand, and roll it into a tortilla. Carefully remove the top parchment sheet and shape the tortilla into a round if desired.
- Lightly oil a non-stick skillet and heat it over medium heat. Transfer the tortilla to the pan, peel away the parchment paper, and cook for 2–3 minutes. Flip and cook for another 1–2 minutes.
- Transfer each cooked tortilla to a plate and cover it with a kitchen towel while preparing the remaining tortillas. Continue until all six tortillas are cooked.
Notes
- The dough can be prepared one day ahead and refrigerated while covered with plastic wrap.
- Store cooked tortillas covered in the refrigerator for 3–4 days.
- Psyllium husk powder is used in this recipe. If using whole psyllium husk, grind it into powder or use 2 tablespoons.
Nutrition Facts
- Calories: 129kcal
- Fat: 10.7g
- Carbohydrates: 2g
- Fiber: 4g
- Sugar: 0.9g
- Protein: 3.8g