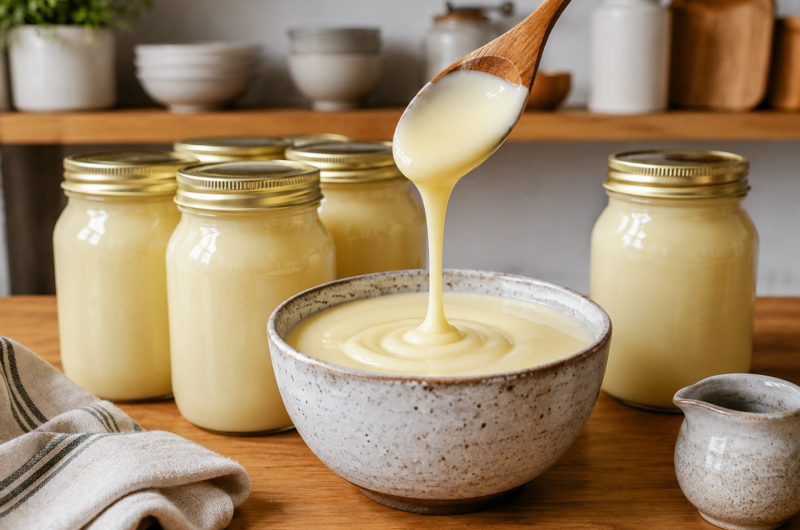
Homemade sweetened condensed milk is a simple kitchen recipe made by slowly cooking milk and sugar until the mixture reduces, thickens, and develops a creamy color. It uses only two main ingredients and can be prepared without special equipment. This easy condensed milk recipe is useful when you need a homemade alternative for desserts, ice cream, cookies, and other sweet recipes that call for sweetened condensed milk.
A Simple Two-Ingredient Condensed Milk Recipe
The basic process starts with full-fat or low-fat milk and white sugar. Both ingredients are placed in a small, heavy-bottomed saucepan and heated slowly. As the mixture cooks, water in the milk evaporates, causing the liquid to reduce. After enough cooking time, the mixture becomes thicker and sweeter, creating homemade sweetened condensed milk with a texture similar to the store-bought version.
Why a Heavy-Bottomed Saucepan Helps
A heavy-bottomed saucepan is useful because the milk and sugar mixture needs gentle, even heat during the cooking process. Condensed milk is simmered for a long period, so steady heat helps the mixture cook gradually. Add the milk and sugar to the pan before turning on the heat. Keeping the cooking process controlled makes it easier to watch the mixture as it reduces.
Dissolving the Sugar Before Simmering
Begin by heating the milk and sugar over low heat until the sugar has completely dissolved. This is an important early step because the mixture should be smooth before it reaches a simmer. Stir while the sugar is dissolving as needed. Once the sugar has dissolved, the heat can be increased to medium-low so the mixture gradually reaches a gentle simmer.
Do Not Stir After the Mixture Starts Simmering
After the milk and sugar mixture begins to simmer, avoid stirring it. According to the original preparation method, stirring at this stage can cause the mixture to crack and crystallize. Allow the condensed milk to simmer gently without disturbing it too much. The slow cooking process gives the milk time to reduce while the sugar remains part of the thickening mixture.
Slow Simmering Creates the Right Texture
The mixture needs roughly 35 to 40 minutes of gentle simmering. During this time, the milk gradually reduces by about half and changes from its original color to a creamier shade. It also begins to thicken. The mixture may still look slightly thinner than expected while it is hot, so avoid judging the final texture before it has had time to cool.
Watching the Milk as It Reduces
Keep an eye on the saucepan during the simmering period. As the liquid cooks down, you may notice that the mixture becomes darker and more concentrated. The final condensed milk should have reduced significantly and thickened slightly. These visible changes are useful signs that the mixture is moving toward the correct consistency.
Removing Foam from the Surface
Some foam may form on top of the simmering milk mixture. If this happens, gently skim the foam away with a spoon. There is no need to stir the entire saucepan while doing this. Carefully removing only the foam helps follow the original method without unnecessarily disturbing the simmering condensed milk.
Handling Sugar Around the Rim of the Pan
During cooking, sugary bits may collect around the rim of the saucepan. Do not stir these pieces back into the condensed milk. The original recipe warns that adding them back into the mixture can cause it to crack. Leave them undisturbed while the condensed milk continues to simmer and reduce.
How to Tell When Homemade Condensed Milk Is Ready
The condensed milk is ready when it has simmered for about 35 to 40 minutes, reduced by roughly half, become creamier in color, and thickened slightly. The finished quantity should measure approximately 1 cup or 8 ounces. Because the mixture thickens more after cooling and refrigeration, it does not need to become extremely thick while it is still on the stove.
Cooling the Condensed Milk Correctly
Once the mixture has reached the correct stage, remove the saucepan from the heat. Carefully pour the hot condensed milk into a jar and allow it to cool completely. Do not place the airtight lid on the jar until the mixture has cooled. This gives the condensed milk time to settle and prevents closing the jar while the contents are still hot.
Why the Texture Changes in the Refrigerator
Homemade sweetened condensed milk becomes noticeably thicker after it has spent several hours in the refrigerator. This means the consistency immediately after cooking may not look exactly like the final chilled product. Allowing it to cool and refrigerate gives the mixture time to develop its thicker texture. The original instructions specifically mention that it thickens considerably after chilling.
Using Full-Fat or Low-Fat Milk
The ingredient list allows either full-fat milk or low-fat milk. Both options can be used in the same cooking process with the listed amount of white sugar. Choose the milk option that suits your needs while keeping the quantities unchanged. The milk is slowly simmered with sugar until it reduces and becomes the thickened sweetened condensed milk.
The Role of White Sugar in the Recipe
White sugar provides the sweetness and also plays an important role in the cooking process. The milk and sugar are heated together until the sugar dissolves, then simmered until the mixture reduces. As the liquid cooks down, the sugar becomes more concentrated with the milk. This creates the sweet flavor expected from homemade condensed milk.
Alternative Milk Options
The recipe states that any nut milk can be used instead of regular dairy milk. This provides an option for making the recipe with a different type of milk. The same basic method is followed by heating the chosen milk with the sugar until dissolved, then simmering until reduced. Results may vary depending on the milk selected, but the alternative is included in the original recipe guidance.
Alternative Sweetener Options
The recipe also lists coconut sugar, maple syrup, light honey, or other natural sugars as alternatives to white sugar. These substitutes should be able to caramelize during cooking. The ability to caramelize is important because the mixture is slowly heated and reduced. When choosing an alternative from the original suggestions, keep this requirement in mind.
Sweeteners That Will Not Work for This Method
According to the recipe guidance, stevia, xylitol, and Splenda will not caramelize and therefore will not work in this condensed milk method. The sugar or substitute needs to respond properly to the slow heating process. Using a sweetener that cannot caramelize may prevent the recipe from developing the intended color and consistency.
Making the Recipe for Desserts
This homemade sweetened condensed milk can be used in recipes that call for condensed milk. The original description suggests using it for two-ingredient ice cream, cookies, and other sweet dishes. Making it at home can be useful when you need approximately 1 cup for another recipe. Once it has cooled and thickened, measure the required amount according to your chosen dessert.
Homemade Condensed Milk for Ice Cream
Sweetened condensed milk is commonly used in easy ice cream recipes because of its sweet and concentrated texture. This homemade version can be prepared first, cooled completely, and then used in recipes requiring condensed milk. Since the recipe produces approximately 1 cup, it is convenient for recipes that need a measured amount rather than a large batch.
Using It in Cookies and Other Baking Recipes
The finished condensed milk can also be used in cookies and other sweet baked recipes that require this ingredient. Allow it to cool completely before adding it to another recipe. Its thick texture develops further after refrigeration, so planning the chilling time can be helpful when preparing it for baking. Measure the amount needed once it has cooled properly.
An Easy Recipe with Only Two Main Ingredients
One reason this homemade condensed milk recipe is straightforward is the short ingredient list. There are no complicated flavorings, thickeners, or special additives in the basic version. The main work comes from allowing the milk and sugar to simmer slowly. With 5 minutes of preparation and 40 minutes of cooking, the recipe has a total duration of 45 minutes.
Keeping the Heat Gentle
The recipe begins with low heat to dissolve the sugar and then moves to medium-low heat for simmering. A gentle simmer is important rather than a rapid boil. Cooking slowly gives the mixture time to reduce gradually. Watch the saucepan throughout the process and keep the heat controlled so the milk can darken and thicken according to the original method.
Storing Homemade Sweetened Condensed Milk
After the condensed milk has cooled completely, place an airtight lid on the jar. The original recipe recommends storing it in a labeled jar in the refrigerator. Proper labeling can help you keep track of the prepared batch. According to the original storage guidance, the condensed milk can last for up to 6 months when refrigerated as directed.
Common Questions
How much condensed milk does this recipe make?
The finished recipe makes approximately 1 cup, or 8 ounces, of sweetened condensed milk. The milk mixture reduces by about half during cooking, which changes the original larger volume into a smaller, thicker final amount.
Can I use low-fat milk?
Yes. The ingredient list allows either full-fat milk or low-fat milk. Use the listed quantity of your chosen milk and follow the same process of dissolving the sugar, gently simmering the mixture, and allowing it to reduce.
Why should I avoid stirring during simmering?
The original instructions state that stirring once the mixture starts simmering can cause the condensed milk to crack and crystallize. After the sugar has dissolved, allow the mixture to simmer gently and avoid unnecessary stirring.
Why is the condensed milk thinner while hot?
The mixture thickens more as it cools and becomes even thicker after a few hours in the refrigerator. For this reason, the condensed milk only needs to thicken slightly on the stove once it has reduced by about half and reached the expected creamy color.
Homemade Condensed Milk
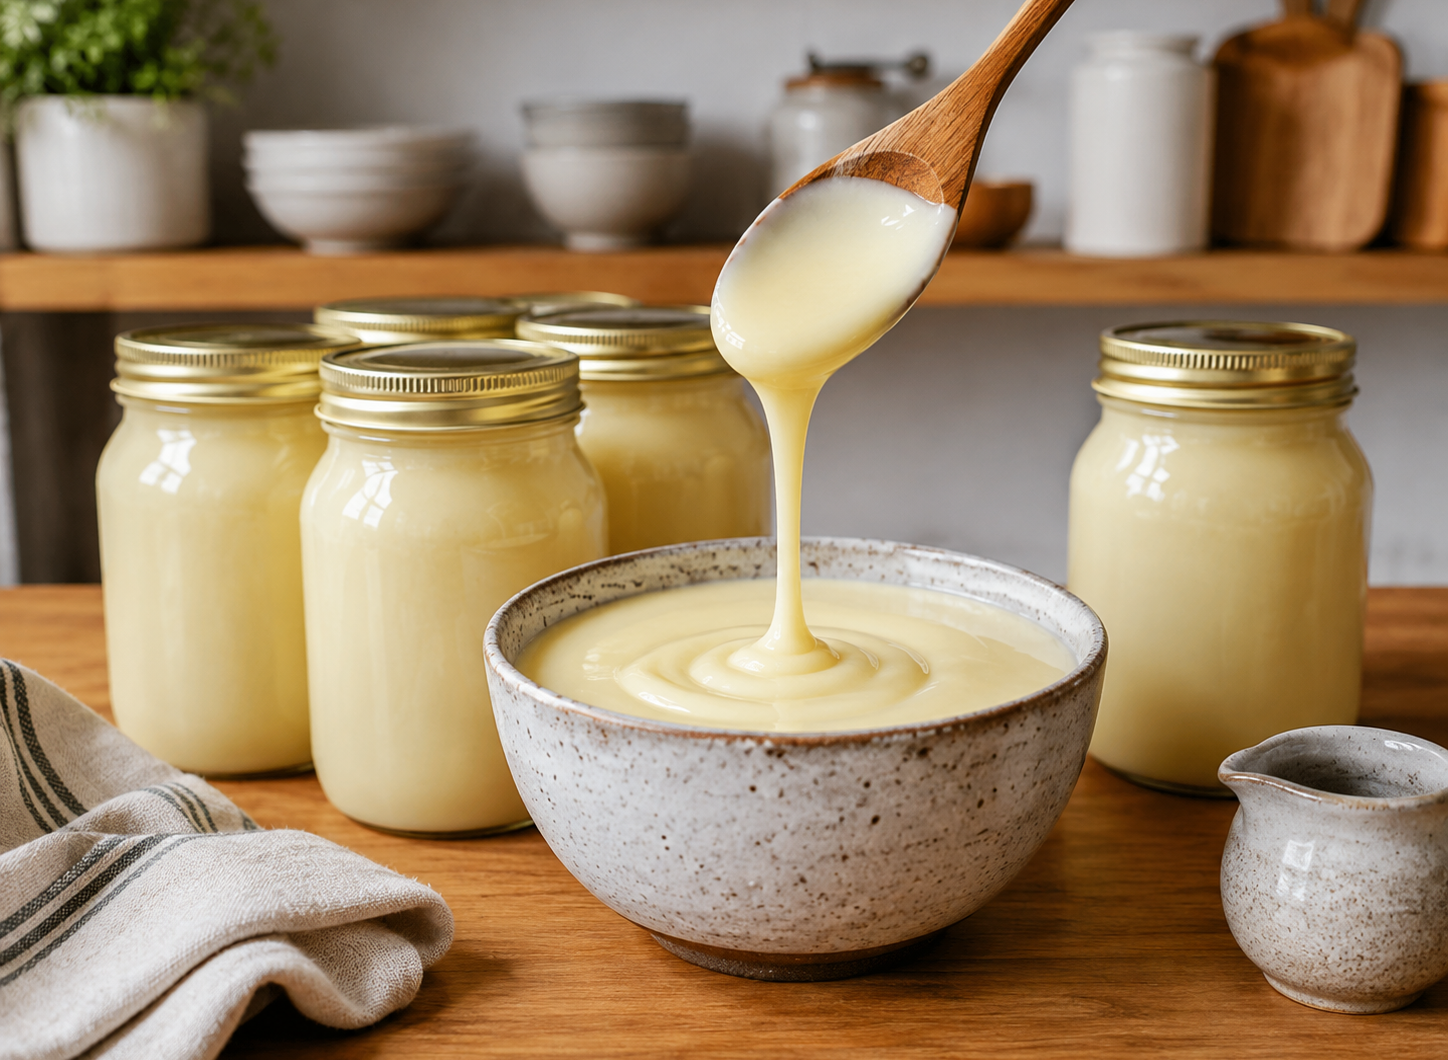
A simple homemade sweetened condensed milk recipe made by gently simmering milk and white sugar until the mixture reduces, develops a creamy color, and thickens. The finished recipe makes approximately 1 cup and can be used in ice cream, cookies, and other desserts.
1
cup5
minutes40
minutes45
minutesIngredients
2 cups (16 fl oz/450 ml) full fat milk or low fat milk*
⅔ cups (5 oz/142 g) white sugar
Instructions
- Add the full fat milk or low fat milk and white sugar to a small, heavy-bottomed saucepan. Heat over low heat until the sugar has completely dissolved.
- Once the sugar has dissolved, increase the heat to medium-low and bring the mixture to a gentle simmer. Do not stir after the mixture starts simmering, as this may cause it to crack and crystallize.
- Let the mixture simmer gently for approximately 35 to 40 minutes. Cook until it has reduced by about half, turned a creamy color, and thickened slightly. If foam forms on top, gently skim it away with a spoon.
- If sugary bits collect around the rim of the saucepan, do not stir them back into the condensed milk. Continue simmering until the mixture reaches the required reduced volume and consistency.
- Remove the saucepan from the heat and pour the condensed milk into a jar. Allow it to cool completely before placing an airtight lid on the jar. The mixture will thicken considerably after a few hours in the refrigerator.
- Store the cooled condensed milk in a labeled jar in the refrigerator. The original storage guidance states that it can last for up to 6 months. The finished condensed milk should measure approximately 1 cup or 8 ounces.