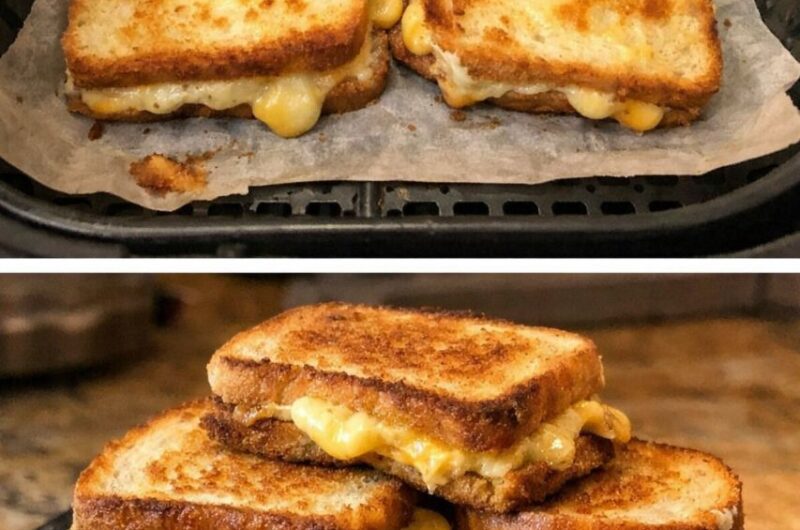
This is a fast, minimal-effort breakfast built from just bread, eggs, and optional shredded cheese. A shallow well is pressed into the center of each bread slice, an egg is cracked directly into it, and everything cooks together in the air fryer in under 10 minutes — no stovetop, no separate pan for the egg. The bread turns lightly crisp at the edges while staying soft enough to hold the egg, and the yolk can be adjusted from soft and runny to fully firm just by changing the cooking time by a minute or two.
It’s a recipe built for flexibility: it scales easily for multiple servings, works with either white or wheat bread, and the cheese is entirely optional without changing anything else about the method. That makes it equally suited to a rushed weekday morning or a slower weekend breakfast.
Getting Everything Ready
This recipe has a very short ingredient list, so the real prep work is more about technique than measuring.
Equipment to have ready:
- An air fryer
- A drinking glass, for pressing an indentation into the bread
Ingredients to have ready:
- 2 slices bread (white or wheat, sturdy enough to hold its shape)
- 2 large eggs
- ¼ cup shredded cheese (optional)
- Salt and pepper, to taste
Because the recipe cooks so quickly, it helps to have the eggs already cracked and ready near the air fryer rather than fumbling with the carton once the bread is in the basket.
Workflow: How the Process Comes Together
The whole recipe follows a short, linear sequence:
- Press an indentation into each bread slice. This creates a shallow well that keeps the egg centered rather than spreading off the edge of the toast.
- Arrange the bread in the air fryer basket, leaving space between slices so hot air can circulate.
- Crack an egg into each indentation and season with salt and pepper.
- Cook at 330°F (165°C), adjusting the total time based on how done you want the yolk.
- Add cheese near the end, if using, rather than at the start, so it melts without overcooking.
- Serve immediately, since the toast is crispest and the egg at its best texture right when it comes out of the fryer.
Because timing is really the only variable here, most of the “workflow” is about watching the clock rather than juggling multiple components.
Approved Variations & Swaps
Based strictly on what’s built into this recipe, here are the adjustments it already allows for:
- Bread choice: both white and wheat bread work well, as long as the slices are sturdy enough to hold their shape after the indentation is made.
- Cheese is entirely optional. The recipe tastes complete with just bread, eggs, salt, and pepper if you’d rather skip it.
- Yolk doneness is fully adjustable by cooking time: about 7 minutes for a soft, runny yolk; about 8 minutes for a jammy yolk with fully set whites; about 9 minutes for a firm, fully cooked yolk.
- Batch size: multiple servings can be made at once, as long as the slices fit in the basket without overlapping.
- Indentation depth can be adjusted slightly firmer for thicker bread, or gentler for softer bread, to get the right depth for holding the egg.
No other ingredient substitutions are specified in the source recipe, so swaps beyond bread type, cheese, and seasoning would go beyond what’s actually described here.
Step-by-Step Cooking Strategy
Getting this recipe right comes down to a handful of small technique choices, worth walking through individually.
Make the indentation wide enough, but don’t press through. Using the bottom of a drinking glass, gently press the center of each bread slice — deep enough to hold the egg comfortably, but not so deep that it tears through the bread. A slightly wider indentation also helps the egg whites spread out evenly, which helps them cook through completely within the recommended time.
Leave space between slices in the basket. Air needs to circulate freely around each slice for even cooking, so avoid crowding the basket, especially when making more than one or two servings.
Crack the egg carefully and directly into the center. Taking a moment to crack it slowly keeps both the yolk and whites contained inside the indentation, rather than spilling over the edge of the toast.
Season right after cracking, so the salt and pepper have time to season the egg as it cooks rather than sitting untouched on top.
Start at 330°F and adjust the timing to your preferred yolk. Cook for about 7 minutes for runny, 8 for jammy, or 9 for fully firm — but keep in mind that air fryers vary by basket size, heating element, and fan strength, so your exact timing may need a small adjustment up or down from these starting points.
Add cheese only in the final 2 to 3 minutes. Briefly opening the air fryer to scatter shredded cheddar over the eggs late in the cooking process lets it melt evenly without drying out or browning too much.
Check doneness near the end rather than guessing. Since every air fryer cooks slightly differently, checking the egg during the last minute helps you land on exactly the doneness you want without overshooting it.
Serve right away. This dish is at its best immediately out of the air fryer, when the toast is crispest and the egg has its ideal texture.
Air Fryer Egg Toast
Description: A quick, satisfying breakfast made with just bread, eggs, and optional shredded cheese. The bread turns lightly toasted while the egg cooks perfectly in the center, all in under 10 minutes in the air fryer. Adjust the cooking time for a runny, jammy, or firm yolk to suit your taste.
Duration:
- Course: Breakfast
- Cuisine: American
- Difficulty: Easy
- Servings: 4
- Prep Time: 2 minutes
- Cooking Time: 8 minutes
- Calories: 212 kcal per serving
Ingredients
- 2 slices bread
- 2 large eggs
- ¼ cup shredded cheese (optional)
- Salt and pepper, to taste
Instructions
- Using the bottom of a drinking glass, gently press the center of each slice of bread to create a shallow indentation. Do not press all the way through.
- Arrange the bread slices in the air fryer basket, leaving space between them for air circulation.
- Carefully crack one large egg into the indentation of each slice.
- Season the eggs with salt and pepper to taste.
- Set the air fryer to 330°F (165°C) and cook for 5 minutes.
- If using shredded cheese, open the air fryer during the final 2 to 3 minutes and sprinkle the cheese evenly over the eggs.
- Continue cooking until the eggs reach your preferred level of doneness.
- Remove from the air fryer and serve immediately while warm.
Notes
- Air fryer cooking times may vary slightly depending on the model and basket size.
- For a runny yolk, cook for approximately 7 minutes.
- For a jammy yolk with fully set whites, cook for approximately 8 minutes.
- For a firm yolk, cook for approximately 9 minutes.
- A slightly wider indentation allows the egg whites to spread more evenly and cook thoroughly.
- Shredded cheddar is optional but melts best when added during the last few minutes of cooking.
- Serve immediately for the best texture, as the toast is crispiest when freshly cooked.
- Best enjoyed right after cooking. If storing leftovers, cool completely and refrigerate in an airtight container; reheat in the air fryer (not the microwave) for a few minutes, noting that the yolk will continue to firm up during reheating.
- Nutrition per serving: 212 kcal, 11g fat, 4g saturated fat, 5g polyunsaturated fat, 200mg cholesterol, 463mg sodium, 16g carbohydrates, 1g fiber, 2g sugar, 12g protein.
Disclaimer: This recipe is provided for general informational purposes only and does not constitute medical or dietary advice. Nutritional values are estimates and may vary based on specific ingredients and brands used. Individuals with food allergies, dietary restrictions, or specific health conditions (including but not limited to egg or dairy sensitivities) should consult a qualified healthcare provider or registered dietitian before preparing or consuming this recipe. This recipe uses raw eggs prior to cooking; please take appropriate food safety precautions. Neither the author nor the publisher assumes responsibility for any adverse effects resulting from the preparation or consumption of this recipe.